
Are you tired of dealing with your old Yale lock? Would you like to replace it with a newer model or switch to a different type of lock?
Removing a Yale lock may seem daunting at first, but with the right tools and guidance, it can be completed efficiently and safely. Whether you are replacing an old lock, upgrading to a smart lock, or simply rekeying, understanding the process is essential. Before starting, ensure you have all the necessary tools, such as a screwdriver, and follow the detailed steps to avoid damaging the door or lock itself.
By following this guide, you will learn how to remove a Yale lock with confidence and ease, preparing your door for its next stage of security.
What Will You Need?
Before beginning the process of removing your Yale lock, gather all necessary tools and materials. These may include:
- Screwdriver (Phillips or flathead, depending on the screws used)
- Replacement lock (if installing a new one)
- Key (if only rekeying)
- Lubricant spray
- Pliers (for stubborn or rusty screws)
Once you have these items, you can begin removing your Yale lock.
10 Easy Steps on How to Remove a Yale Lock
Step 1: Preparing the Door
Before starting the removal process, ensure the environment is safe and suitable for working. This includes removing any items obstructing access to the door and providing adequate lighting to see the screws and lock mechanisms. Check that the door is unlocked to facilitate the removal process, as attempting to remove a locked mechanism can complicate the process. Once the area is prepared, examine the door and lock for any visible screws.
Step 2: Remove the Screws
Using the appropriate screwdriver, carefully remove the screws that secure the lock to the door. Begin with the screws holding the exterior faceplate or any decorative cover in place. Once these screws are removed, you should have access to the primary screws attaching the lock mechanism to the door. Work systematically to avoid stripping the screws;
if you encounter resistance, consider using a lubricant spray to loosen them. Keep all screws in a safe place, as you may need them if reinstalling the lock or for the new lock setup. After removing the screws, gently pull the lock away from the door, taking care not to force it and potentially damage the door or lock components.
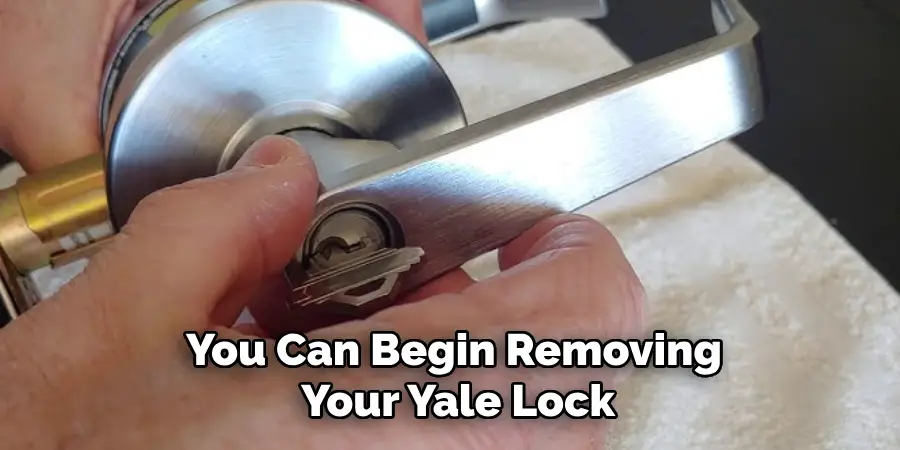
Step 3: Detach the Lock Mechanism
With the screws removed, the next step is to detach the lock mechanism from the door gently. Start by carefully pulling the lock cylinder away from the door. If the lock resists, lightly wiggle it to help loosen its grip without applying excessive force. Ensure all components, such as the spindle or connecting rods, are freed from the lock assembly.
Note how these parts are arranged if you plan to reinstall or replace the lock. As you remove the old lock, inspect the door and lock components for any signs of wear or damage, which may affect the installation of a new lock.
Step 4: Remove the Latch Assembly
Once the lock mechanism is detached, focus on the latch assembly inside the door. Locate the screws securing the latch plate to the edge of the door. Using the correct screwdriver, remove these screws carefully. After removing the screws, gently extract the latch mechanism from the door by pulling it outwards. Wiggle it slightly to free it if it sticks, but always avoid force to prevent damage.
Ensure that the hole left in the door is clean and free of debris, which could interfere with installing a new latch or lock. Double-check that all components of the lock and latch are removed if you are replacing the entire unit. Keep all parts you wish to reuse or keep for reference in a safe place.
Step 5: Clean the Door and Lock Area
Removing the lock and latch is an excellent opportunity to clean the area thoroughly. Use a cloth to wipe away any dust or residue around the openings in the door. Check for any splinters, especially around the hole where the lock was installed. If you notice any rough edges or wood debris, sand them down lightly to ensure a smooth surface.
This step is crucial for preparing the door for a new lock installation, as it helps ensure proper alignment and secure fitting of the latest hardware. Ensuring a clean, smooth surface is essential for aesthetics and the functional integration of the new locking system.
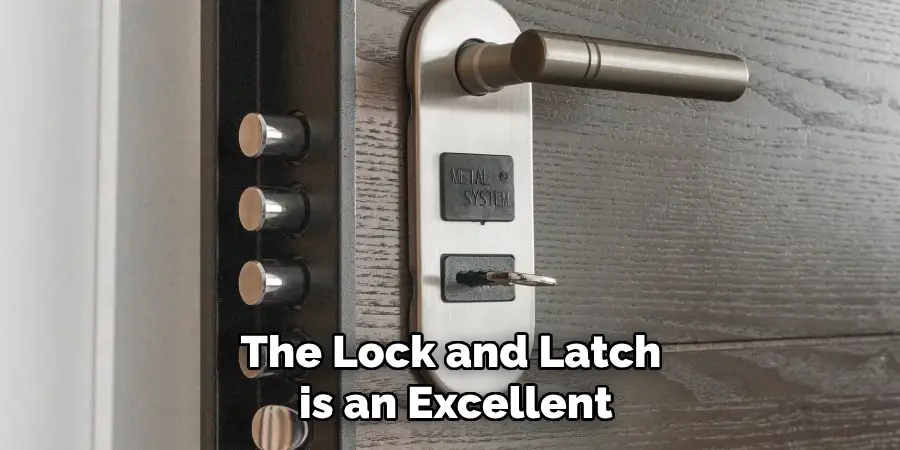
Step 6: Inspect the Door Frame
After cleaning the door and lock area, take a moment to inspect the door frame. Check for any visible wear, cracks, or damage where the latch bolt engages with the strike plate. Any misalignment or deterioration in this area could affect the performance of the new lock. If necessary, adjust the strike plate by loosening its screws and aligning it properly to ensure the latch bolt fits securely.
Tighten the screws once alignment is achieved. If the strike plate shows excessive wear or damage, consider replacing it to maintain the optimal security and functionality of your door lock system. A sturdy and perfectly aligned door frame is critical for efficiently operating your new locking mechanism.
Step 7: Preparing the New Lock
Before installing the new lock, familiarize yourself with all its components and assembly instructions. Lay out all parts according to the instruction manual to ensure nothing is missing. If your new lock requires adjustments or assembly, do so in a clean and organized workspace. Ensure that the latch bolt is retracted for ease of installation.
Compare the new latch and lock dimensions with the existing openings on your door to confirm compatibility. If minor adjustments are needed, such as enlarging a hole or repositioning screws, do so carefully to match the specifications of the new lock. Preparation is vital to a smooth and trouble-free installation process.
Step 8: Install the New Latch Assembly
Begin the installation by inserting the new latch assembly into the edge of the door. Align it with the existing opening, ensuring that the beveled side of the latch bolt is facing in the correct direction for the door’s operation. Secure the latch plate to the door using the provided screws, being careful not to overtighten and strip the wood or screws. Check that the latch moves smoothly by turning the knob or lever.
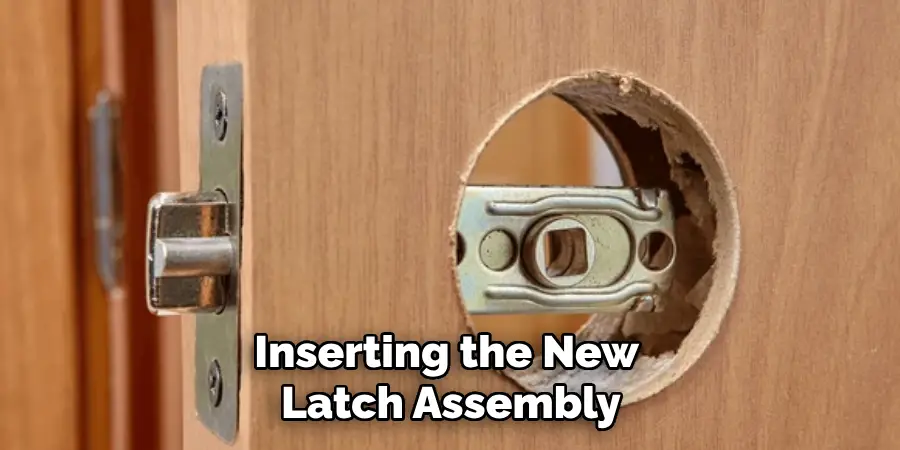
If there is any resistance, ensure the latch alignment is correct and adjust as necessary. An adequately positioned latch is essential for the seamless operation of your door.
Step 9: Attach the Exterior and Interior Lock Assemblies
After positioning the latch assembly, focus on attaching the exterior lock assembly. Begin by aligning it with the corresponding holes outside the door. Ensure that the tailpiece or connecting rod is correctly inserted through the latch mechanism and that all screw holes are in alignment. Hold the exterior assembly steady and attach the interior lock assembly from inside the door.
Secure it using the provided screws, but be careful not to overtighten it as this could hinder the lock’s functionality or damage the door. Once both sides of the lock are connected and screws are in place, test the locking mechanism by turning the key or handle to ensure smooth operation, making adjustments if necessary for optimal performance.
Step 10: Test the Lock Functionality
With the new lock fully installed, the final step is to test the functionality to ensure everything operates smoothly and thoroughly. Begin by closing the door and using the key to lock and unlock the mechanism from both the interior and exterior sides. Check that the latch engages and disengages appropriately without force. Next, test any additional features, such as deadbolts or integrated safety options.
Review the installation steps and adjust as needed if you encounter any issues, such as stiffness or misalignment. Regular maintenance and periodic functional checks can help sustain the lock’s performance and maintain your security.
By following these steps, you can successfully replace a door lock and ensure optimal functionality and security for your home.
5 Things You Should Avoid
- Using Excessive Force: Avoid applying too much force during removal, as it can damage the door or lock mechanism. Gentle and precise handling is crucial to ensure all components remain intact and functional for potential reuse.
- Neglecting to Label Parts: When disassembling the lock, label or record each component’s arrangement. This will avoid confusion or incorrect reassembly later, especially with complex lock designs.
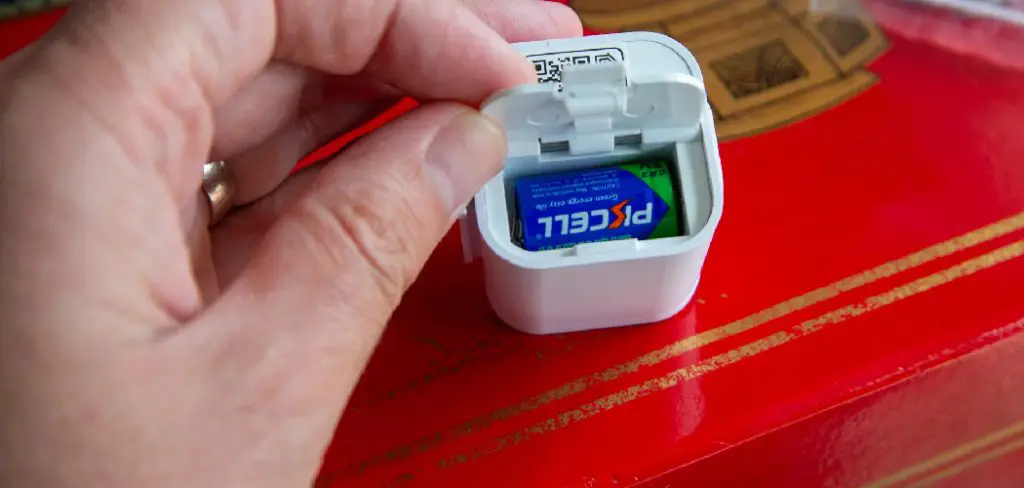
- Forgetting to Disable the Lock: Before starting the removal, ensure the lock is fully disabled. Remove any batteries from electronic locks and keep the keys securely accessible. Attempting removal without disabling can result in accidental locking or jamming.
- Skipping Cleaning Steps: Clean the door and lock area once the lock is removed. Dust and debris buildup can interfere with the removal process and the installation of a new lock, potentially compromising its performance.
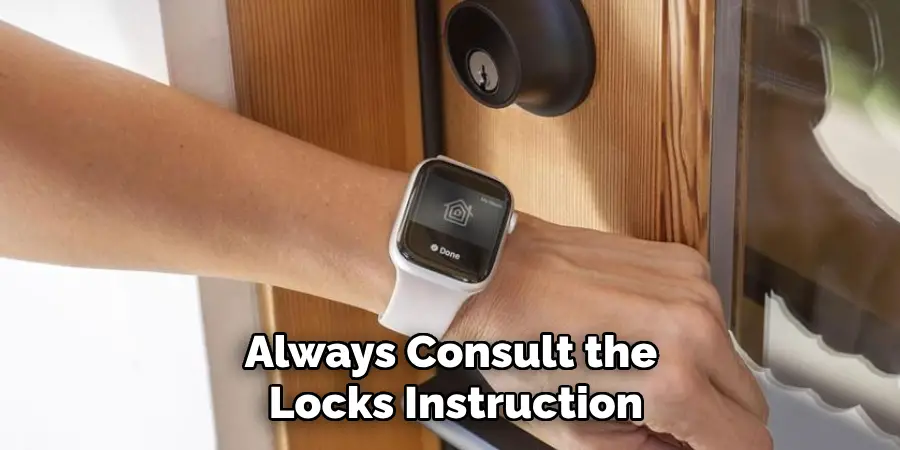
- Ignoring Manufacturer Instructions: Always consult the lock’s instruction manual before removing. Ignoring these instructions can lead to improper handling and may void any existing warranties or guarantees, leading to future complications.
Conclusion
How to remove a Yale lock requires careful attention to detail and adherence to proper procedures to safeguard both the door and the lock mechanism.
This guide outlines essential steps, emphasizing the importance of preparation, labeling parts, and gentle handling. By following the precautions outlined, such as disabling the lock and consulting the manufacturer’s instructions, you can ensure a smooth removal process.
Whether replacing or simply servicing your Yale lock, these steps will help maintain its integrity and extend its lifespan. Proper removal is crucial for subsequent reinstallation or upgrade, ensuring continued security and functionality for your home.