
Are you looking for a way to remove your Arlo magnetic mount? If so, our guide can help. Arlo cameras are a great way to keep an eye on your home or business, but the magnetic mount can be a little tricky to remove. On the other hand, the Arlo magnetic mount makes it easy to take the camera down and put it back up again in minutes.
In this post, we will provide step-by-step instructions on how to remove arlo magnetic mount. We will also provide helpful tips on avoiding damage when removing the mount. So, if you are ready to remove your Arlo Magnetic Mount, keep reading.
Can You Remove Arlo Magnetic Mount?
If you have an Arlo Baby or an Arlo Pro 2, there is a chance that you will want to remove the magnetic mount at some point. However, removing the mount can be challenging if you move the camera to a new location or simply need to access the camera for maintenance. The good news is that removing the mount without damaging the camera is possible.
You can remove Arlo magnetic mount by first loosening the screws that hold it in place. Next, slide the mount off of the camera. Finally, use a small flathead screwdriver to pry open the case and remove the batteries. Arlo recommends using a plastic putty knife or another non-metal tool to avoid scratching the camera.
The company also suggests you avoid using brute force when removing the mount. Removing Arlo magnetic mount can be difficult, but it is possible without damaging the camera.
10 Easy Steps on How to Remove Arlo Magnetic Mount
Step 1: Obtain an Arlo Magnetic Mount Removal Tool
Before removing the Arlo magnetic mount, you must purchase an Arlo Magnetic Mount Removal Tool. This can be found online or at your local hardware store. You need to use this tool to remove the screws holding the magnetic mount.
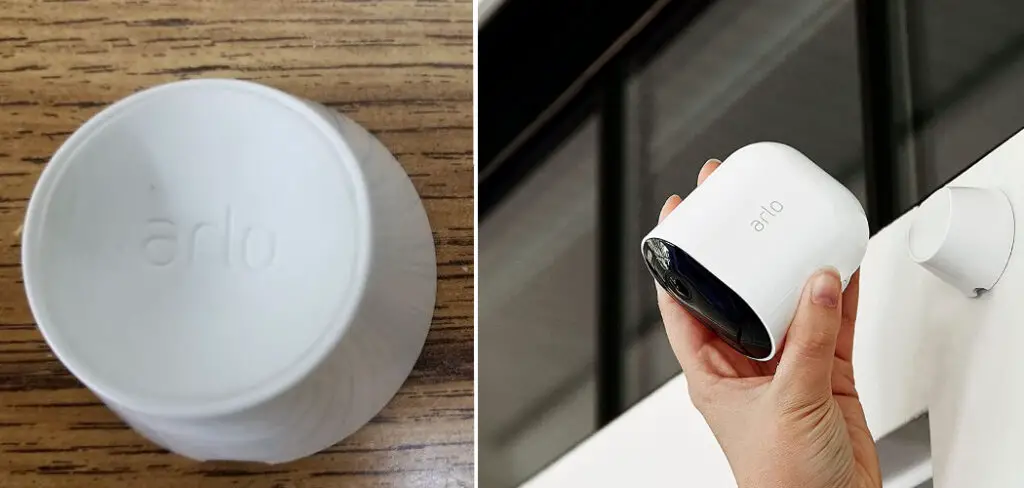
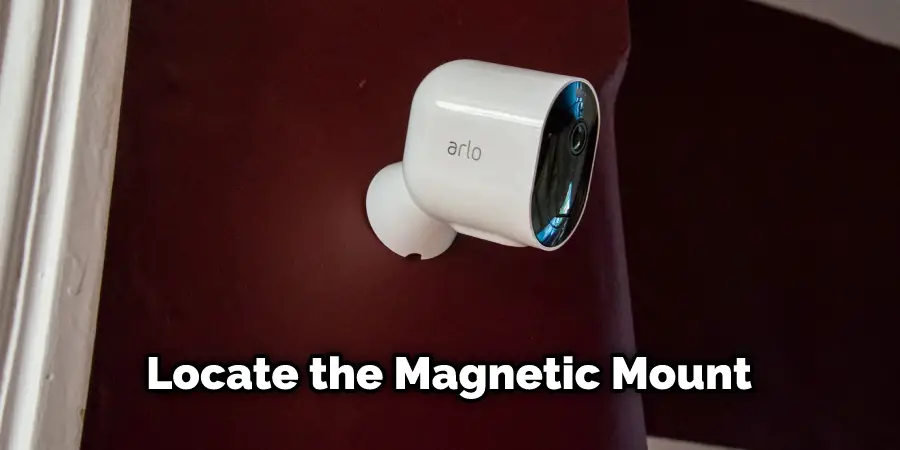
Step 2: Locate the Arlo Magnetic Mount
The next step is to identify where your Arlo magnetic mount is located. Usually, the mount is placed on the bottom of the device or on the side. If you don’t find the mount on the bottom of the device, look for it on the side.
Step 3: Insert the Removal Tool Into the Screw Hole
Now that you have located the mount, it is time to insert the removal tool into the screw hole. The removal tool will fit snugly into the hole. However, you need to be careful not to insert the tool too deeply into the hole, as this may damage the device.
Step 4: Unscrew the Mounting Screw
Once the removal tool is in place, you can now unscrew the mounting screw. This will release the mount from the device. Again, be sure to hold onto the mount so that it doesn’t fall and break. If your device has more than one screw holding the mount in place, repeat this step for each screw.
Step 5: Remove the Adhesive Pads
You also need to remove the adhesive pads that are holding the mount in place. These pads are usually located on the back of the mount. Again, use the removal tool to peel these pads off carefully. If you’re having trouble removing the pads, you can use a hairdryer to heat up the adhesive and make it easier to remove.
Step 6: Remove the Arlo Magnetic Mount
Now that you have removed the screws and adhesive pads, you can finally remove the Arlo magnetic mount. Again, be sure to grip the mount tightly so that it doesn’t fall and break. If you need to, you can use the removal tool to help pry the mount off of the device.
Step 7: Inspect the Device for Any Damage
Once the mount is removed, you should inspect the device for any damage. You will need to replace the device if you find any cracks or chips. If the damage is only cosmetic, you can try to repair it yourself.
Step 8: Clean the Mounting Surface
After removing the mount, you need to clean the mounting surface. This surface is usually metal and can be cleaned with a damp cloth. Be sure to dry the surface thoroughly before attempting to mount the device again.
Step 9: Apply New Adhesive to the Surface
If you’re using a new adhesive, you need to apply it to the mounting surface. Be sure to follow the instructions on the adhesive package. You don’t want to use too much adhesive as this can make it difficult to remove the mount in the future.
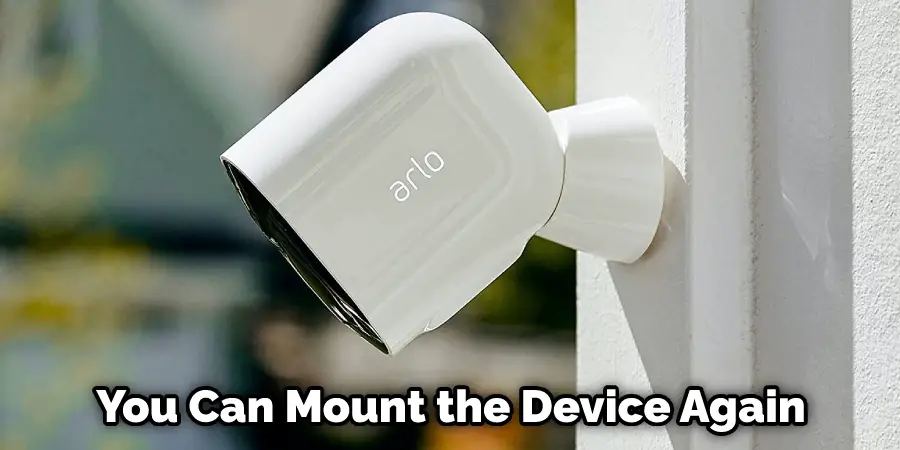
Step 10: Mount the Device Again
Once you have applied the new adhesive, you can now mount the device again. Make sure that the mount is aligned properly before screwing it into place. Be careful not to over-tighten the screws, as this can damage the device.
Now that you know how to remove arlo magnetic mount, you can easily do it yourself. Just make sure to follow the instructions carefully and you should be able to do it without any problem.
Arlo Magnetic Mount Removal Tips
If you’re having trouble removing the mount, you can try these tips:
- Use a hairdryer to heat up the adhesive. This will make it easier to remove.
- Use a putty knife or other blunt object to pry the mount off.
- Use Goo Gone or another adhesive remover to help loosen the mount.
- Before removing the magnetic mount, always remove the batteries first. This will prevent damage to your Arlo cameras.
- Always test the mount before reattaching it to your Arlo camera. This will ensure a proper connection and prevent any damage to your camera.
- When removing the mount, be careful not to damage the camera or the mount itself.
- Avoid getting adhesive on your hands or clothes. If it does get on your skin, wash it off immediately.
With these tips, you should be able to remove your Arlo Magnetic Mount easily. If you have any other questions, feel free to contact Arlo Support.
When To Remove Arlo Magnetic Mount?
It is important to know when to remove the Arlo Magnetic mount. Depending on the season and location, you may want to move your device for optimal performance. For example, during the winter months in northern climates, removing the mount and storing the Arlo camera indoors are recommended. This prevents snow and ice build-up from affecting the Arlo camera’s field of view and performance.
Is Removing Arlo Magnetic Mount Difficult?
No, removing the Arlo magnetic mount is not difficult. However, there are a few things you need to do in order to ensure that the process goes smoothly. Here are some tips on how to remove Arlo magnetic mount:
- First, make sure you have all the necessary tools. This includes a screwdriver, a pair of pliers, and a drill.
- Next, locate the four screws that hold the mount.
- Use the screwdriver to remove the screws. Be careful not to strip them.
- Once the screws are removed, you should be able to pull the mount off easily.
- If the mount is still stuck, use the pliers to help loosen it.
- Finally, drill a hole through the center of the mount. This will help you remove it more easily.
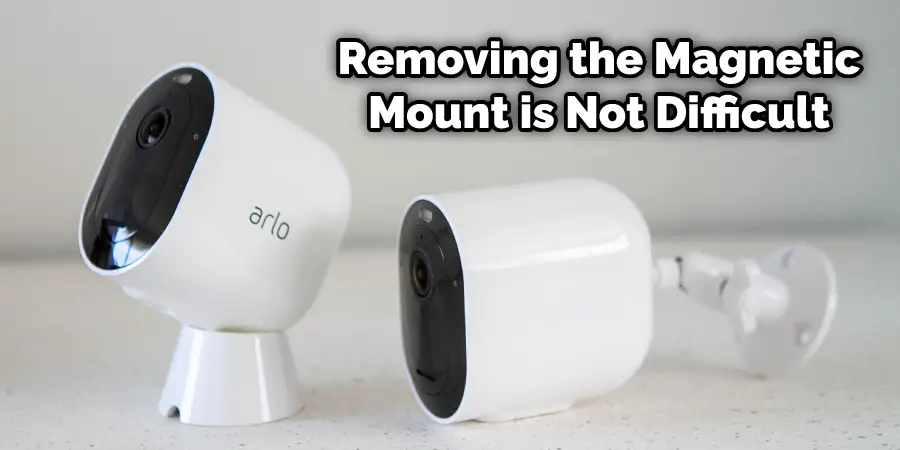
Removing the Arlo magnetic mount is not difficult if you have the right tools and follow these simple steps. With a little bit of effort, you should be able to remove the mount quickly and easily.
You can also check it out: How to Change Wifi on Arlo Camera
How Long Does it Take to Remove Arlo Magnetic Mount?
If you’re wondering how long it takes to remove an Arlo magnetic mount, the answer typically depends on your expertise and the type of Arlo mount you’re trying to remove. For most users, removing an Arlo mount is a fairly quick and easy process that can be completed in just a few minutes. However, if you’re not experienced in removing these types of mounts, it’s still possible to do so without too much difficulty.
The first thing you’ll need to do is remove the base of the mount from the Arlo camera. To do this, simply unscrew the baseplate from the camera using a Phillips head screwdriver. Once the baseplate is removed, you should then be able to pull the entire mount away from the camera body. If your mount is attached with magnets, you may need to use a bit of force to detach it.
Once the mount is detached from the camera, you’ll then need to remove the camera from the mount itself. This can be done by unscrewing the retaining ring that holds the camera in place. Once the retaining ring is removed, you should then be able to pull the camera out of the mount.
Frequently Asked Questions
How Can I Make Sure My Arlo Camera is Secure After Removal?
The best way to ensure that your Arlo camera is secure after removal is to factory reset it. To do this, press and hold the reset button on the back of the camera for 10 seconds until you hear a beep twice. This will restore the camera to its default settings.
Does Cold Weather Affect How Easily Removable a Magnet is From Its Base Plate? Can I Use Nonmetal Surfaces Like Wood, Glass, Plastic, Etc., as Bases for My Permanent Mounts Using a Magnetic Mount System?
Cold weather can affect the adhesion of a magnet to its base plate. Generally, magnets are not as efficient at sticking to metal objects in cold temperatures. However, you can still use nonmetal surfaces such as wood, glass, plastic, etc., with a magnetic mount system. The magnets will stick to these materials but they may come off more easily due to the lack of metal. We recommend using a stronger magnet if you plan on using nonmetal surfaces with your magnetic mount system in cold weather.
Will Dust or Dirt Build Up on Magnets Over Time and Weaken Their Strength if Used Outdoors Without Protection?
Yes, dust and dirt can build up on magnets over time and potentially weaken their strength. To prevent this, it is best to use a weatherproof cover for your magnetic mount system when it is being used outdoors. This will protect the magnets from collecting any dust or dirt that could affect their adhesion abilities.
Conclusion
The Arlo Magnetic Mount is a great way to attach your camera to any metal surface, but there may be times when you need to remove it. This article has shown you how to remove Arlo magnetic mount without damaging the mount or the camera. First, find the release button on the back of the magnetic mount and press down on it with a fingernail or other sharp object. The amount should pop right off.
If the release button doesn’t work for some reason, try prying open the front of the mount with a flathead screwdriver until it pops free. Once the mount is free, gently pull on the cable attached to the camera until it comes loose.=
Be careful not to tug too hard, or you could damage either connector. Now you can safely store your Arlo Magnetic Mount away until you need it again! Did our instructions work for you? Let us know in the comments below.
You can also check it out: How to Charge Arlo Essential Spotlight Camera
