
Are you frustrated with the sticky mess that baby-proofing adhesive leaves behind? Do you worry about damage to your furniture from trying to peel it off or using harsh chemicals to remove it? Don’t despair! There is an easier way. With a few simple steps, you can learn how to safely and quickly remove baby-proofing adhesive without damaging your furniture or leaving any residue. Not only will this save time and effort but also protect your beloved home furnishings in the process. So, read on for tips on how to easily how to remove baby proofing adhesive with minimal hassle!
Identifying the Type of Baby Proofing Adhesive
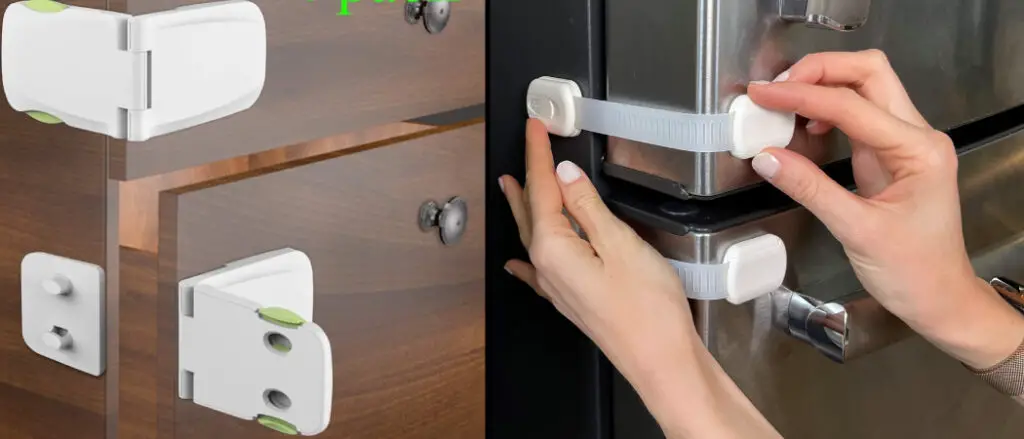
When baby-proofing your home, it is important to know the type of adhesive that you are using to secure furniture, cabinets, and other surfaces. Most adhesives have a different composition, making them better for different applications. Adhesives for baby proofing should typically contain non-toxic substances that don’t leave residue or stickiness once it has done their job.
It’s also important to make sure that the adhesive can bear a certain weight to ensure the safety of your furniture and children. Contact adhesives often work best as they provide a lasting hold without causing any harm. Ensure you read the instructions carefully before applying any sort of adhesive in order to baby-proof your home safely and quickly.
6 Tips to Follow on How to Remove Baby Proofing Adhesive
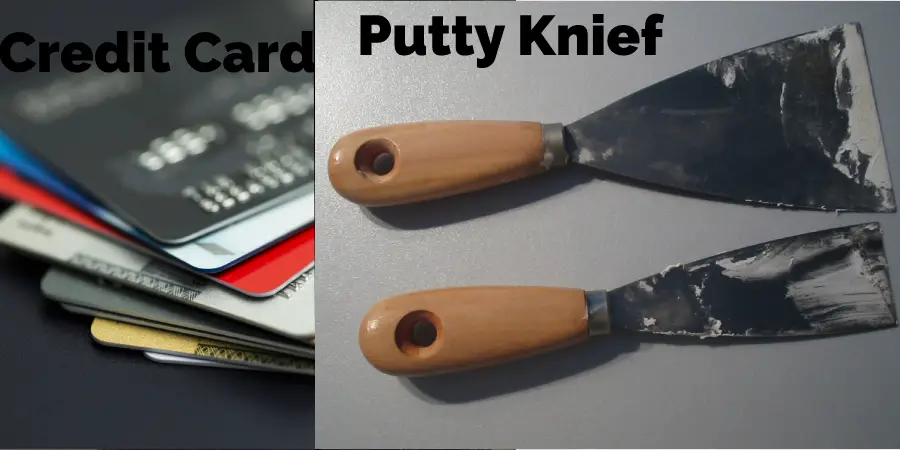
1. Use a Putty Knife or Credit Card.
If you need to remove baby-proofing adhesive from a hard surface, start by using a putty knife or credit card to loosen the edges of the adhesive. Gently insert the putty knife or credit card under the edge of the adhesive and begin to pry it up.
2. Use Warm, Soapy Water.
If the adhesive is still not budging, try using warm soapy water to help break down the adhesive. Simply wet a cloth with warm soapy water and apply it to the adhesive. Let it sit for a few minutes before attempting to remove the glue again.
3. Use Vinegar or Rubbing Alcohol.
If warm soapy water does not work, use vinegar or rubbing alcohol. Apply either of these substances to a cloth and then apply it to the adhesive. Let it sit for a few minutes before attempting to remove the adhesive again.
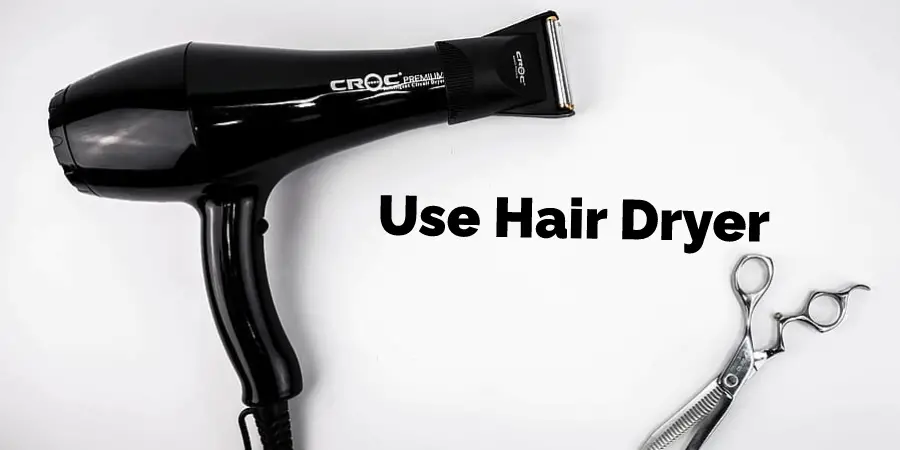
4. Use a Hair Dryer.
If you need to remove baby-proofing adhesive from a hard surface, you can also try using a hair dryer to heat the adhesive and make it easier to remove. Simply turn the hair dryer onto the highest setting and hold it close to the adhesive for 30-60 seconds. Once the adhesive is heated, use a putty knife or credit card to loosen the edges and peel it away.
5. Use Goo Gone or Another Commercial Product.
If all else fails, you can use Goo Gone or another commercial product designed to remove adhesives. Apply the product according to its instructions and then let it sit for a few minutes before attempting to remove the adhesive again.
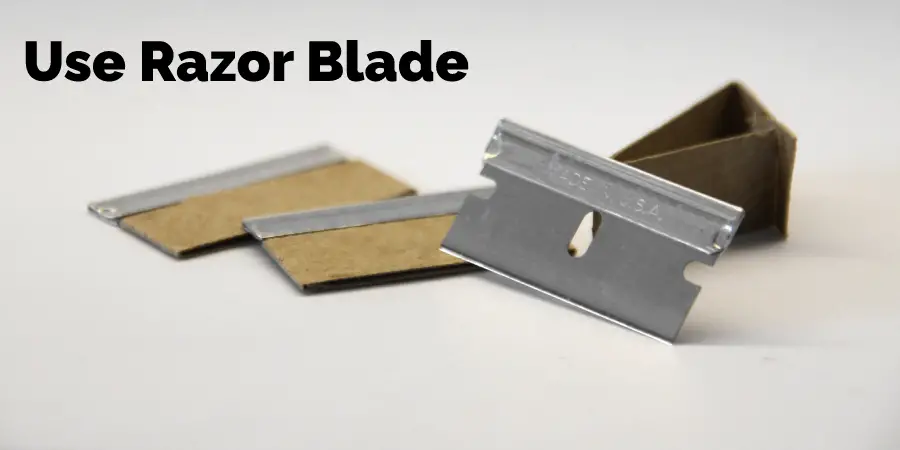
6. Use a Razor Blade (with Caution).
As a last resort, you can try using a razor blade to scrape off the baby-proofing adhesive. This should only be done as a last resort, however, as it could potentially damage the surface you are trying to remove the adhesive from. Start by scraping gently with the blade’s edge and then work your way to more aggressive scraping. Be sure to use measures to protect yourself from getting cut by the blade, such as wearing gloves or using a razor blade scraper.
Tips for Avoiding Damage when Removing Baby Proofing Adhesive
Once you’ve finished baby-proofing the house and are ready to remove the adhesive sticky strips from surfaces, the last thing you want is a permanent mess. Thankfully, it’s simple to clean up adhesive residue! Start by using a hairdryer on low heat (but be careful not to make it too hot). This should help soften the goo and make it easier to remove.
Then, take a rag moistened with warm water and dish soap, and gently rub in circles until all of the residue is gone. Once everything is wiped down and dry, use a little bit of olive oil or baby oil on just a small area at first – this will work to both nourish your furniture and help lift any left-over residue you didn’t get with the rag earlier. With these steps, all of your furniture should be as good as new – no sticky surprises for visitors or family members!
Alternatives to Using Traditional Baby Proofing Adhesives
When baby-proofing your home, using traditional adhesives can be tricky and involve some mess. Fortunately, there are several non-toxic alternatives to using conventional adhesive products like Scotch Tape or glue. Door knob covers and corner guards can be affixed with screws instead of adhesives, creating a much stronger hold with less hassle. Sliding locks for drawers and cabinets also include an adhesive strip, but they come with an additional latch that can be durably and securely mounted onto the frame of the door or drawer, entirely obviating the need for adhesive products.
Safety latches for window guards offer even more convenience by utilizing a self-locking tension device that does not require the use of any adhesive at all. With these alternatives in hand, you can confidently go about baby-proofing your home without resorting to using chemical-laden adhesives.
Frequently Asked Questions
Does Removing Baby-Proofing Adhesive Damage Walls or Furniture?
Removing baby-proofing adhesive can damage walls or furniture if not done properly. The adhesive used to secure many baby-proofing items is a strong, permanent glue that bonds the object in place with great strength. If you try to remove the adhesive without taking proper precautions, it could cause damage to the paint or the surface of your walls or furniture.
How Often Should You Replace Your Babyproofing Adhesives?
Baby-proofing adhesives should be replaced or checked every 3-6 months, as they can weaken over time. You should also inspect the adhesive for dirt, dust, or other debris that can interfere with its strength and effectiveness. If you notice any signs of damage or wear, replace the adhesive right away to ensure your baby is protected.
Conclusion
Removing baby-proofing adhesive is a tedious but necessary task for any parent. With the right tools and techniques, you can easily remove it in no time at all! Always start by testing your chosen method on an inconspicuous area of the surface to make sure it won’t damage anything before applying it more broadly. If that test goes well, use soap and water or vinegar solutions to loosen up the adhesive, then scrape away with a credit card or putty knife. For tougher adhesives like superglue, try using rubbing alcohol instead. No matter what type of baby-proofing adhesive you’re dealing with, be patient as you work—it may take several applications before everything comes off completely! Thanks for reading our blog post about how to remove baby proofing adhesive.
1 thought on “How to Remove Baby Proofing Adhesive”