
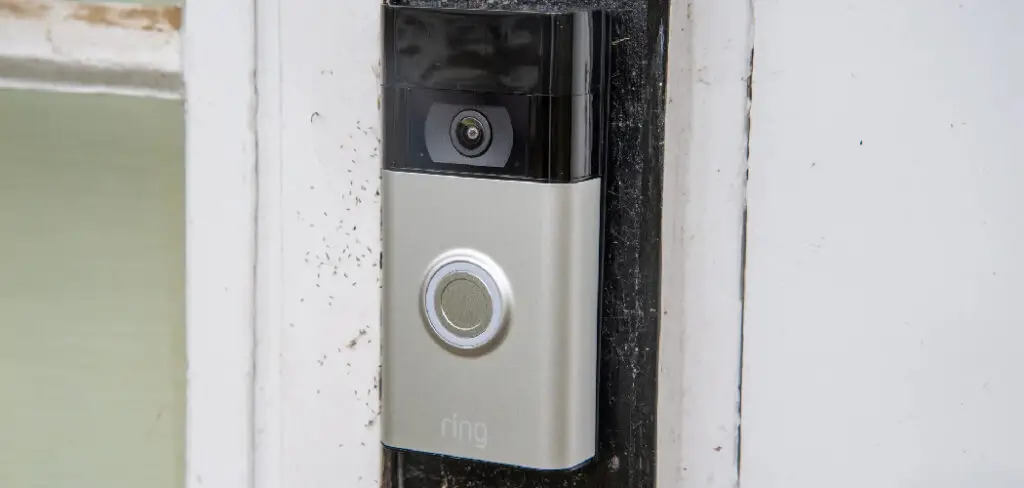
Are you planning to upgrade your front door with a new doorbell? Here’s something that might interest you: the Blink Doorbell. It is an intelligent surveillance device that will help secure your home and keep it safe from unwelcome visitors.
In this blog post, we will explain how the blink doorbell works and give step-by-step instructions on how to remove it safely and correctly if need be. So keep reading for all the information needed to remove a Blink Doorbell! So keep reading to learn more about how to remove blink doorbell.
Can You Remove Blink Doorbell?
The Blink Doorbell is a popular choice for home security, given its easy installation and excellent motion-detection technology. It can be placed onto almost any wall or door frame with a few simple screws, but the biggest question on many homeowners’ minds is whether it is possible to remove a Blink Doorbell once installed.
The good news is that it’s very easy to take the doorbell off its base – thanks to the tool-free design, you can simply twist off the unit from its mount and lift it away.
Before removing it though, consider getting a replacement mount if you’re hoping to reinstall your Blink Doorbell at a different location; this way, you can keep your original mount in place without having to drill into another wall.
Why Should You Remove Blink Doorbell?
Removing your Blink Doorbell is always a good idea. With this device, you can monitor your home security while you are away. It lets you see who is coming and going and receive real-time notifications when someone approaches your door.
Furthermore, removing it will help keep your doors secure against intruders and prevent intruders from entering your home undetected. In addition, Blink Doorbell’s innovative features, like two-way audio communication and nighttime HD video recording, allow you to be the first in line should an unauthorized individual attempt to enter your property.
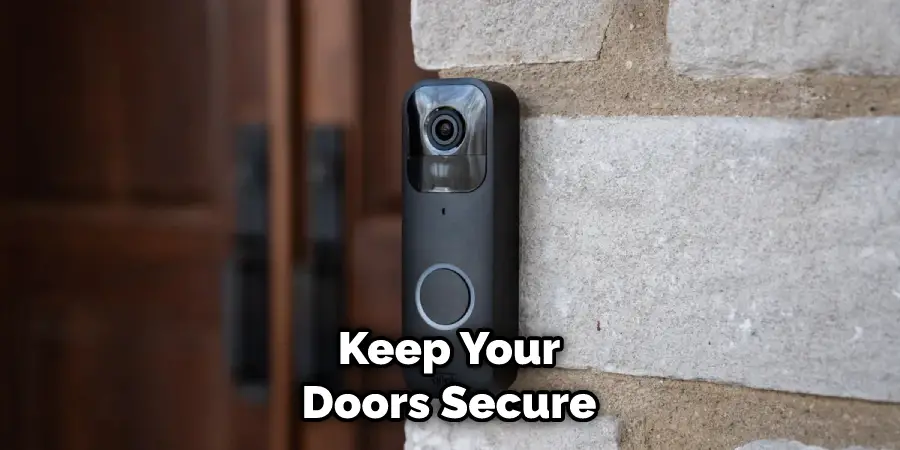
For these reasons and more, it makes sense to remove your Blink Doorbell for improved home security.
7 Steps to Follow on How to Remove Blink Doorbell
Step 1: Removing the Doorbell from the Wall Plate
The first step is to remove the doorbell from its wall plate. To do so, locate the two mounting screws at the base of the doorbell and unscrew them completely. Once they are loosened, slide out the doorbell and off any plastic clips holding it in place. Now that it’s free from the wall plate, your doorbell is ready for removal.
Step 2: Unscrewing and Remove Battery Pack
The next step is to unscrew and remove the battery pack inside the Blink Doorbell. To do this, locate two screws on either side of the battery pack and loosen them until they come off completely.
Once loose, carefully pull out the battery pack from inside the device until it is free from its housing. Be sure not to touch any of the exposed wires, as this could cause electrical shock or damage to your device.
Step 3: Disconnecting Wires
Once you have removed both pieces of hardware (the wall plate and battery pack), you will then need to disconnect all remaining wires connected to your Blink Doorbell.
To do this, locate each wire and press down firmly on its connector until it easily slides away from its port. Be sure not to pull on any wires, as this could cause them to snap or damage permanently. Once all wires are disconnected, your Blink Doorbell should now be fully uninstalled!
Step 4: Cleaning the Wall Plate
Now that your Blink Doorbell is disconnected, you will need to clean off the wall plate to prepare it for a new device. To do so, use a damp cloth and gently wipe away any dirt or residue from the surface of the wall plate. Once it’s clean and dry, your wall plate is ready for a new device.
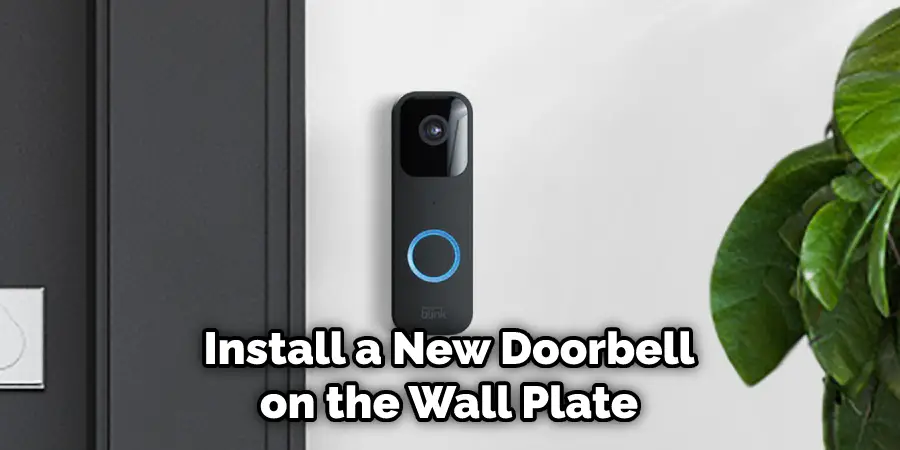
Step 5: Installing New Doorbell(Optional)
At this point, you are now ready to install a new doorbell on the wall plate. To do so, begin by connecting the appropriate wires to their respective ports on the back of your new doorbell. Once connected, slide the doorbell onto the wall plate and secure it in place using two mounting screws.
Step 6: Installing Battery Pack(Optional)
Now that your new doorbell is mounted on the wall plate, you can then proceed to install its battery pack. Begin by placing the battery pack into the housing of your Blink Doorbell and screwing it into place using the two screws located on either side. Now that your battery pack is secure, your doorbell should be ready to go!
Step 7: Test and Enjoy(Optional)
Now that you have successfully installed a new Blink Doorbell, it is time to test it out. To do so, press the “Test” button on the back of your device and wait to see if it triggers any alarms or notifications. If all is working correctly, you should now be able to enjoy your new Blink Doorbell!
And there you have it – seven easy steps on how to remove blink doorbell. With this guide, you can now safely and easily remove your Blink Doorbell in no time. So go ahead and give it a try! You’ll be glad you did. Good luck!
Things You Need to Know Before Removing Blink Doorbell
Before removing your Blink Doorbell, there are some important things to consider. First, you should evaluate the reasons why you need to remove it in the first place. For example, is your doorbell no longer working correctly, or are you considering moving it? You may be able to fix an issue without going through the removal process.
Secondly, ensure that you have all the resources needed for a successful and safe installation elsewhere — this includes all parts necessary, such as wires and brackets, and a compatible power source nearby.
Lastly, remember that Blink offers customer support and tutorials online if you’re having difficulties with any part of the installation process. Following these steps can ensure a smooth transition when removing your doorbell.
Benefits of Removing Blink Doorbells
Removing blinking doorbells can provide several benefits to home security. By replacing them with high-tech variants like video doorbells, homeowners can improve their safety significantly. Video doorbells allow them to keep an eye on their house from virtually anywhere in the world.
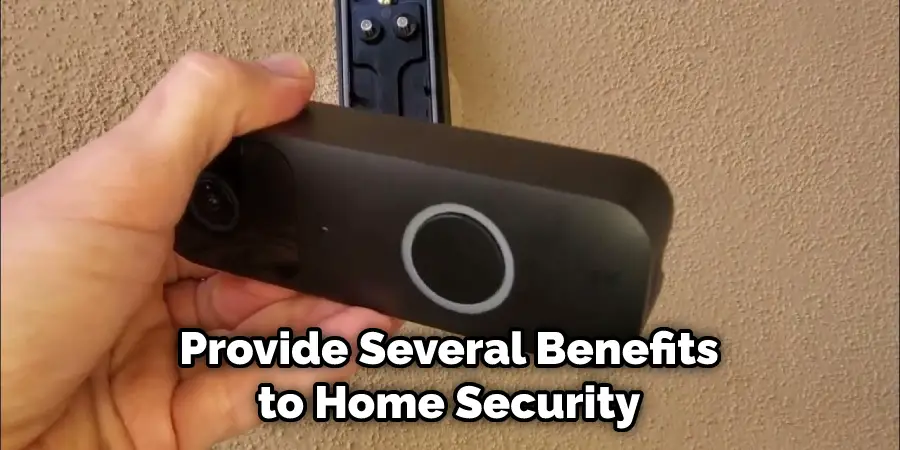
With motion sensors and a wide-angle lens, homeowners can see people and packages arriving outside their door any time of day. Plus, since the doorbells are connected to the internet, it’s never been easier for homeowners to keep track of who is at their door or even communicate with visitors before they answer.
So by swapping out old blink doorbells for smarter alternatives, homeowners can enjoy peace of mind knowing that their homes are safe and secure wherever life takes them.
5 Common Mistakes People Make When Trying to Removing Blink Doorbell
1. Not Disabling the Power First
One of the most common mistakes people make when removing their Blink doorbell is not disabling the power first. If you do not disable the power, you could damage the doorbell or even injure yourself. To disable the power, simply flip the switch on the back of the doorbell to the “off” position.
2. Not Removing the Battery Pack
Another common mistake is not removing the battery pack before removing the doorbell. The battery pack is located on the back of the doorbell and must be removed before proceeding. Failure to do so could result in damage to the doorbell or injury.
3. Not Lifting Straight Up
When removing the Blink doorbell, it is important to lift it straight up. Do not try to pry it off, as this could damage the doorbell. Simply grasp it firmly and lift it straight up until it comes free from the mounting plate.
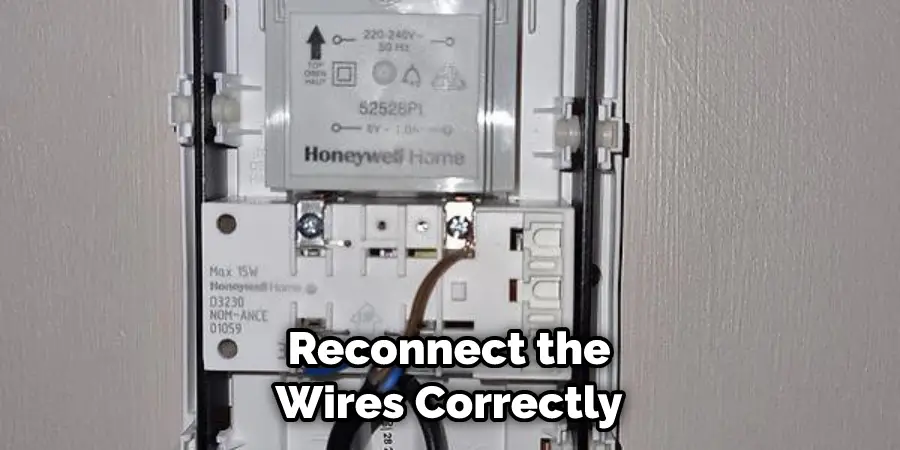
4. Forgetting to Reconnect the Wires
Once you have successfully removed your Blink doorbell, do not forget to reconnect the wires. The red wire goes to the “+” terminal, and the black wire goes to the “-” terminal. Failure to reconnect the wires correctly could damage your doorbell or cause injury.
5. Not Recycling the Doorbell
When disposing of your Blink doorbell, make sure to recycle it properly. Don’t just throw it in the trash, as this could result in dangerous toxins being released into the environment. Check with your local recycling centers for how to dispose of your electronic device correctly and safely.
Frequently Asked Questions
Which tools and precautions do I need to remove the Blink Doorbell?
When removing a Blink Doorbell, it is important to have the necessary tools and to take the appropriate safety precautions. First, you should acquire a Philips screwdriver, as the doorbell will be secured with screws. You should also wear protective eyewear to protect your eyes from any debris or dust generated by the removal process.
Do I need professional help uninstalling and reinstalling a blinked bell?
It is not necessary to hire a professional for the installation and removal of a Blink Doorbell. However, if you are inexperienced with electrical installations, it may be beneficial to seek assistance from an experienced electrician for safety reasons.
Do I lose all my data on my blink doorbell when I uninstall it from my home network?
No, you should not lose your data stored on the Blink Doorbell. Once it has been removed from the home network, all data will still be accessible through its cloud storage account. However, to keep all data safe and secure, you should always remember to back up frequently.
Conclusion
If you want to replace an old doorbell with a new one or uninstall an existing one, then following these steps should make it easy for anyone! Remember that safety should always come first when handling any electrical devices – never touch any exposed wires or ports, as this can cause serious injury or damage.
If you have any questions or concerns while removing or installing a new doorbell, don’t hesitate to contact a professional installer for assistance! Thanks for reading our post about how to remove blink doorbell.