Removing a Nest Doorbell without the official removal tool might seem like a daunting task, but with the right guidance and precautions, it can be done effectively. Learning how to remove Nest Doorbell without tool is essential for a variety of reasons. Whether you need to relocate the doorbell to a new position, replace it with an updated model, or troubleshoot a malfunction, knowing the steps to do so safely is crucial.
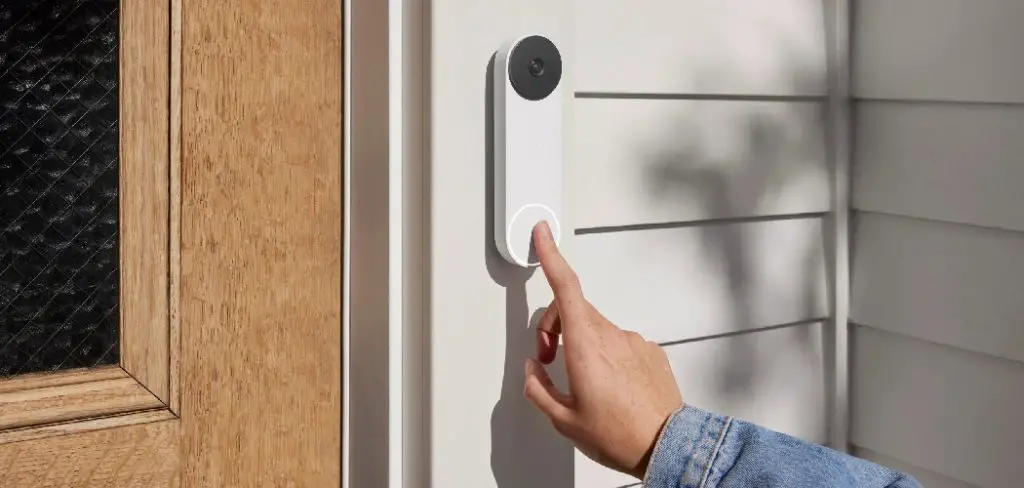
Handling the doorbell with care is paramount to avoid any damage to the device or the mounting surface. Being gentle and using alternative, readily available tools can help you accomplish this task without causing harm to the doorbell or its bracket. This guide will provide you with comprehensive instructions and safety tips to ensure a smooth removal process.
Understanding the Nest Doorbell Mechanism
Design and Attachment
The Nest Doorbell is designed to be sleek and inconspicuous, blending well with a variety of home exteriors. It features a compact, weather-resistant exterior that houses the camera, microphone, speaker, and internal battery. The front face of the doorbell typically has an LED ring light that indicates its status and a button for visitors to press. The doorbell is constructed to be robust and durable, while its streamlined design ensures it fits neatly against your door frame.
Mounting the Nest Doorbell typically involves a security bracket that is screwed into the wall or door frame. The doorbell itself is secured onto this bracket through a series of locking mechanisms designed to hold it firmly in place. Once the bracket is attached, the doorbell is then slid into the mount and clicks securely. This design ensures the doorbell remains steady and functional, even in adverse weather conditions.
Common Challenges
Removing the Nest Doorbell without the official removal tool can present several challenges. One of the main difficulties is accessing the release slot, which disengages the doorbell from its mount. Because the release mechanism is designed to prevent tampering and theft, it can be quite difficult to operate without the right tool. Many users find that alternative tools, such as a small flathead screwdriver or a paperclip, are less effective and require more finesse and patience.
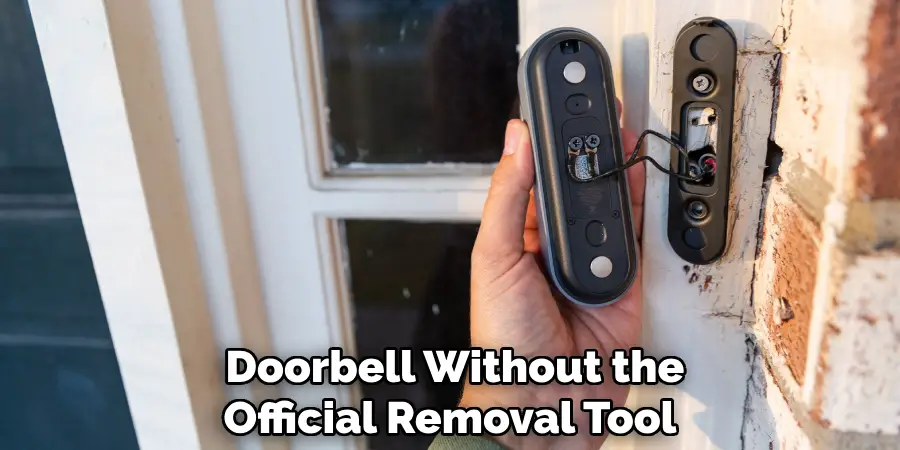
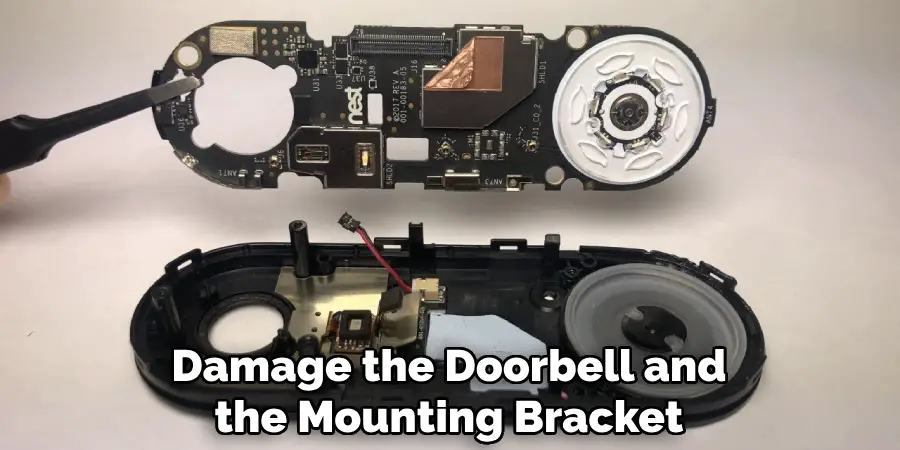
Another challenge is the potential risk of damaging the doorbell or the mounting bracket. Without the proper tool, applying excessive force or incorrect pressure can crack the doorbell’s casing or deform the mount, leading to functionality issues or the need for replacement parts. Additionally, improper removal techniques can disrupt the wiring or connections, resulting in further complications. Therefore, handling the process with care and precision is vital to avoid causing any damage.
Tools and Safety Equipment
Alternative Tools
When removing a Nest Doorbell without the official removal tool, alternative tools can come in handy. These readily available items can help you safely and effectively detach the doorbell from its mounting bracket.
Small Flathead Screwdriver: A small flathead screwdriver is one of the most useful tools in this scenario. Its narrow tip fits into the Nest Doorbell’s release slot, allowing you to apply gentle pressure and disengage the locking mechanism. Make sure to use a flathead small enough to avoid damaging the release slot or the surrounding casing.
Paperclip or Safety Pin: If you don’t have a small flathead screwdriver, a paperclip or safety pin can be a reliable alternative. Straighten the paperclip or use the pointed end of the safety pin to insert it into the release slot. Just like with the screwdriver, apply gentle pressure to release the doorbell from its bracket. Although these tools may require more finesse, they can be very effective with a careful and patient approach.
Thin, Sturdy Piece of Plastic (e.g., a Credit Card): Another alternative tool is a thin piece of sturdy plastic, such as a credit card or a similar item. This can be used to slide between the doorbell and the mounting bracket to gently pry them apart. The card’s flexibility and thinness allow it to maneuver into tight spaces without causing damage to the doorbell or the bracket. While this method demands a bit more maneuvering, it can provide the delicate touch needed to safely release the doorbell.

Using these alternative tools can be effective, but it’s crucial to handle them with care. Applying excessive force or rushing can lead to damaging the doorbell or its mount. Always adopt a gentle and patient approach to ensure a smooth removal process.
Safety Equipment
Removing a Nest Doorbell without the official removal tool involves using alternative tools that might lead to accidental slips or scratches. Therefore, safety equipment is essential to protect yourself from potential injuries.
Protective Gloves: Wearing protective gloves can shield your hands from scratches and cuts while handling tools like screwdrivers or safety pins. Choose gloves that offer a good grip and fit snugly to maintain dexterity and control while working on the doorbell.
Safety Goggles: Safety goggles are a must to protect your eyes from debris or accidental contact with sharp objects. They offer a clear view while providing a barrier against any small particles that may dislodge during the removal process. Ensure the goggles fit securely and are comfortable so you can focus on the task without distractions.
By using protective gloves and safety goggles, you can confidently proceed with removing your Nest Doorbell, knowing that you’re well protected from potential harm. This added layer of safety ensures that the process is not only effective but also secure.
How to Remove Nest Doorbell without Tool: Preparation Steps
Turning Off Power
Before attempting to remove your Nest Doorbell, it is crucial to cut the power supply to ensure your safety. Working on electrical devices. In contrast, they are powered and can lead to electric shock or short circuits, posing significant risks to both you and the device.
To turn off the power to your doorbell, follow these steps:
- Locate the Circuit Breaker Panel: Find your home’s circuit breaker panel, which is usually in the basement, garage, or utility room.
- Identify the Correct Circuit Breaker: Look for the circuit breaker that controls power to the doorbell. It may be labeled as “Doorbell,” “Front Door,” or simply a general area that includes the doorbell.
- Switch Off the Circuit Breaker: Flip the appropriate circuit breaker switch to the “off” position. Press the button to confirm that the doorbell has lost power; it should not light up or make any sound.
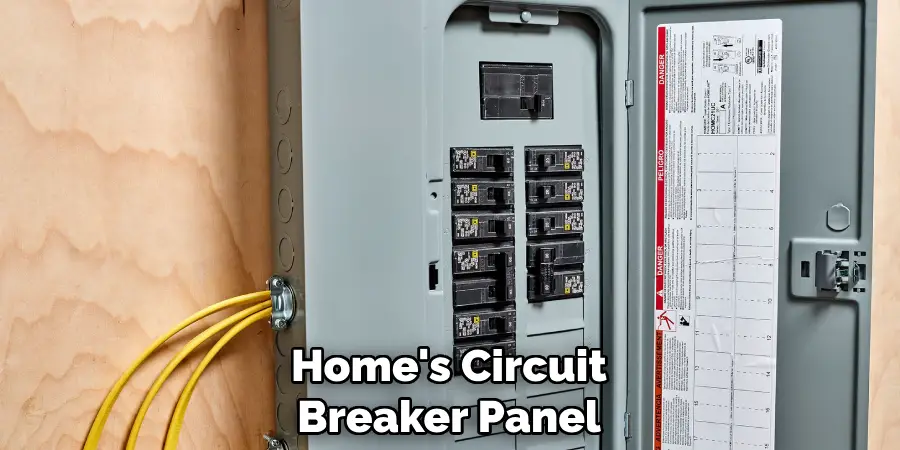
Turning off the power ensures a safe working environment, preventing any risk of electrical accidents during the removal process.
Gathering Alternative Tools
Having the right tools at hand is essential for a smooth and successful removal of your Nest Doorbell. Organizing and preparing these tools in advance saves time and ensures that you can proceed without interruptions.
Collect the Tools: Gather the alternative tools you will need, such as a small flathead screwdriver, a paperclip or safety pin, and a thin, sturdy piece of plastic like a credit card. Each of these tools serves a unique purpose and provides a method for safely detaching the doorbell from its mount.
Inspect and Clean the Tools: Ensure that all tools are clean and undamaged before use. A dirty or damaged tool can harm the doorbell or mounting bracket, making the removal process more difficult. If necessary, clean the tools with a cloth and verify that they are in good condition.
By collecting and preparing these alternative tools, you can approach the removal process with confidence, knowing that you are equipped to handle the task efficiently.
How to Remove Nest Doorbell without Tool: Removal Techniques
Using a Small Flathead Screwdriver
A small flathead screwdriver can be an effective tool for detaching your Nest Doorbell from its mounting bracket. Follow these steps to use it correctly:
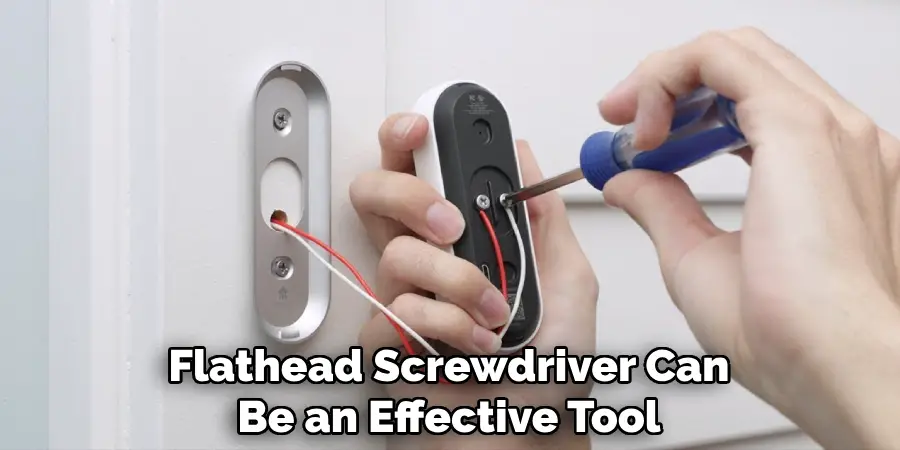
- Inserting the Screwdriver into the Release Slot: Locate the release slot on the Nest Doorbell, which is typically found at the bottom or back of the device. Insert the tip of the small flathead screwdriver into this slot. The narrow, flat end should fit comfortably into the release slot without forcing.
- Applying Gentle Pressure to Release the Doorbell: Once the screwdriver is inserted, apply gentle pressure to disengage the locking mechanism. Be careful not to use excessive force as it might damage the release slot or surrounding casing. The goal is to press just enough to release the doorbell from its mountings. After the lock is released, you should be able to gently pull the doorbell away from the bracket.
Using a Paperclip or Safety Pin
When a small flathead screwdriver is not available, a paperclip or safety pin can serve as a handy alternative. Here’s how to use them effectively:
- Straightening the Paperclip or Using the Tip of the Safety Pin: First, straighten a paperclip so that it has a long, narrow shape with one end slightly bent for better grip. If using a safety pin, simply ensure the pin is securely open, exposing the pointed tip.
- Inserting into the Release Slot and Applying Gentle Pressure: Carefully insert the straightened paperclip or safety pin into the release slot on your Nest Doorbell. The thinness of these tools allows them to fit into the slot with precision. Once inserted, apply gentle pressure to engage the release mechanism. Remember to be patient and avoid rushing. Maneuver the tool gently until the lock releases, allowing you to pull the doorbell away from the mounting bracket.
Using a Thin Plastic Card
A thin, sturdy plastic card, like a credit card, can also be used to remove your Nest Doorbell without causing damage. Follow these steps:
- Sliding the Card Between the Doorbell and the Mounting Bracket: Take a thin plastic card and carefully slide it between the doorbell and the mounting bracket. The card’s flexibility and thickness enable it to slip into the tight space without scratching or damaging the surfaces.
- Gently Prying to Release the Doorbell from the Bracket: Once the card is between the doorbell and its bracket, gently pry it apart. Move the card back and forth while applying light pressure, working around the edges if necessary. This motion should gradually loosen the doorbell from its locked position on the bracket. Take your time with this process to ensure that you are not forcing the card and potentially causing damage.
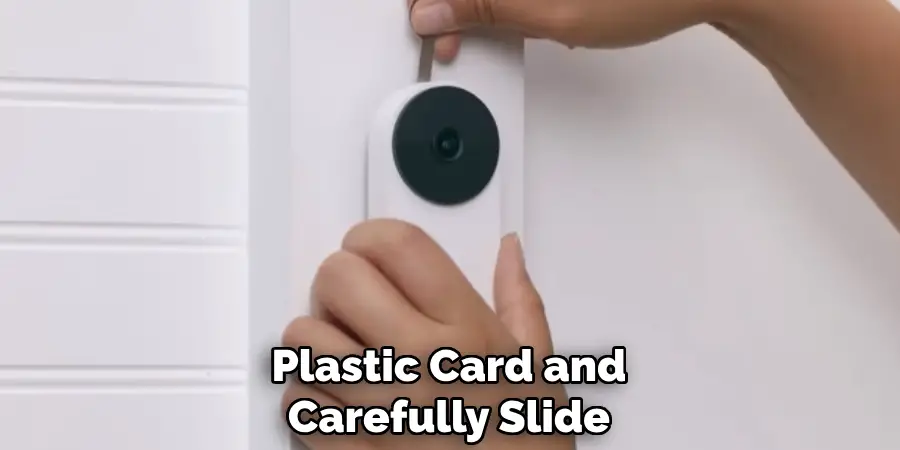
Using these three techniques can facilitate the safe and effective removal of your Nest Doorbell, allowing you to handle repairs or replacements with ease.
Troubleshooting Common Issues
Doorbell Stuck in Place
Sometimes, a Nest Doorbell may become stuck in place, making removal challenging. Common causes include debris accumulating in the release slot or around the mounting bracket, corrosion from exposure to weather elements, or the doorbell being improperly installed initially.
To gently wiggle and loosen the doorbell, start by ensuring that you’ve turned off the power and gathered your tools. Insert a small flathead screwdriver, paperclip, safety pin, or plastic card as previously described. Instead of forcing it, gently wiggle the tool back and forth to create a slight movement in the doorbell. This motion can help dislodge any debris or corrosion. Applying a small amount of lubricant around the edges (taking care not to expose electrical components) can also assist in loosening the doorbell. Be patient and allow these methods time to work without rushing the process.
Damage Prevention
While working on removing a stuck doorbell, it is crucial to avoid using excessive force, as this can damage the doorbell or the mounting bracket. Apply consistent, gentle pressure with your chosen tool and take breaks if you encounter resistance. Forcing the doorbell off can crack the casing or break the bracket, leading to costly repairs or replacements.
To protect the mounting bracket and doorbell, use techniques that distribute pressure evenly. When using a plastic card, ensure that you move it in various directions around the edges rather than focusing pressure on a single point. Additionally, clean the release slot and surrounding area before attempting removal. This helps reduce the risk of damage from hidden debris. By taking a cautious and patient approach, you can effectively manage the removal process while maintaining the integrity of both the doorbell and its mount.
Finishing Touches
Inspecting the Doorbell and Mount
Upon successfully removing your Nest Doorbell, it is essential to inspect both the doorbell and the mounting bracket for any signs of damage or wear. Look for scratches, cracks, or any compromised components that might affect the device’s functionality. Pay close attention to the integrity of the release slot and the points where the doorbell connects to the bracket, as these areas are crucial for secure attachment.
Next, clean both the doorbell and the mounting area to remove dust, debris, or corrosion that may have built up over time. Use a soft, damp cloth to wipe down the surfaces, avoiding excessive moisture to protect the electronic components. For stubborn grime, a mild cleaning solution can be utilized, but ensure it is safe for use on electronics. Keeping these areas clean will help maintain the doorbell’s appearance and performance.
Reattaching or Storing the Doorbell
If you plan to reinstall your Nest Doorbell, follow these steps for reattachment. First, position the doorbell correctly against the mounting bracket, ensuring alignment with the locking mechanism. Press the doorbell gently but firmly until you hear a click, indicating that it is securely attached. Check that the doorbell is stable and positioned correctly before restoring power and testing its functionality through the associated app or control panel.
For those not reinstalling the doorbell immediately, proper storage is essential to maintain its condition. Store the doorbell in a dry, cool place, away from direct sunlight and extreme temperatures. Use the original packaging if available, or wrap the device in a soft cloth to prevent dust and potential damage. Label the storage container to ensure it is easily identifiable when needed next. Following these storage guidelines will help preserve the Nest Doorbell’s longevity and readiness for future use.
Safety Precautions
General Safety Tips
When handling the removal and reinstallation of your Nest Doorbell, it is paramount to exercise a careful and patient approach to ensure safety and prevent damage. Always ensure the power is turned off before beginning any work on the doorbell to avoid the risk of electric shock. Take your time with each step and avoid rushing the process, as this can lead to injury or damage to the device.
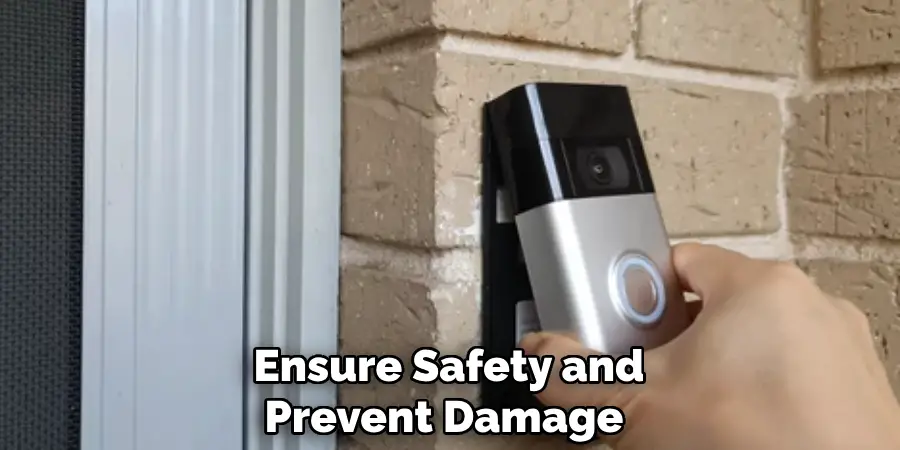
Common hazards include the potential for electric shock, especially if the doorbell is hardwired into your home’s electrical system. Slips and scratches can also occur if tools are mishandled or used improperly. To avoid these hazards, make sure you’re using the appropriate tools for the job and handling them with care. Wear safety goggles to protect your eyes from debris and consider gloves for hand protection. Always work in a well-lit area to ensure you have clear visibility of what you’re doing.
Emergency Procedures
Should you experience a minor injury, such as a small cut or abrasion, during the removal or reinstallation process, basic first aid will typically suffice. Clean the wound with soap and water, apply an antiseptic, and cover it with a sterile bandage. Watch the injury for signs of infection, such as redness or swelling, and seek medical advice if these symptoms appear.
In the event of a more serious accident, such as an electric shock or a deep cut, immediate action is required. For electric shocks, safely disconnect the power source if you can do so without putting yourself at risk. Call emergency services and, if trained, perform CPR if the person is unresponsive. For deep cuts or severe bleeding, apply pressure to the wound with a clean cloth and seek emergency medical help immediately. Having first aid supplies on hand and knowing how to use them can make a significant difference in the outcome of an emergency.

Conclusion
In this guide, we have provided comprehensive instructions on how to remove Nest Doorbell without tool by using alternative methods such as plastic cards or minimal water application to loosen it. Key points covered include the importance of gentle pressure to prevent damage, thorough inspection of both the doorbell and mounting bracket, and proper storage techniques for when the doorbell is not in use. Additionally, we emphasized crucial safety precautions, including turning off power and handling tools properly to avoid injury.
Practicing and mastering the techniques discussed not only ensures the integrity and functionality of your Nest Doorbell but also enhances your proficiency in handling and maintaining similar devices. By adhering to these accurate and safe methods, you can confidently manage your doorbell removal and reinstallation tasks. We encourage readers to follow these guidelines diligently and continually improve their skills for future maintenance projects.
