Are you hearing the dreaded low battery chirp from your door alarm sensor? Don’t worry, replacing the battery is a quick and simple process. In this guide, we will walk you through the steps on how to replace battery in door alarm sensor .Replacing the battery in a door alarm sensor is a straightforward process that ensures your security system remains functional and effective. Over time, the batteries indoor sensors can deplete, triggering low-battery warnings or causing the sensor to malfunction. Regular maintenance, including timely battery replacement, keeps your home secure and prevents unexpected disruptions.

This guide will walk you through the steps needed to replace the battery in your door alarm sensor safely and efficiently, ensuring optimal security system performance.
What Will You Need?
Before you begin the battery replacement process, ensure you have the necessary tools and supplies. Here’s a list of items you will need:
- New batteries (check your sensor manual for the correct type and size)
- Screwdriver (usually Phillips’s head)
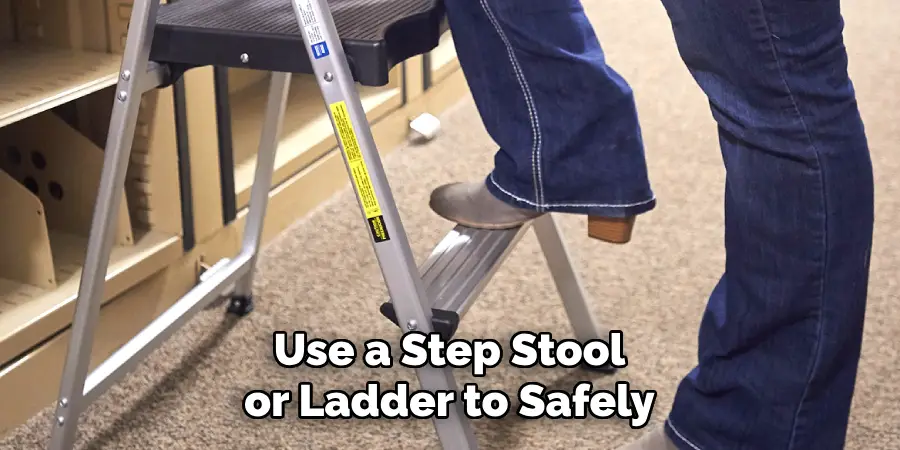
- Step stool or ladder (if your sensor is mounted high up)
Once you have all the necessary items, you are ready to start the battery replacement process.
10 Easy Steps on How to Replace Battery in Door Alarm Sensor
Step 1: Locate the Door Alarm Sensor
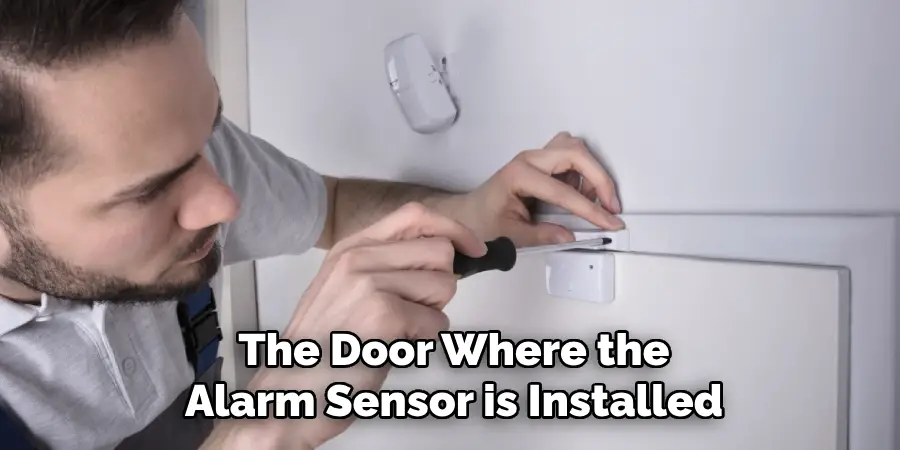
Begin by identifying the door where the alarm sensor is installed. The sensor is typically positioned at the top corner of the door frame or on the door itself. Make sure you have easy access to the sensor and the surrounding area. If the sensor is in a hard-to-reach spot, use a step stool or ladder to safely reach it before proceeding to the next step.
Step 2: Remove the Sensor Cover
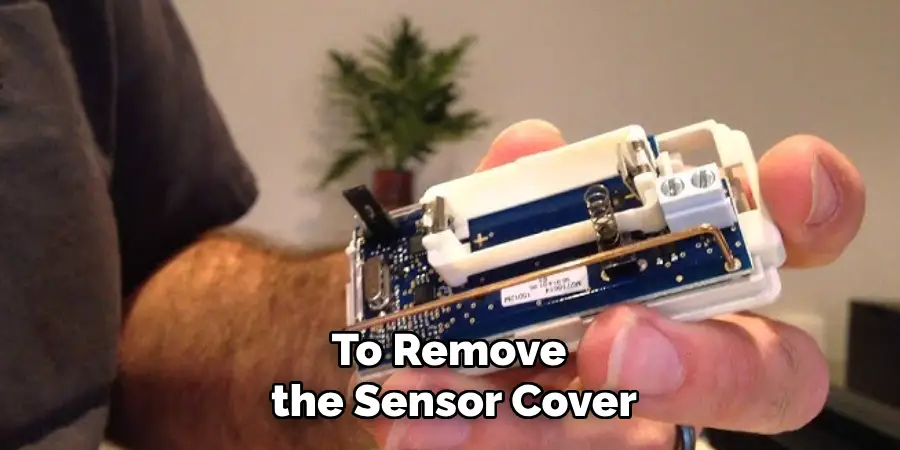
To remove the sensor cover, you must first identify the attachment method used for your specific sensor model. Most covers are secured using tiny screws, typically located on the front or side of the sensor. If your sensor uses screws, you will need to use a Phillips head screwdriver to unscrew and remove them carefully. Be sure to place these screws in a safe spot, as you will need them later to reattach the cover.

For some models, the cover might be attached using a snap-on or slide mechanism. In this case, gently apply pressure to the indicated areas or follow the sliding instructions to disengage the cover. Do not apply excessive force, as this might damage the cover or the sensor itself.
Step 3: Remove the Old Battery
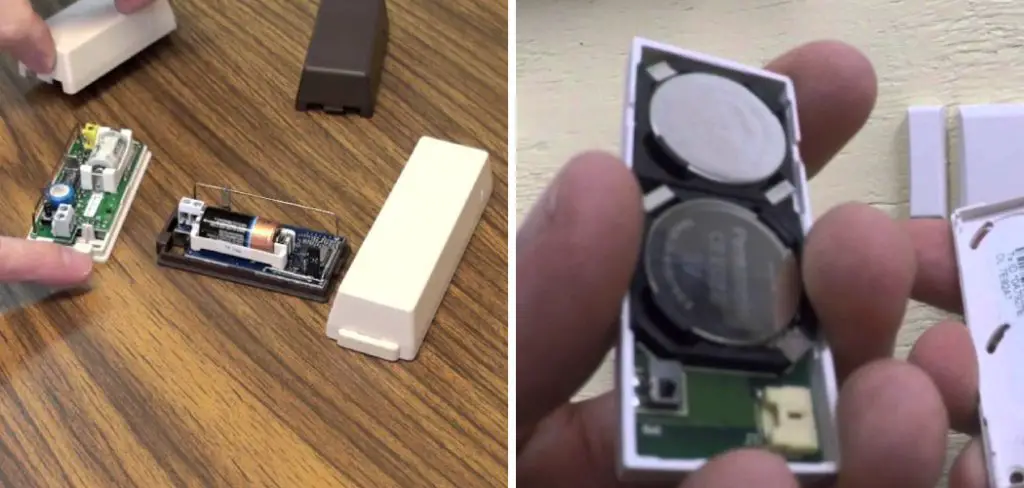
With the sensor cover removed, you can access the battery compartment. Depending on the design of your sensor, the battery may be secured with a small latch or clip. Carefully release or slide open any securing mechanisms and gently lift the old battery out of its compartment. Pay attention to the orientation of the battery before removal, noting the positive and negative terminals. This will ensure you insert the new battery correctly in the next step. Dispose of the old battery properly by following local battery recycling or disposal regulations.
Step 4: Insert the New Battery
Now that you’ve removed the old battery, it’s time to insert the new one. Refer to the orientation noted earlier and ensure that the positive and negative terminals of the new battery align with the corresponding markings inside the battery compartment. Gently place the new battery into its compartment, securing it with any latch or clip. Double-check that the battery is seated properly and that there are no loose connections. This will help avoid any potential malfunctions and ensure the sensor operates efficiently. You can reassemble the sensor once you are confident that the new battery is installed correctly.
Step 5: Test the Sensor
After inserting the new battery, it is essential to test the sensor to ensure it is functioning correctly. Without replacing the cover, gently close the door and listen for the sensor’s activation sound or notification signal on your security system. If your system has a monitoring panel, check for any error messages or indications of the sensor’s status.

This preliminary test can help confirm that the new battery provides adequate power and that the sensor operates as expected. If there are any issues, double-check the battery installation and ensure no loose connections. Once the sensor is confirmed operational, you can proceed to the next step and securely reattach the sensor cover.
Step 6: Reattach the Sensor Cover
Once you’re sure that the sensor is functioning correctly, it’s time to reattach the sensor cover. Begin by positioning the cover over the sensor aligning it with the original attachment points. If your cover requires screws, retrieve the screws you set aside earlier and use a Phillips head screwdriver to secure them in place carefully. Ensure the screws are tight, but avoid over-tightening to prevent damage to the cover or sensor. If your sensor cover uses a snap-on or slide mechanism, gently press or slide it back into place until it clicks or locks securely. This step ensures that the sensor remains protected and that the battery and internal components are shielded from dust and other environmental factors.
Step 7: Reset the Sensor in the Security System
To ensure that your security system recognizes the new battery installation, it may be necessary to reset or reconnect the sensor to the system. Consult your security system’s manual for specific instructions on performing this reset, as the procedure can vary depending on the system model. Typically, you may need to use the system’s control panel or app to sync the sensor back into the network. Follow the prompts to confirm the reconnection and verify that the sensor’s status is updated to reflect the recent battery change. This step is essential for maintaining the accuracy and reliability of your home security system.

Step 8: Document the Battery Replacement
After successfully replacing and testing the sensor battery, it’s beneficial to document the battery change for future reference. Record the battery replacement date in a maintenance log or the system’s app if it supports such features. Noting when the battery was last changed helps anticipate future maintenance needs and ensures the sensor remains in optimal working condition.
If applicable, set reminders for periodic checks or future battery replacements to prevent sensor downtime. Documentation enhances familiarity with the security system’s upkeep protocols and contributes to a secure and well-maintained home environment.
Step 9: Clean and Inspect the Sensor
Now that the battery replacement process is complete, clean and inspect the sensor. Dust and debris can accumulate over time, potentially interfering with the sensor’s performance. Use a soft, dry cloth to gently wipe down the exterior of the sensor and its cover. Be careful not to use any liquids or harsh chemicals, which may damage delicate components. While cleaning, check for any visible wear or damage, such as cracks or missing parts. If you notice any issues, consult the sensor’s manual or contact the manufacturer for guidance on repairs or replacements.
Step 10: Review Sensor Performance
After ensuring that the sensor is clean and debris-free, reviewing its overall performance within your security system is a good practice. Monitor the sensor over a few days to ensure it consistently detects activity and communicates effectively with the central hub or control panel. Pay attention to any notifications or alerts from your security system that might indicate an issue with the sensor.
Reviewing sensor performance lets you confirm that the battery replacement and previous maintenance steps have resolved potential problems. If you encounter repeated false alarms or non-responsiveness, further troubleshooting or professional assistance may be required to maintain the integrity of your home security system.
By following these ten simple steps, you can confidently replace your sensor’s battery and maintain the effectiveness of your home security system.
When Should You Replace Your Sensor’s Battery?

While the recommended battery replacement interval can vary depending on the sensor model and usage, replacing your sensor’s battery before it completely dies is crucial. Most security systems contain a low-battery warning feature that alerts you when the battery is running low. Once this warning appears, replacing the battery as soon as possible is best to avoid any disruptions in your system’s performance. Additionally, if you notice any erratic or inconsistent behavior from your sensor, such as false alarms or delayed response times, consider replacing the battery, as this could also indicate a depleted power source.
Taking proactive measures to replace your sensor’s battery can prevent potential issues and maintain your home security system’s reliability.
Conclusion
How to replace battery in door alarm sensor is a straightforward yet critical task for maintaining the optimal performance of your home security system.
This process involves carefully removing the old battery, installing a new one, and reattaching the sensor cover. Testing the sensor to ensure proper functionality and updating the system settings are crucial steps to verify that the sensor is fully operational. Regular documentation and maintenance, such as cleaning and performance reviews, can prevent potential issues, ensuring long-term reliability and security.
By following these detailed steps, you ensure that the sensor protects your home effectively, contributing to a safe and secure environment.
