
Replacing the battery in your Mini Cooper key is a straightforward process that can save you time and money compared to visiting a dealership. Over time, the battery in the key fob may lose its charge, resulting in decreased functionality or an unresponsive key. By following a few simple steps, you can quickly restore the key’s operation and ensure you’re not caught off guard by a dead battery. This guide will walk you through how to replace battery in mini cooper key.
When and Why You Might Need to Replace the Key Fob’s Battery
The key fob’s battery in your Mini Cooper may need to be replaced for several reasons. Over time, the battery naturally loses its charge due to regular use. Signs that it might be time for a replacement include a noticeable decrease in remote range, intermittent operation, or the car failing to respond when you press the unlock button. Additionally, environmental factors such as extreme temperatures can accelerate battery drain. Keeping an eye out for these indicators is essential to ensure your key fob remains functional, thus enabling you to access and start your Mini Cooper without any issues. Regular replacement, even before the key becomes completely non-responsive, can prevent inconvenient situations.
Types of Mini Cooper Key Fobs
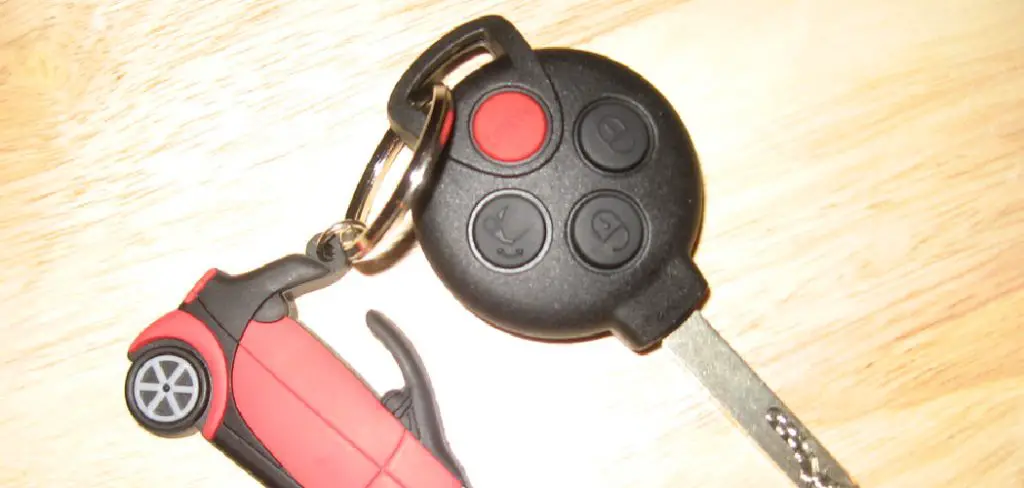
Mini Cooper key fobs come in a few different types, catering to the various models and features available across the Mini range. The most common type is the “remote key fob,” which integrates standard functionalities such as locking, unlocking, and trunk release, often possessing a rounded design and a prominent Mini logo. Another type is the “keyless entry fob,” which supports convenience access, allowing you to unlock the car just by having the fob nearby, without the need to press any buttons.
Some newer models may also include smart keys with touchscreens or additional features such as remote start or customizable settings. Understanding the type of key fob you have is important for battery replacement, as it determines the specific procedure and battery type needed.
10 Methods How to Replace Battery in Mini Cooper Key
1. Gather the Right Tools and Materials
Before starting, you’ll need to gather the necessary tools and materials to replace the battery in your Mini Cooper key fob. The most common tool required is a small flathead screwdriver, although some models may also need a Phillips screwdriver. Additionally, you’ll need a new CR2032 battery, which is the standard for most Mini Cooper key fobs, but confirm with your key fob model in case it differs. Having these items on hand will streamline the replacement process, preventing you from accidentally damaging the key while prying it open or scratching the casing.
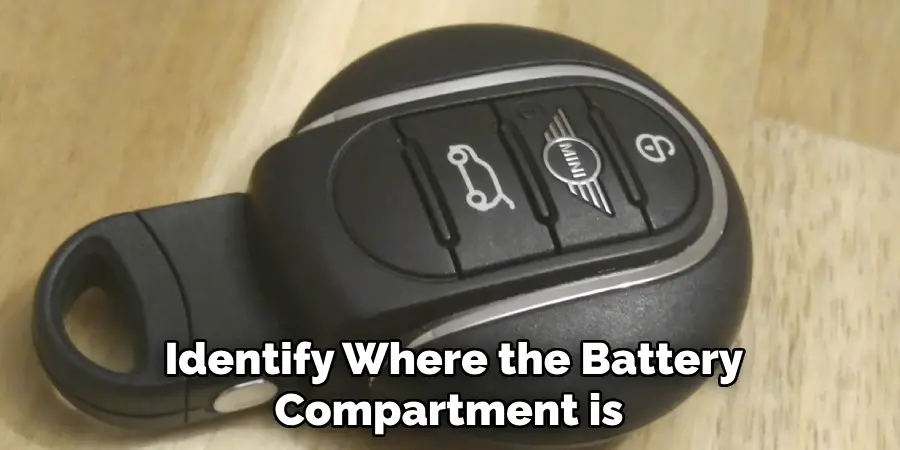
2. Locate the Battery Compartment
Different Mini Cooper models have slightly different key fob designs, so the first step is to identify where the battery compartment is. In most models, the battery is located under a small cover on the back of the key fob, which can be removed by prying open the casing. For some models, particularly newer ones, you may need to remove the mechanical key from the fob first by pressing a release button or latch. Doing so allows you to see where the battery is stored, making it easier to proceed with the replacement.
3. Open the Key Fob Casing
To open the casing, carefully insert the flathead screwdriver into the groove or seam around the key fob and gently twist. Take care not to apply too much force, as this could crack the plastic or scratch the exterior. Once you have created an opening, work your way around the casing with the screwdriver until it pops open completely. In some models, you may be able to snap the casing open with your fingers once you have loosened it with the screwdriver. Keep an eye on any small parts, such as screws or springs, to avoid losing them during the replacement process.
4. Remove the Old Battery
With the key fob casing open, locate the old battery and note its position and orientation within the compartment. Most Mini Cooper key fobs use a CR2032 battery, which is a small, coin-shaped lithium battery. Use the flathead screwdriver or a small plastic tool to gently lift the battery out of its compartment. Be cautious not to damage any surrounding components, as they may be fragile. If the battery is stuck, try prying it out from different angles to loosen it without forcing it.
5. Insert the New Battery
Once you have removed the old battery, take your new CR2032 battery and place it into the compartment. Ensure that the positive side (marked with a “+”) is facing up, as reversing the polarity may prevent the key fob from functioning. Press the battery into place gently but firmly, ensuring it sits securely within its slot. Avoid using excessive force, which could bend or damage the contacts that connect to the battery.
6. Inspect for Dirt or Corrosion
Before closing the key fob, take a moment to inspect the battery compartment and contacts for any signs of dirt, dust, or corrosion. Dirt or corrosion can interfere with the electrical connection between the battery and the key fob, reducing its performance. If you notice any grime, use a cotton swab dipped in a small amount of isopropyl alcohol to clean the area gently. Be sure the area is completely dry before inserting the new battery, as moisture can damage the electronic components.

7. Close and Secure the Key Fob
Once you’ve inserted the new battery and ensured the compartment is clean, it’s time to close the key fob casing. Line up both halves of the fob and press them together firmly until they snap into place. If your model includes screws, insert and tighten them to secure the casing fully. Take care not to overtighten, as this could strip the screws or crack the plastic. Give the fob a quick inspection to confirm it’s closed tightly and that no gaps are visible along the edges.
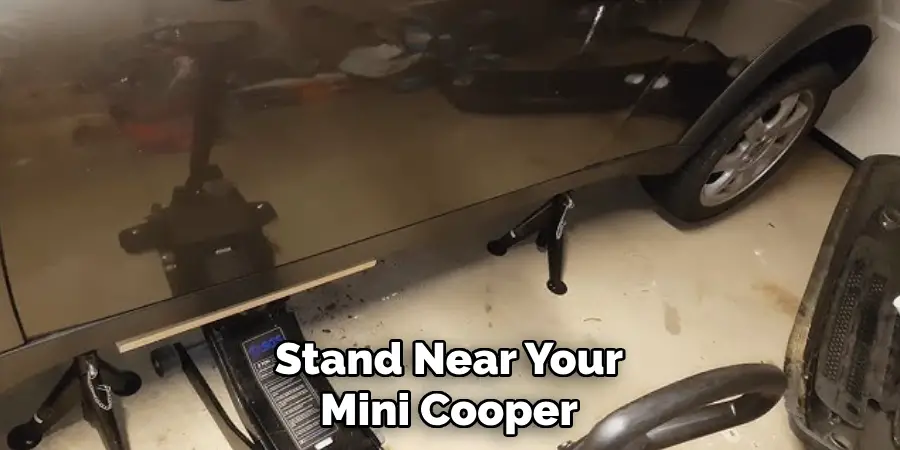
8. Test the Key Fob
Now that the battery has been replaced and the key fob is reassembled, it’s time to test it. Stand near your Mini Cooper and press the buttons on the fob to ensure it’s working as expected. The key fob should respond immediately by locking, unlocking, or performing other functions based on the button pressed. If the key fob isn’t working, double-check that the battery is correctly oriented and seated firmly within the compartment.
9. Reprogram the Key Fob if Necessary
In some cases, replacing the battery may cause the key fob to lose its connection with your Mini Cooper’s central locking system, requiring you to reprogram it. To reprogram the key, get into the car, insert the mechanical key into the ignition, and turn it to the “On” position. After a few seconds, turn it off, remove the key, and hold the lock button on the fob while pressing the unlock button three times. This process may vary depending on your specific Mini Cooper model, so refer to your owner’s manual for precise instructions.
10. Keep a Spare Battery and Record Battery Replacement Date
Lastly, it’s always wise to keep a spare CR2032 battery on hand in case you need to replace it again in the future. Key fob batteries typically last between one to two years, depending on usage, so marking the replacement date in your calendar can help you stay ahead of potential issues. Having a backup battery ensures you won’t be caught off guard by a sudden battery failure, and tracking replacement dates can help you spot any patterns if your battery life seems shorter than expected.
Testing the Key Fob After Battery Replacement
Once you’ve successfully replaced the battery in your Mini Cooper key fob, it’s crucial to test it to ensure everything is functioning correctly. Start by standing near your vehicle and pressing the unlock button. The doors should respond immediately, unlocking as expected. Next, try the lock button to ensure the vehicle secures properly. Additionally, test any other features your key fob offers, such as trunk release or panic functions, to confirm they are operational.

If your key fob supports keyless entry, approach your Mini Cooper with the fob on your person and verify if the car unlocks as it should. If any of these functions do not work, double-check the battery installation and ensure the battery is compatible and properly seated. Regular testing after replacing the battery ensures reliable performance and confidence in your key fob’s ability to meet your needs.
Conclusion
Maintaining your Mini Cooper key fob by replacing its battery is a straightforward process that ensures your vehicle’s security and accessibility features remain reliable. By following the outlined steps, you can successfully replace the battery, inspect for any potential issues, and ensure the key fob is functioning correctly. Regular maintenance not only prolongs the life of your key fob but also prevents inconvenient interruptions in its operation. Keeping a spare battery and recording replacement dates will help you stay proactive and prepared for future changes. Thanks for reading our blog post on how to replace battery in mini cooper key! We hope you found it helpful and informative.