
Losing the functionality of your Cadillac key fob can be an inconvenience, but often the solution is as simple as replacing the battery. Key fobs are essential for keyless entry systems, allowing you to lock, unlock, or start your vehicle remotely. Over time, the battery within the key fob will deplete, necessitating replacement to maintain proper function. This guide will provide you with straightforward steps for how to replace cadillac key fob battery efficiently, ensuring your vehicle’s security features continue to work seamlessly.
Identifying Your Cadillac Key Fob Model
Before you can replace the battery in your Cadillac key fob, it’s important to identify the specific model you possess, as battery requirements may vary. Cadillac key fobs come in different styles depending on the year and model of your vehicle. You can typically find the model number of your key fob on the back of the device, often near the bottom. Compare the physical appearance of your key fob with images found in your vehicle’s manual or on the manufacturer’s website to ensure an accurate match. Knowing your key fob model will enable you to purchase the correct replacement battery and follow specific instructions tailored to your device.
Tools Needed for Battery Replacement
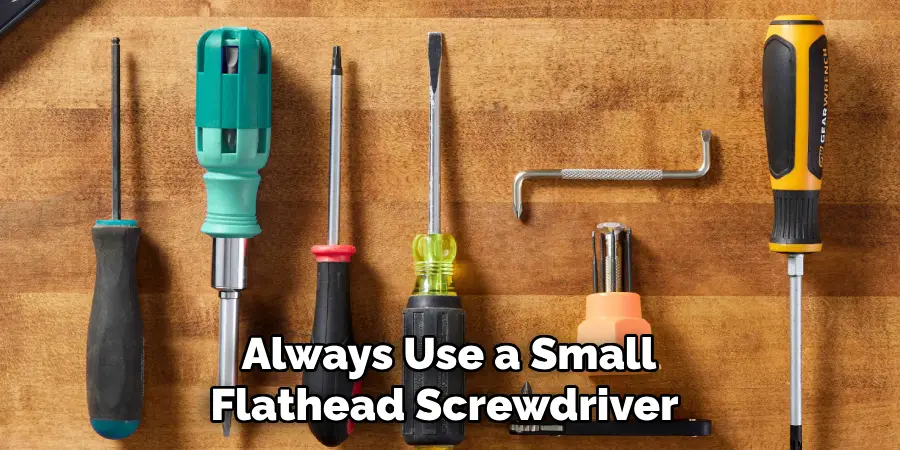
Replacing the battery in your Cadillac key fob requires minimal tools, making it a quick and straightforward task. To begin, you will need a small flathead screwdriver or a similar tool to help pry open the key fob casing gently. Additionally, consider having a soft cloth or towel handy to protect the surface of your key fob from scratches during the process. Lastly, ensure you have the correct replacement battery, which can be determined once you know your key fob model. With these simple tools, you will be well-prepared to restore your key fob to full functionality.
Choosing a Clean Workspace
Selecting an appropriate workspace is crucial when replacing your Cadillac key fob battery. Begin by choosing a flat, clean surface where you can work comfortably and have enough space to spread out your tools and materials. Ensure the area is free of dust and debris to prevent any particles from entering the key fob once it is opened. A well-lit environment is also essential, as it will help you clearly see small components and details while disassembling and reassembling the key fob. By setting up in a tidy and organized workspace, you minimize the risk of losing small parts or causing inadvertent damage to your device during the battery replacement process.
10 Methods How to Replace Cadillac Key Fob Battery
1. Gather the Right Tools and Materials
Before you begin, gather all the necessary tools and materials. Most Cadillac key fobs require only a small flathead screwdriver and a replacement CR2032 battery. Having everything ready before you start the process will make the battery replacement quicker and smoother. The flathead screwdriver will help you open the key fob casing, while the new battery ensures your fob functions as expected once replaced.
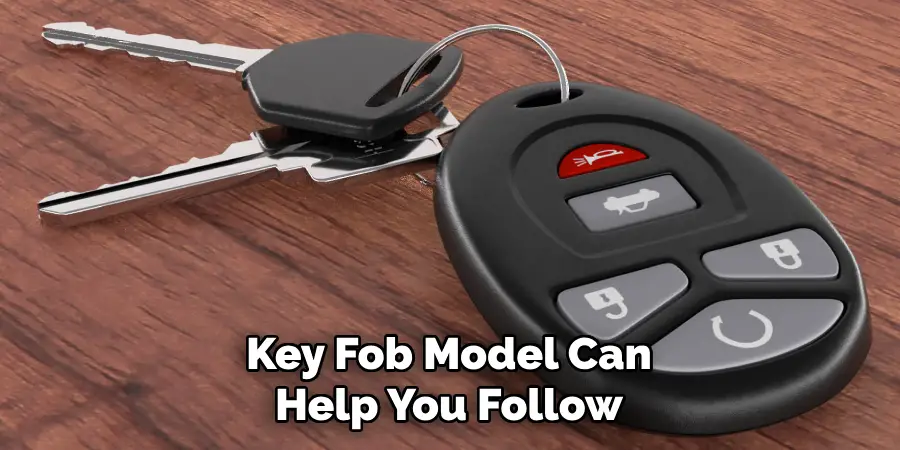
2. Identify the Key Fob Model
Cadillac key fobs come in a few different styles, so it’s important to identify the specific model of your key fob before proceeding. Some models have a release button to access the battery compartment, while others may require prying the casing open. Knowing your key fob model can help you follow the correct steps without causing unnecessary damage. Consult your owner’s manual or check the Cadillac website for specifics on your model if you’re unsure.
3. Locate the Battery Compartment
For most Cadillac key fobs, the battery compartment is accessible from the back of the key fob. Some models require you to remove the mechanical key first by pressing a release button, which exposes a small slot or seam for prying open the casing. This small step is crucial because forcing the casing open without first locating the right access point can lead to cracked plastic or damage to the electronic components inside.
4. Open the Key Fob Casing Carefully
Once you’ve located the battery compartment, use the flathead screwdriver to gently pry open the key fob casing. Insert the screwdriver into the small groove or slot and twist slightly to separate the casing. Avoid using too much force, as this can break the casing or damage internal components. Gently work your way around the edges until the two halves of the casing pop apart. If the casing resists, double-check for any hidden latches or release buttons.
5. Remove the Old Battery
With the casing open, locate the old battery in its compartment. Carefully lift it out using your fingers or the edge of the screwdriver. Take note of the battery’s orientation, typically with the positive side facing up, as this will help you insert the new battery correctly. Gently removing the old battery without scraping the contacts prevents potential damage to the internal circuitry.
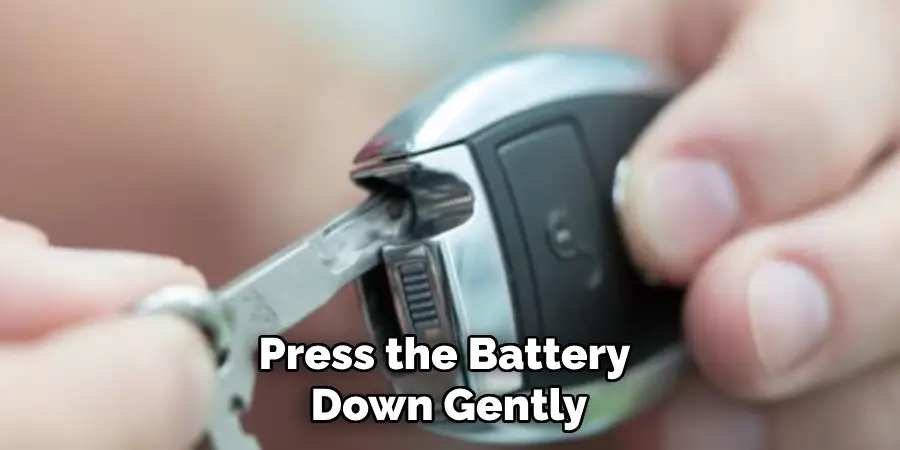
6. Insert the New Battery
Take your new CR2032 battery and place it into the compartment with the correct orientation. Ensure the positive side is facing the same way as the old battery, typically marked with a “+” symbol. Press the battery down gently to ensure it fits snugly and makes full contact with the terminals. Avoid touching the battery contacts directly with your fingers, as oils from your skin can reduce the battery’s lifespan.
7. Inspect the Key Fob’s Contacts and Casing
Before closing the key fob, take a moment to inspect the contacts and interior casing for any dirt, dust, or corrosion. If the contacts look dirty or corroded, use a cotton swab dipped in a small amount of isopropyl alcohol to clean them gently. Ensuring the contacts are clean improves the connection between the battery and the fob, ensuring optimal performance. Make sure the area is dry before reassembling.
8. Snap the Casing Back Together
With the new battery securely in place and the contacts cleaned, align the two halves of the key fob casing and press them together until you hear a snap. If your model has screws, insert and tighten them to hold the casing firmly in place. Avoid overtightening, which could damage the casing. Check that the casing is closed completely, with no visible gaps, to prevent dirt or moisture from entering and damaging the key fob.
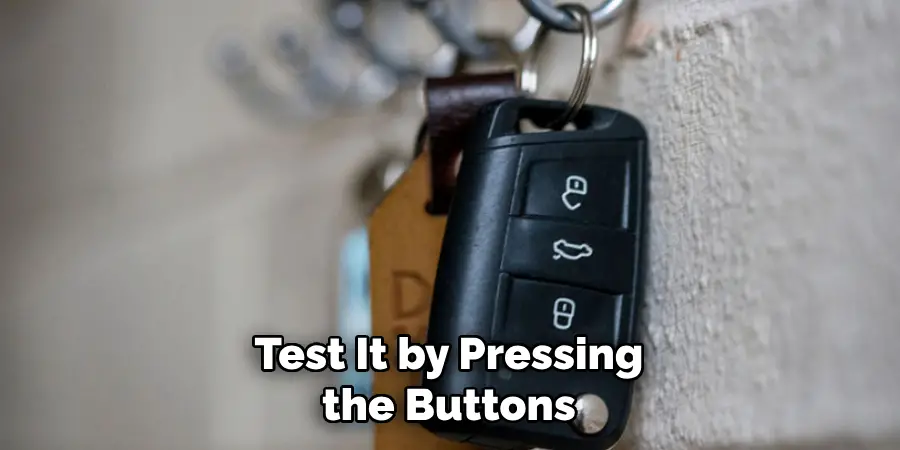
9. Test the Key Fob’s Functionality
After reassembling the key fob, test it by pressing the buttons to ensure it’s working correctly. Stand near your Cadillac and try locking, unlocking, and using other features to confirm the new battery is functioning as expected. Testing immediately allows you to detect any issues, such as improper battery placement, and make adjustments if necessary.
10. Keep a Spare Battery and Record the Replacement Date
Finally, consider keeping a spare CR2032 battery in a safe place for future use. Cadillac key fob batteries typically last one to two years, depending on usage, so marking the date of replacement in your calendar or phone can help you stay proactive about future replacements. Having a spare battery on hand ensures you won’t be caught off guard by a dead fob, while tracking replacement dates helps maintain consistent performance over time.
Things to Consider When Replacing Your Key Fob Battery
- Battery Type Compatibility: Always ensure the replacement battery matches the specifications required by your key fob model. Using a non-compatible battery can lead to reduced functionality or damage to the fob.
- Proper Disposal of Old Batteries: Dispose of the old battery responsibly. Batteries contain chemicals that can be harmful to the environment, so consider taking them to a recycling center or a designated drop-off location.
- Avoid Static Electricity: Ground yourself before handling the key fob’s internal components to prevent static electricity from damaging the electronic parts.
- Checking for Physical Damage: Examine your key fob for any signs of wear or damage before proceeding with the battery replacement. Cracks or flaws in the casing could affect performance and might require repair or replacement.
Common Mistakes to Avoid
- Using the Wrong Tools: Attempting to open the key fob casing with inappropriate tools can result in accidental damage to the casing or internal components. Always use a small flathead screwdriver or other recommended tools designed for delicate operations.
- Incorrect Battery Orientation: Placing the new battery with the wrong side up can prevent the key fob from functioning. Double-check the orientation before securing the battery to avoid unnecessary errors.
- Forgetting to Clean Contacts: Failing to clean the contacts before inserting a new battery can lead to poor connectivity. Take the extra minute to gently clean the contacts with isopropyl alcohol, ensuring a reliable connection.
- Neglecting Alignment: Not aligning the casing properly when snapping it back together can leave gaps. These gaps can expose the key fob to dirt and moisture, potentially causing long-term damage.
Conclusion
Replacing the battery in your Cadillac key fob is a straightforward process that can save you both time and money. By following detailed steps and taking a few precautionary measures, you ensure the key fob continues to function reliably. Remembering to use the right tools, confirming battery orientation, and maintaining clean contacts are all integral parts of the process. Keeping a spare battery handy and tracking replacement dates will help prevent inconvenient surprises. Thanks for reading our blog post on how to replace cadillac key fob battery! We hope you found it helpful and informative.