
Replacing the battery in your Honda Pilot key fob is a straightforward process that can save you time and money. Over time, the battery in the key fob may lose its charge, leading to reduced range or complete failure to unlock or start your vehicle. Fortunately, with just a few simple tools and steps, you can easily replace the battery yourself without the need for professional assistance.
This guide on how to replace honda pilot key battery will walk you through the entire process, ensuring your key fob is back in optimal condition in no time.
What is a Key Fob?
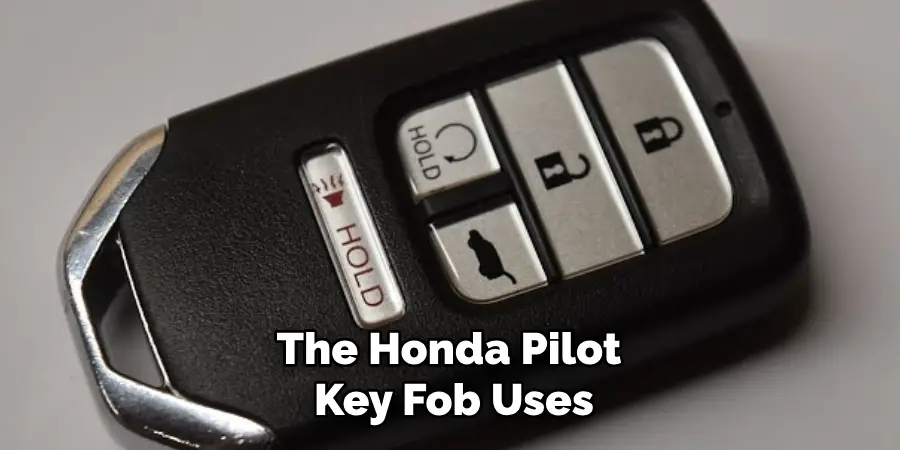
A key fob is a small, handheld device that is used to lock and unlock your vehicle remotely. It also allows you to start and stop your car’s engine without physically inserting the key into the ignition. Most modern cars, including the Honda Pilot, come equipped with a keyless entry system that utilizes a key fob for convenience and security.
You can easily identify your Honda Pilot key fob by its distinctive shape, usually with buttons to lock, unlock, and open the trunk of your vehicle. Some models also have a panic button for emergencies.
Needed Materials
Before you begin the key battery replacement process, make sure you have the following materials:
A New CR2032 Coin Cell Battery:
The Honda Pilot key fob uses a CR2032 coin cell battery, available at most hardware and electronics stores. Make sure to purchase a high-quality battery from a reputable brand for optimal performance.
Small Flathead Screwdriver:
You will need a small flathead screwdriver to open the key fob and remove the old battery.
Tweezers:
Tweezers can come in handy when removing and inserting the new battery, as it may be difficult to handle with just your fingers.
8 Step-by-step Guidelines on How to Replace Honda Pilot Key Battery
Step 1: Locate the Key Release Button
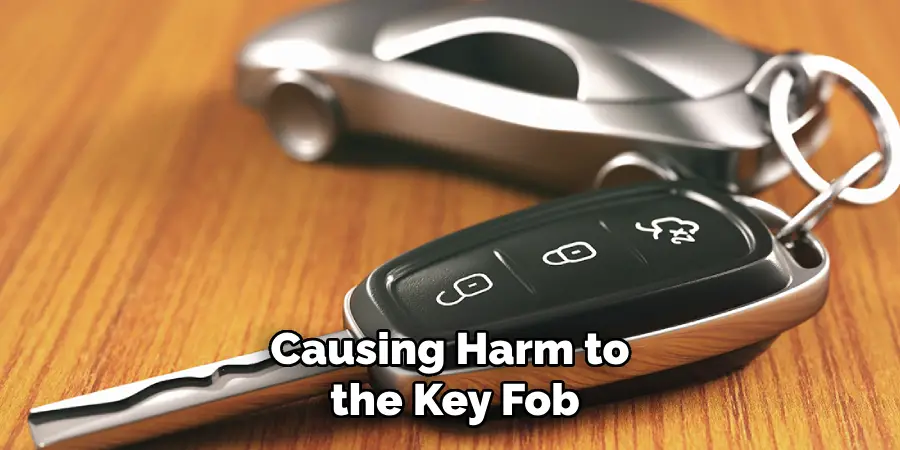
To begin the process of replacing the battery in your Honda Pilot key fob, you first need to locate the key release button. This button is typically found on the back or side of the key fob. Its purpose is to release the mechanical key inside.
By pressing this button, you will be able to slide out the mechanical key, allowing you to access the battery compartment within the fob itself. Ensure you perform this step gently to avoid damaging the key fob or the key release mechanism.
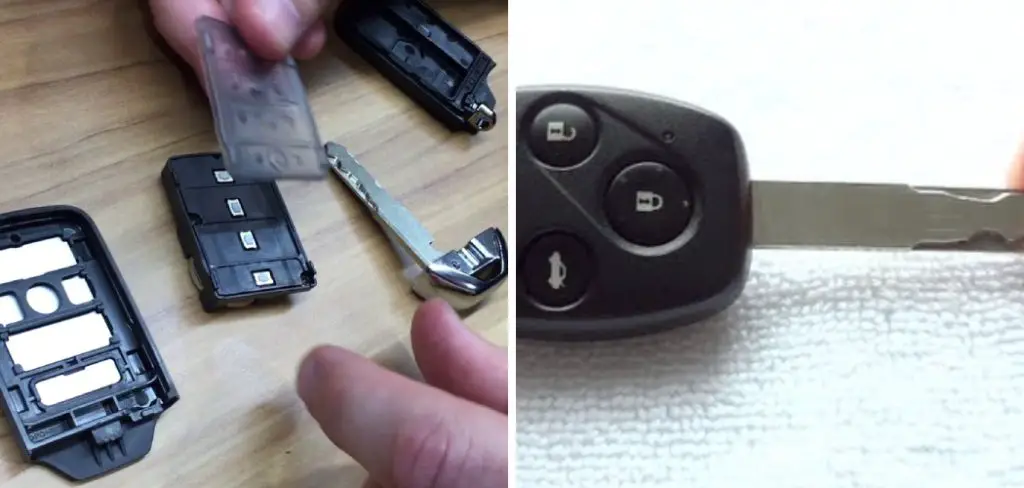
Step 2: Separate the Key Fob Halves
Once you have removed the mechanical key, the next step is to separate the two halves of the key fob. Using the small flathead screwdriver, carefully pry open the fob casing. Insert the screwdriver into the seam in the middle of the key fob and gently twist it to create a gap between the two halves. Be cautious while doing this to avoid damaging any internal components.
If necessary, work your way around the seam, slowly and evenly, to carefully detach the halves without causing harm to the key fob or its components.
Step 3: Remove the Old Battery
With the key fob halves separated, you will now have access to the battery compartment. Use the tweezers to carefully lift the old CR2032 battery out of the compartment. Pay attention to the orientation of the battery before removing it, noting which side is facing up so you can position the new battery correctly.
Avoid using excessive force when removing the old battery to prevent damaging the battery compartment or other internal components of the key fob. Once the old battery is removed, set it aside for proper disposal.
Step 4: Insert the New Battery
Now it’s time to insert the new CR2032 battery into the key fob. Ensure that you position the battery with the same side facing up as the old battery, matching the polarity symbols marked on the battery and inside of the compartment. Use tweezers if necessary to carefully place it in its designated spot. Gently press down on the battery to ensure it is properly seated.
You should feel a slight click when the battery is secure in its compartment. This indicates that it is positioned correctly and ready to power your key fob.
Step 5: Reattach the Key Fob Halves
Once you have inserted the new battery, carefully reattach the two halves of the key fob by aligning them and pressing them together until they snap back into place. Ensure that all edges are flush and there are no gaps between the two halves.
It is crucial to ensure the key fob halves are securely closed, as any gaps can compromise the function of your key fob.
Step 6: Test the Key Fob
Before reinserting the mechanical key and putting away your tools, it’s essential to test your key fob to make sure the battery replacement was successful. Press any button on the key fob to see if it lights up or makes a sound. If not, check that the battery is correctly inserted and all edges of the fob are flush.
If you encounter any issues, repeat steps 3-5 and try again.
Step 7: Reinsert the Mechanical Key
After confirming that the new battery is functioning and your key fob is operating correctly, it’s time to reinsert the mechanical key. Take the key that you removed at the beginning of the process and slide it back into its designated slot in the key fob.
Ensure the key is fully inserted and securely in place. This step restores the key fob to its complete form, ready for use with your Honda Pilot. Make sure the key clicks into position to avoid any risk of it becoming loose or falling out during use.
Step 8: Dispose of Old Battery and Secure Tools
Properly dispose of the old battery according to local regulations. You can also recycle it at a nearby electronics store. Secure all tools used during the process and safely put them away.
Congratulations, you have now successfully replaced the battery in your Honda Pilot key fob! Your key fob should now be functioning as good as new.
Following these step-by-step guidelines on how to replace honda pilot key battery will ensure a smooth and hassle-free key battery replacement process for your Honda Pilot. Remember to always use high-quality replacement batteries and handle all tools and components with care to avoid any damage. Enjoy the convenience and security of your fully functional Honda Pilot key fob!
Additional Tips
- If possible, avoid holding or touching the replacement battery’s flat surfaces to prevent any oil or dirt from transferring onto it.
- If you experience difficulty opening the key fob, try using a different screwdriver size or working your way around the seam slowly and evenly.
- Consider keeping a spare CR2032 battery on hand for emergency situations.
- It is recommended to replace the battery in your Honda Pilot key fob every 1-2 years to ensure optimal performance.
- If your key fob is not functioning correctly even after replacing the battery, consult with a Honda dealership or certified technician for further assistance. They may be able to diagnose and fix any underlying issues with your key fob. Now you can enjoy the convenience and security of your fully functional Honda Pilot key fob! Safe driving!

How Much Could It Cost?
The cost of replacing the battery in a Honda Pilot key fob is surprisingly affordable. A single CR2032 battery typically costs between $2 to $5, depending on the brand and where you purchase it. If you choose to have a professional handle the replacement, such as at a Honda dealership or an automotive locksmith, the service fee can range from $10 to $30, including the cost of the battery.
However, given the straightforward nature of the replacement process, many owners prefer the DIY route, utilizing basic tools they already have on hand to save on labor costs. This small investment ensures that your Honda Pilot key fob continues to function reliably, maintaining the convenience and security that comes with it.
Frequently Asked Questions
Q: How Do I Know When It’s Time to Replace the Battery in My Honda Pilot Key Fob?
A: A good rule of thumb is to replace the battery in your key fob every 1-2 years or when you notice a decline in its performance. If your key fob is not responding as quickly or consistently as it used to, it may be time for a replacement battery.
Q: What Type of Battery Does My Honda Pilot Key Fob Use?
A: The Honda Pilot key fob uses a CR2032 lithium coin cell battery. It’s easily accessible and can be found at most electronics stores or online retailers.
Q: Can I Replace the Battery in My Honda Pilot Key Fob Myself?
A: Yes, replacing the battery in your Honda Pilot key fob is a simple and straightforward process that can easily be done at home. However, if you are uncomfortable or unsure about the process, it’s always best to seek professional assistance.
Q: What Should I Do with the Old Battery?
A: It is essential to properly dispose of the old battery according to local regulations. You can also recycle it at a nearby electronics store. Be sure to handle the old battery carefully and avoid any direct contact with your skin.

Conclusion
Successfully maintaining your Honda Pilot key fob by regularly replacing the battery not only ensures continued reliability but also saves time and money. By following the detailed procedure on how to replace honda pilot key battery outlined above, you can easily perform this task yourself, keeping your key fob in optimal condition. This proactive approach prevents inconvenience and potential security issues associated with a dead or malfunctioning key fob.
Remember, a well-maintained key fob contributes to the overall seamless operation of your vehicle, enhancing your driving experience and peace of mind. Stay prepared by keeping spare batteries on hand and enjoying the ease of having a fully functional key fob at your disposal.