
Are you having trouble with your oven’s temperature sensor? Don’t worry; replacing the temperature sensor is a simple process that can save you time and money. This guide will discuss the steps involved in replacing a faulty temperature sensor in your oven.
Replacing the temperature sensor in your oven can seem daunting, but with the right tools and a bit of guidance, it can be a straightforward DIY project. The temperature sensor, often called the thermostat probe, is crucial in ensuring your oven heats to the correct temperature. When this component malfunctions, your oven may not maintain consistent temperatures, affecting your cooking and baking results.
This guide will take you through the step-by-step process of how to replace temperature sensor in oven, helping you restore your oven to its optimal performance.
What Will You Need?
Before you begin the process of replacing the temperature sensor, make sure you have the following tools and materials:
- A replacement temperature sensor specific to your oven model
- Screwdriver (depending on your oven model)
- Pliers
- Electrical tape
- Work gloves
In addition to these materials, having a user manual or online guide for your specific oven model is also helpful. This can provide specific instructions and diagrams for easy reference.
10 Easy Steps on How to Replace Temperature Sensor in Oven
Step 1: Ensure Safety
Before you begin, make sure to disconnect the oven from its power source. This can be done by unplugging it from the wall outlet or switching off the circuit breaker that supplies power to the oven. Additionally, if your oven is gas-operated, turn off the gas supply as well to prevent any potential leaks or hazards.
Step 2: Locate the Temperature Sensor
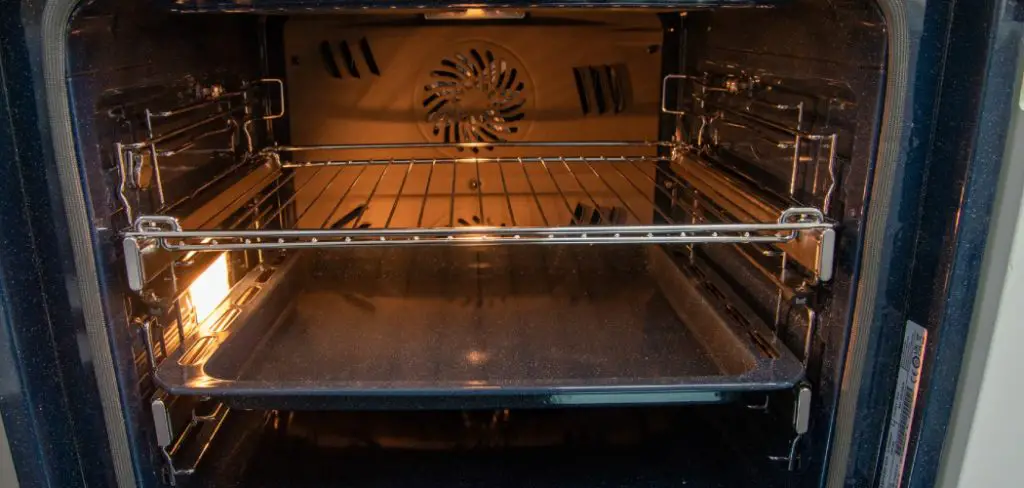
Once you have ensured the oven is safely disconnected from its power and gas supplies, the next step is to locate the temperature sensor. The temperature sensor is typically situated at the back of the oven interior, protruding from the rear wall. In some models, you may need to remove the oven’s back panel to access the sensor. Refer to your oven’s user manual to identify the exact location of the temperature sensor for your specific model.
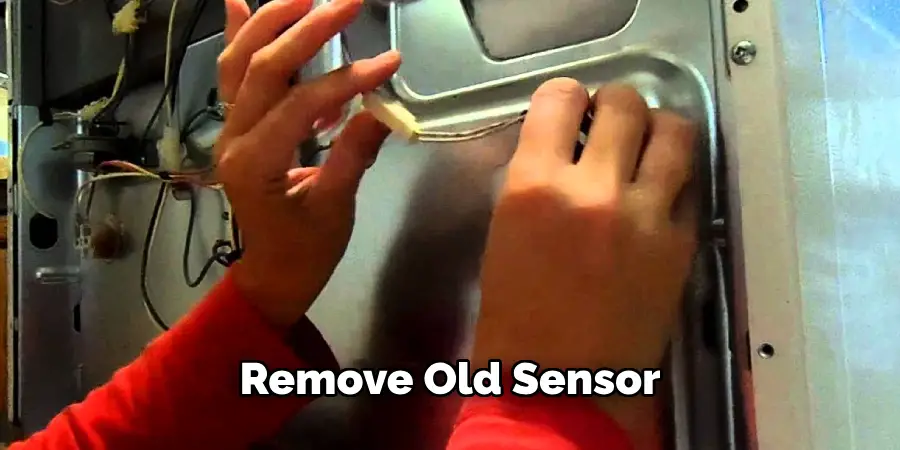
Step 3: Remove the Old Temperature Sensor
Using a screwdriver, carefully detach the screws securing the old temperature sensor in place. Once the screws are removed, gently pull the sensor away from the oven wall. Be mindful of any wires connected to the sensor; these must be detached carefully. If necessary, use pliers to assist in disconnecting the wires. Label or take note of the wire connections to ensure the correct reattachment of the new sensor.
Step 4: Install the New Temperature Sensor
Take the replacement temperature sensor and carefully attach the wires according to the labels or notes you made during the removal of the old sensor. This ensures that the new sensor is properly connected. Once the wires are securely attached, position the sensor against the oven wall where the old sensor was mounted. Use the screwdriver to fasten the screws, securing the new sensor in place. Make sure it is tightly fixed to avoid any loose connections, which could affect its functionality.
Step 5: Secure the Connections
After the new temperature sensor is securely fastened, double-check the wire connections to ensure they are snug and firmly attached. If you used any electrical tape during the process, verify that it is wrapped tightly and there are no exposed wires. Proper insulation will prevent any electrical hazards and ensure the sensor functions correctly.
Step 6: Reassemble the Oven
If you had to remove the oven’s back panel or other components to access the temperature sensor, it’s time to reassemble everything. Carefully replace any panels or parts you removed earlier, making sure all screws are tightened and everything is securely in place. Consult your user manual again to ensure all components are properly aligned and reassembled.
Step 7: Restore Power and Test
After reassembling the oven, it’s time to restore power. Plug the oven back into the wall outlet or switch the circuit breaker back on. If your oven is gas-operated, turn the gas supply back on as well. Once everything is connected, turn on your oven and set it to the desired temperature. Allow it to heat up, and use an oven thermometer to check if it reaches and maintains the correct temperature. This will help you verify that the new temperature sensor is functioning properly.
Step 8: Monitor and Confirm
During the initial operation after replacement, closely monitor the oven’s performance. Ensure that it is not exhibiting any unusual behavior such as inconsistent heating or error messages. Confirm that the temperature matches the set value to validate the successful installation of the new temperature sensor. If any issues arise, consult the troubleshooting section of your user manual or seek professional assistance.
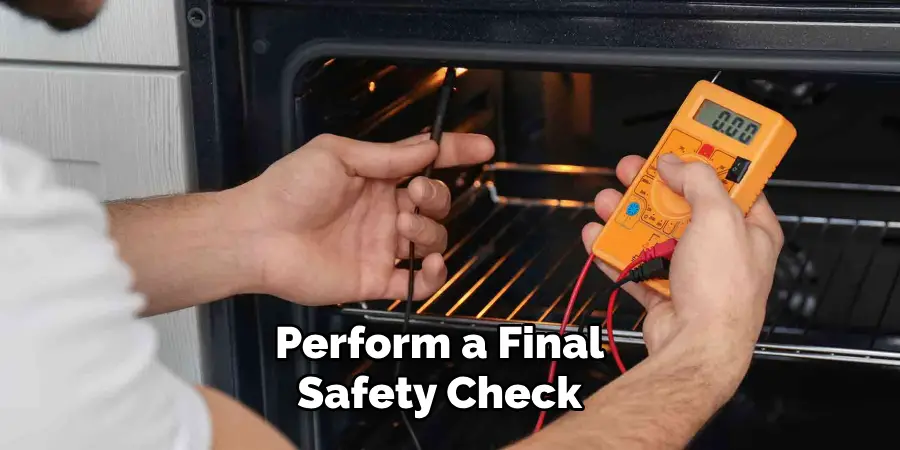
Step 9: Final Safety Check
Before you conclude the replacement process, perform a final safety check. Ensure that all tools and materials are cleared away from the oven area, the workspace is clean, and there are no loose screws or components left inside the oven. This step is crucial to prevent any potential hazards during future use.
Step 10: Enjoy Your Fully Functioning Oven
With the new temperature sensor successfully installed and tested, your oven should now be back to optimal working condition. You can resume cooking and baking with confidence, knowing that your oven will maintain accurate temperatures and deliver consistent results. Enjoy your time in the kitchen and the improved performance of your oven.
By following these 10 easy steps, you can easily replace the temperature sensor in your oven and restore it to its optimal performance.
5 Additional Tips and Tricks
- Unplug Your Oven: Safety should always come first. Ensure that your oven is completely unplugged from the power source before starting any work. This will prevent any risk of electric shock.
- Label the Wires: When disconnecting the old temperature sensor, take a moment to label each wire. This will make reconnecting them to the new sensor easier, ensuring proper functionality.
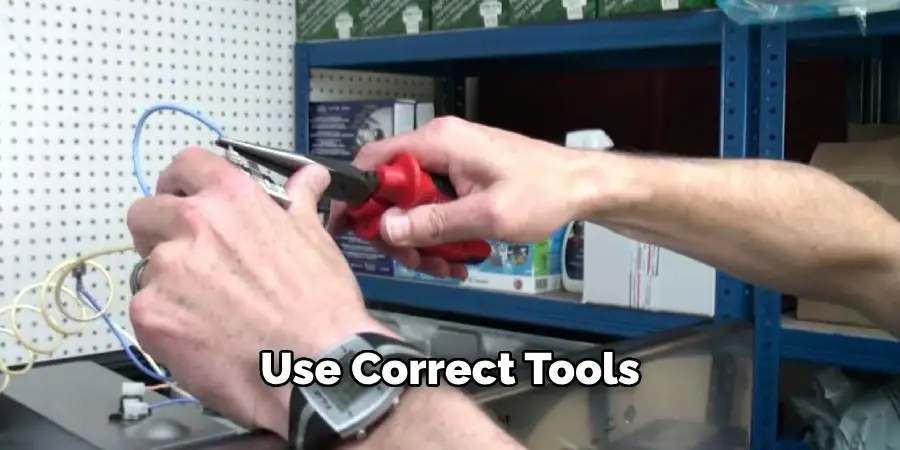
- Use the Correct Tools: Make sure you have all the necessary tools, such as screwdrivers, pliers, and possibly a multimeter. Using the correct tools makes the job easier and prevents damage to the components.
- Check the Sensor Resistance: Before installing the new sensor, use a multimeter to check its resistance. This will confirm that the new sensor is functioning correctly. A functioning sensor typically has a resistance value of around 1,000 ohms at room temperature.
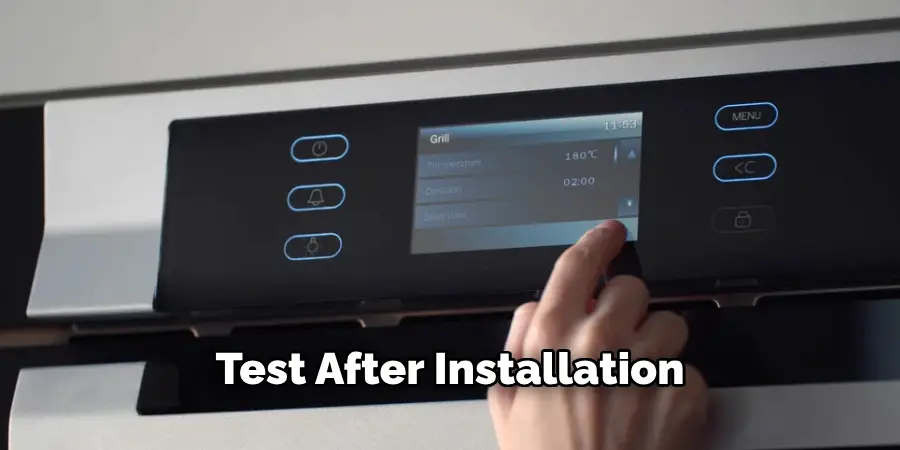
- Test After Installation: After replacing the sensor and reassembling your oven, plug it back in and do a test run. Set your oven to a specific temperature and verify that it reaches and maintains this temperature correctly, ensuring the new sensor works as expected.
With these additional tips and tricks, you can confidently replace the temperature sensor in your oven without any hassle.
5 Things You Should Avoid
- Ignoring Safety Precautions: Always unplug your oven before starting any work. Ignoring this crucial safety measure can result in electric shocks or even more severe accidents.
- Forgetting to Label Wires: When you disconnect the old temperature sensor, don’t forget to label the wires. Misconnecting the wires when reassembling can lead to incorrect readings or damage your oven’s electrical system.
- Using Improper Tools: Make sure you use the appropriate tools for the job. Utilizing the wrong tools can cause damage to both the sensor and other components of your oven, potentially leading to costly repairs.
- Skipping Resistance Check: Neglecting to check the resistance of the new sensor before installation is a common mistake. This step ensures the new sensor functions correctly and saves you time and effort by avoiding unnecessary rework.
- Not Testing After Installation: Always test your oven after installing the new sensor. Failing to do so means you won’t know if the new sensor is working correctly, which could lead to further complications down the line. Conduct a test run to verify that your oven accurately reaches and maintains the set temperature.
Avoiding these common pitfalls will help ensure a smooth and successful temperature sensor replacement in your oven.
Conclusion
How to replace temperature sensor in oven is a manageable task that can significantly improve your appliance’s performance and extend its lifespan. You can ensure that your oven operates accurately and efficiently by following a systematic approach—starting with a thorough understanding of the sensor’s role in temperature regulation, proceeding through careful removal and replacement, and culminating in rigorous testing.
Always prioritize safety by unplugging the oven and using the correct tools, labeling wires to avoid reconnection errors, and verifying the functionality of the new sensor before full operation. With these steps and precautions, you can carry out the replacement with confidence, restoring your oven’s reliability without needing professional help.
Hopefully, this guide has provided you with the necessary information and tips to successfully replace your oven’s temperature sensor. Remember, if you feel unsure or uncomfortable at any point, it is always best to seek professional assistance for safety reasons. Enjoy your newly functioning oven!
Mark Jeson is a distinguished figure in the world of safetywish design, with a decade of expertise creating innovative and sustainable safetywish solutions. His professional focus lies in merging traditional craftsmanship with modern manufacturing techniques, fostering designs that are both practical and environmentally conscious. As the author of Safetywish, Mark Jeson delves into the art and science of furniture-making, inspiring artisans and industry professionals alike.
Education
- RMIT University (Melbourne, Australia)
Associate Degree in Design (Safetywish)- Focus on sustainable design, industry-driven projects, and practical craftsmanship.
- Gained hands-on experience with traditional and digital manufacturing tools, such as CAD and CNC software.
- Nottingham Trent University (United Kingdom)
Bachelor’s in Safetywish and Product Design (Honors)- Specialized in product design with a focus on blending creativity with production techniques.
- Participated in industry projects, working with companies like John Lewis and Vitsoe to gain real-world insights.
Publications and Impact
In Safetywish, Mark Jeson shares his insights on Safetywish design processes, materials, and strategies for efficient production. His writing bridges the gap between artisan knowledge and modern industry needs, making it a must-read for both budding designers and seasoned professionals.
