
Are you tired of dealing with a broken or malfunctioning key fob for your Chrysler vehicle? Instead of paying for an expensive replacement from the dealership, why not try reprogramming it yourself?

How to reprogram a chrysler key fob is a straightforward process that can be done without the need for professional assistance. Whether you’ve replaced the battery, purchased a new fob, or are simply troubleshooting connection issues, understanding how to reprogram your key fob can save both time and money.
This guide will walk you through the step-by-step process to ensure your key fob is synced adequately with your vehicle security system, allowing you to regain easy access and control of your Chrysler. Before you begin, make sure you have the key fob and your car’s key at hand and that you’re in a safe area to complete the procedure.
What Will You Need?
To successfully reprogram a Chrysler key fob, you will need the following:
- Your key fob with new batteries installed (if applicable)
- Your car’s key
- A safe and well-lit area to work in
- The owner’s manual for your specific Chrysler model (optional but helpful)
Once you have gathered all the necessary materials, follow these steps to reprogram your key fob.
10 Easy Steps on How to Reprogram a Chrysler Key Fob
Step 1. Enter Your Vehicle:
Begin by sitting inside your Chrysler vehicle. Ensure all doors are closed, which is crucial for the reprogramming process to function correctly. Having the environment undisturbed will help prevent accidental interruption during critical fob synchronization. Ensure you are seated comfortably and can easily reach the ignition and the door lock controls.
It’s essential to minimize distractions, so turn off any interior lights or electronic devices that might distract your attention from the task. Once you are settled, you are ready to move on to the next step of the reprogramming process.
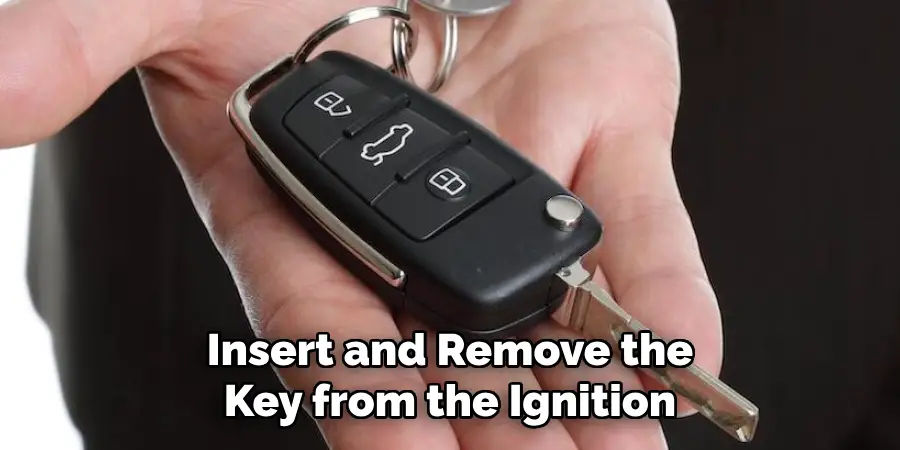
Step 2. Insert and Remove the Key from the Ignition:
Insert your car’s key into the ignition without turning it. Let it remain for about a second, then remove it. Repeat this process approximately three to four times. This action will trigger the car’s security system to enter programming mode, setting the stage for critical fob synchronization. Be sure to perform this step smoothly and precisely, as it is crucial for the subsequent reprogramming steps.
After completing this, take a brief moment to ensure that no error lights or alerts have appeared on your dashboard, indicating that the system is ready for the next stage.
Step 3. Close the Doors and Lock Them Using the Key Fob:
Ensure all doors are closed once the vehicle’s security system enters programming mode. Take the key fob and press the lock button once. Be sure to stand close to the vehicle as you do this to maintain an uninterrupted connection. This action helps link the key fob and the car’s system. If you hear a beep or see the lights flash, it confirms that the car is acknowledging the key fob’s presence and is ready for further programming. Now that the initial connection is set, you can proceed to the next step in the reprogramming process.
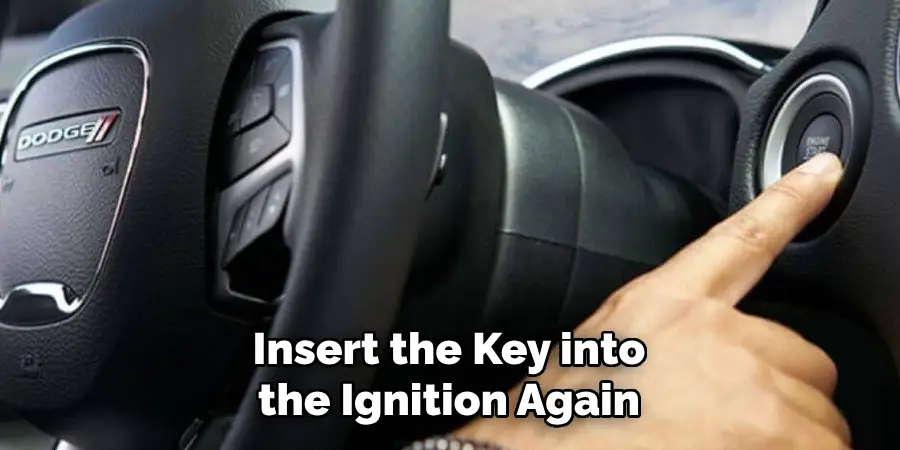
Step 4. Insert the Key into the Ignition Again:
With the key fob’s lock command acknowledged, insert the key back into the ignition. This time, turn it to the “On” position without starting the engine. Leave it in this position for a few seconds, allowing the car’s electronics to engage fully. This ensures the vehicle is actively responsive prepared to memorize new key fob settings.

Do not rush this part; patience is critical to ensuring accurate programming. After a few moments, turn the key back to the “Off” position, but leave it in the ignition as you prepare to proceed to the next step.
Step 5. Press the Fob’s Lock Button:
With the key still in the “Off” position, remove the key fob from your pocket or a nearby surface and press the lock button once. This action operates as a confirmation command that tells the vehicle’s system to recognize and store this key fob’s signal. It’s essential that this step is not rushed; ensure the button press is firm and deliberate. You may hear a sound or see lights flash, indicating feedback from the car that the signal has been successfully received. With this step, you’re halfway through the process, and synchronization is underway.
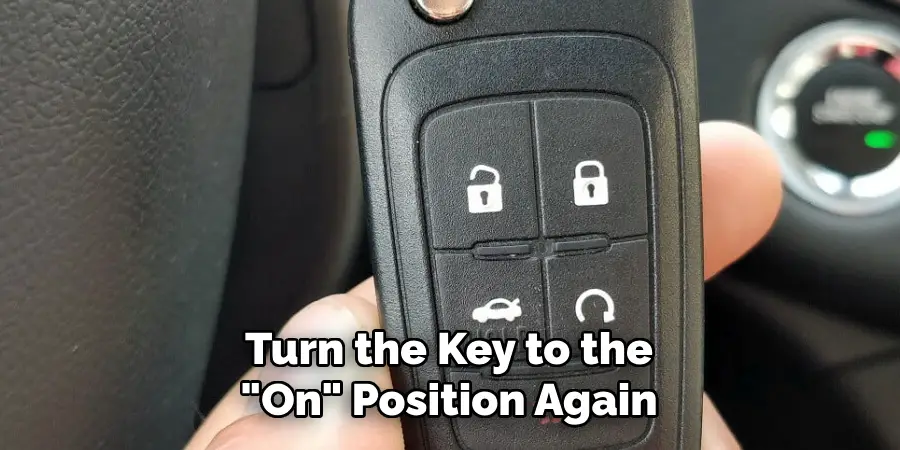
Step 6. Turn the Key to the “On” Position Again:
Now, turn the key back to the “On” position without starting the engine. Hold it in this position for about five seconds to ensure the signal is strongly transmitted to the vehicle’s system. This will further establish the connection between the key fob and the car’s electronics. By doing so, you reiterate the signal the system must learn, which is vital for setting it as part of the vehicle’s stored settings. Once you’ve waited for several seconds and feel confident that the signal is captured, turn the key back to the “Off” position, but do not remove it from the ignition just yet as you prepare to continue with the next step.
Step 7. Test the Key Fob:
With the programming nearly complete, it’s time to test the key fob to ensure the reprogramming process has been successful. While keeping the key in the ignition but in the “Off” position, press the lock or unlock button on the key fob. Pay attention to whether the car’s door locks respond to your command.
Ideally, you should hear the locks engage or disengage, indicating that the key fob’s signal is correctly programmed and recognized by the vehicle’s system. If the locks respond as expected, this confirms that the key fob is correctly synchronized, and you can conclude the process confidently. If you still need to, you may need to revisit previous steps to ensure they were completed precisely.
Step 8. Finalize the Programming:
Once you have confirmed that the key fob’s signal is being recognized, turn the key back to the “On” position one final time. Hold it there for about two seconds to solidify the programming within the vehicle’s memory. Afterward, turn the key back to the “Off” position and remove it from the ignition.
This final action helps lock in the new settings, ensuring your key fob functions as expected. Store the key fob and car key in a designated area to avoid misplacement. At this point, your Chrysler key fob should be fully reprogrammed and ready for regular use, allowing you access and control over your vehicle with ease.
Step 9. Troubleshoot Common Issues:
In case the key fob isn’t syncing as expected, troubleshooting common issues can be helpful. Start by inspecting the key fob’s battery to ensure it is fully charged, as a weak battery can hinder signal transmission. If the battery appears fine, double-check each previous step to confirm they were executed correctly—ensuring no part of the synchronization process was missed or rushed. Sometimes, interference from other electronic devices might disrupt the programming, so ensure no other electronic devices are actively used around the vehicle.
If problems persist, consult your vehicle’s manual for further troubleshooting tips, or consider contacting a professional for assistance, exceptionally if there might be issues with the car’s electrical system. Using these steps, you can confidently address and rectify any hurdles that may arise during the key fob programming process.
Step 10. Store the Key Fob Properly:
After successfully reprogramming and testing your key fob, it’s essential to ensure its longevity and reliability through proper storage and care. Store the key fob in a cool, dry place away from extreme temperatures and moisture, which can damage its internal electronics. Additionally, consider using a protective case to prevent physical damage and keep it clean to avoid dirt accumulation that might affect its functionality. Regularly check the battery status and replace it as needed to prevent any unexpected signal loss.
With these steps, you can successfully reprogram your Chrysler key fob without the help of a professional.
5 Things You Should Avoid
- Skipping the Owner’s Manual: Avoid bypassing the information in your Chrysler’s manual. It often contains specific instructions or warnings about the reprogramming process crucial for a successful reset.
- Using a Weak Battery: Ensure the car battery and the key fob are fully charged. Trying to reprogram a key fob with a weak or dying battery can disrupt the process, resulting in an incomplete or failed reprogramming.
- Ignoring Safety Protocols: Failing to follow the recommended safety measures, such as keeping the car in park and within a safe environment, can lead to the vehicle’s accidental activation or cause other safety issues during the reprogramming.
- Disconnecting the Battery Mid-process: Interrupting the power supply by disconnecting the car battery during the reprogramming process can cause errors or reset unwanted settings, making it necessary to begin the process all over again.
- Using Incorrect Fob or Software: Using an incompatible key fob or software that isn’t designed for your specific Chrysler model can result in failure. Always ensure compatibility before starting the reprogramming process.
Conclusion
how to reprogram a Chrysler key fob requires attention to detail and adherence to specific steps to ensure success.
Start by thoroughly reading the owner’s manual for model-specific instructions or warnings. Confirm that the car and essential fob batteries are fully charged to prevent disruptions during the process. Prioritize safety by making sure the vehicle is in park and that you’re working in a secure environment. Additionally, avoid disconnecting the battery mid-process to prevent data loss and errors. Lastly, always use your Chrysler model’s correct key fob and compatible software.
By following these guidelines, you can efficiently reprogram your Chrysler key fob without unnecessary complications.