
Are you having trouble using your overhead door keypad? If the keypad does not respond or behaves erratically, it may need to be reprogrammed.
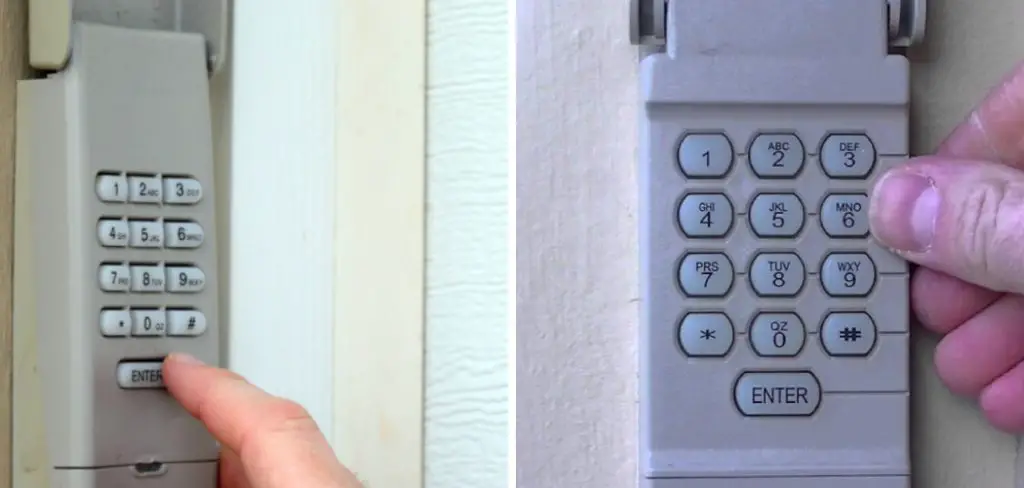
How to reprogram overhead door keypad can seem daunting, but it’s a straightforward process that improves the security and convenience of your garage access. Whether you’ve purchased a new keypad, need to change the existing code for safety reasons, or are simply updating a malfunctioning unit, understanding how to reprogram the keypad is essential.
This guide will walk you through the necessary steps to ensure your overhead door keypad is properly reset and functional, providing you with peace of mind and seamless operation. You can enhance your garage’s security by effectively managing keypad access with a few simple steps.
What Will You Need?
To reprogram your overhead door keypad, you will need a few supplies and tools:
- Screwdriver
- New batteries (if necessary)
- Ladder or step stool (depending on the height of your garage ceiling)
Once you have these items on hand, you can begin the reprogramming process.
10 Easy Steps on How to Reprogram Overhead Door Keypad
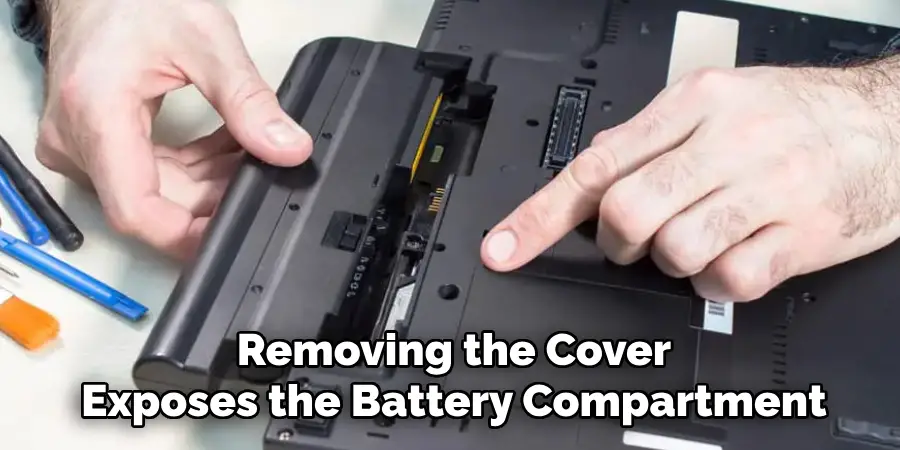
Step 1: Remove the Keypad Cover
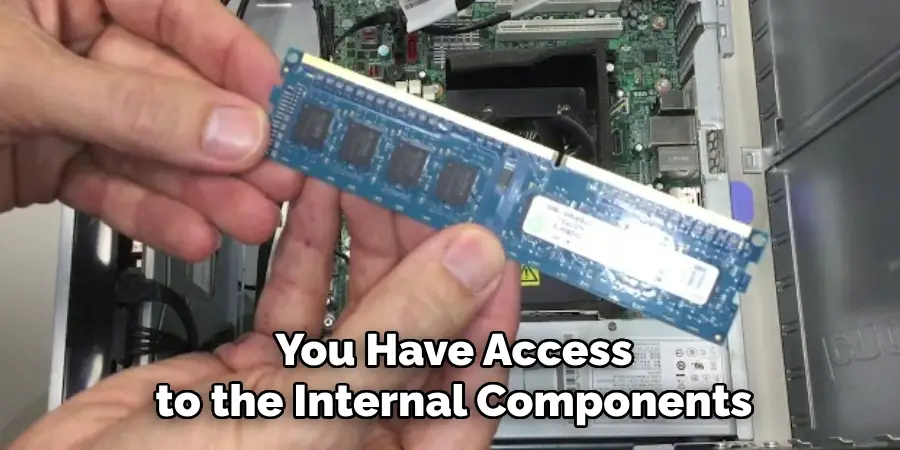
To begin the reprogramming process, start by removing the keypad cover. This is a safety measure to ensure that you have access to the internal components of the keypad without causing any damage to the device. Use a screwdriver to carefully unscrew any screws that are holding the cover in place, if applicable. Gently lift the cover off, ensuring not to tug on any wires or components connected to it.
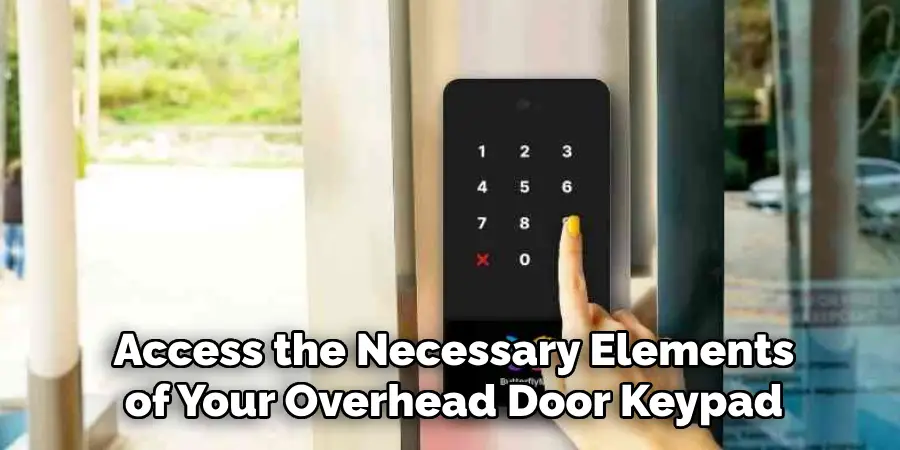
Sometimes, the cover may simply snap off without the need for tools, so check your specific model for instructions. Removing the cover exposes the battery compartment and the programming button, both of which are essential for the reprogramming process. This initial step sets the stage for reprogramming, allowing you to access the necessary elements of your overhead door keypad.
Step 2: Insert New Batteries
With the cover removed, check the battery compartment and replace the old batteries with new ones, if necessary. This step is crucial because weak or depleted batteries can interfere with the keypad’s proper functioning. Ensure that the positive and negative terminals align correctly with the corresponding symbols in the compartment.
Using fresh batteries helps maintain reliable wireless communication between the keypad and the garage door opener, ensuring optimal performance during and after reprogramming. Once the new batteries are installed, you can proceed to the next step to reset and program your keypad.
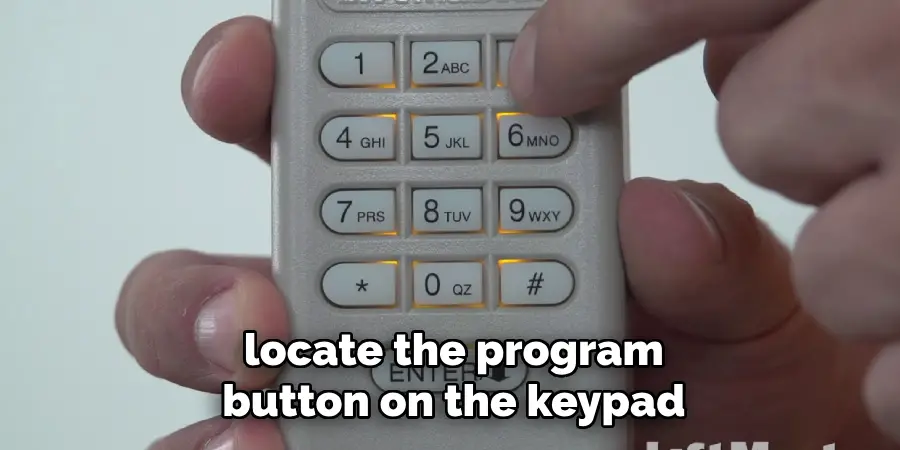
Step 3: Locate the Program Button
After inserting the new batteries, locate the program button on the keypad. This button is typically found inside the battery compartment or beneath the keypad cover. It is sometimes labeled “Program” or simply “P”. The program button is a crucial component for initiating the reprogramming sequence. Once located, you’re ready to proceed with the next steps, which will guide you in setting a new entry code for your overhead door keypad. Pressing the program button usually shows a blinking light indicating that the keypad is ready to accept new programming instructions.
Step 4: Press the Program Button
With the program button located, press and hold it until you see a steady light rather than a blinking one, which indicates that the keypad is in programming mode. Some models may require you to press and release the button quickly, while others need to hold it for a few seconds. Refer to your owner’s manual for specific instructions related to your model. Ensuring that the keypad is in the correct programming mode is essential before setting your new code. Once the light remains steady, proceed to the next step to enter your desired access code.
Step 5: Enter Your New Access Code
With the keypad now in programming mode, enter your desired new access code using the keypad digits. Choose a memorable code that is not easily guessed by others to enhance security. As you enter the code, the light on the keypad should blink for each digit pressed. Ensure that you input the correct sequence to avoid any errors in programming. Once you have entered the full code, proceed to the next step to save and confirm it.
Step 6: Press the Program Button Again
Once you have successfully entered your new access code, the next step is to press the program button again to save and confirm the code. Doing so finalizes the reprogramming process and signals the keypad to store the new entry code in its memory. This action usually triggers a specific response from the keypad, such as a series of beeps or a flashing light, to indicate that the code has been successfully saved.
If your keypad gives this confirmation signal, it signifies that the programming was completed correctly and the new access code is now active. Be sure the access code is functioning correctly by testing it multiple times before closing the keypad cover. This extra validation step ensures that you won’t encounter issues when trying to gain access to your garage in the future, especially during urgent situations. In cases where no response is observed after pressing the program button, consult the keypad’s manual for troubleshooting tips, as additional steps might be required to save the changes on certain models properly.
Step 7: Test Your New Access Code
After programming the new access code, it is crucial to test it to ensure it operates successfully. Begin by securely replacing the keypad cover and ensuring the battery compartment is firmly in place. Stand a short distance from the garage door and enter your newly set code on the keypad. Watch for the door to respond by opening or closing, depending on its current state. This test confirms that the reprogramming has been executed correctly and that the keypad is effectively communicating with the garage door opener.
If the door does not respond, double-check the code entered is correct and verify that the keypad has batteries with sufficient charge. You may also need to repeat the reprogramming steps to ensure that the code is accurately registered. Testing the new access code at this stage prevents potential security issues later on and assures you of the system’s reliability and proper functioning.
Step 8: Replace the Keypad Cover
Once you have confirmed that the new access code works correctly, replace the keypad cover carefully. Align the cover with the base of the keypad and snap it back into place, or secure it with screws if applicable. Ensure no wires are pinched between the cover and the base, which could affect the keypad’s functionality. Replacing the cover protects the internal components from dust, dirt, and moisture, preserving the longevity of your keypad’s performance. With the cover in place, your overhead door keypad is now ready for secure and convenient use.
Step 9: Reconnect Any Necessary Power Sources
Ensure that any power sources disconnected at the beginning of the process are reconnected to maintain the power supply to your overhead door keypad. Check that the keypad is securely attached to the wall or support structure to prevent any damage or disconnection in the future. Properly managing the power supply ensures that the keypad functions reliably and consistently. With power sources reconnected, your overhead door keypad should be fully operational and ready for use when you need to access your garage.
Step 10: Conduct Periodic Maintenance Checks
Conduct periodic maintenance checks to maintain optimal performance and extend the life of your overhead door keypad. Inspect the keypad for signs of wear or damage and replace batteries every six months to ensure consistent performance. Additionally, clean the keypad surface with a soft cloth to remove dust and residue that can affect its appearance and functionality. Regularly reviewing these components helps prevent unexpected malfunctions and ensures that your keypad remains a reliable tool for securing access to your garage. Conducting these maintenance checks will contribute to the long-term functionality of your system.
By following these ten steps, you can successfully reset and program your overhead door keypad.
5 Things You Should Avoid
- Using Incorrect Codes: Ensure you have the correct programming code before starting. Entering incorrect codes might lock the system or reset existing settings.
- Ignoring the Manual: Each keypad model can have different programming instructions. Ignoring or misplacing the manual could lead to incorrect programming steps, resulting in functionality issues.
- Skipping Battery Check: A weak battery can disrupt the reprogramming process, leading to incomplete or faulty programming. Ensure the keypad’s batteries are fresh or sufficiently charged.
- Rushing the Process: Take your time to follow each step methodically. Rushing can cause mistakes that necessitate restarting the entire process from scratch.
- Neglecting Security Measures: Avoid using simple or obvious codes that are easy to guess. Always prioritize security by choosing a unique, complex code to protect your access.
By avoiding these common mistakes, you can ensure a smooth and successful keypad programming process.
Conclusion
How to reprogram overhead door keypad can be a straightforward task when approached with care and attention to detail.
You can efficiently reset and program your device with minimal hassle by systematically following the manufacturer’s instructions, ensuring the keypad’s batteries are in good condition, and selecting secure, unique codes. Taking the time to avoid common mistakes such as ignoring the manual, rushing through steps, or using obvious codes will enhance your system’s security and functionality.
You can maintain a reliable and secure access point to your overhead door through diligence and patience.