
Are you tired of fumbling with your keys whenever you want to open your door? Or maybe you’ve forgotten your code for your Kwikset keypad and can’t get inside.
For homeowners and renters alike, the security and convenience of a Kwikset keypad lock provide peace of mind and easy access. However, there may come a time when you need to reset the keypad, whether due to a forgotten code, a change in tenants, or simply for added security. Resetting a Kwikset keypad lock is a straightforward process that involves a few simple steps. This guide on how to reset a kwikset keypad will walk you through each stage of the reset process.
Whether you’re new to using electronic locks or looking to update your security measures, this introduction will help you understand the essentials of managing your Kwikset keypad.
What Will You Need?
Before you begin the reset process, make sure you have the following items on hand:
- A working Kwikset keypad lock
- The current programming code for your lock (if known)
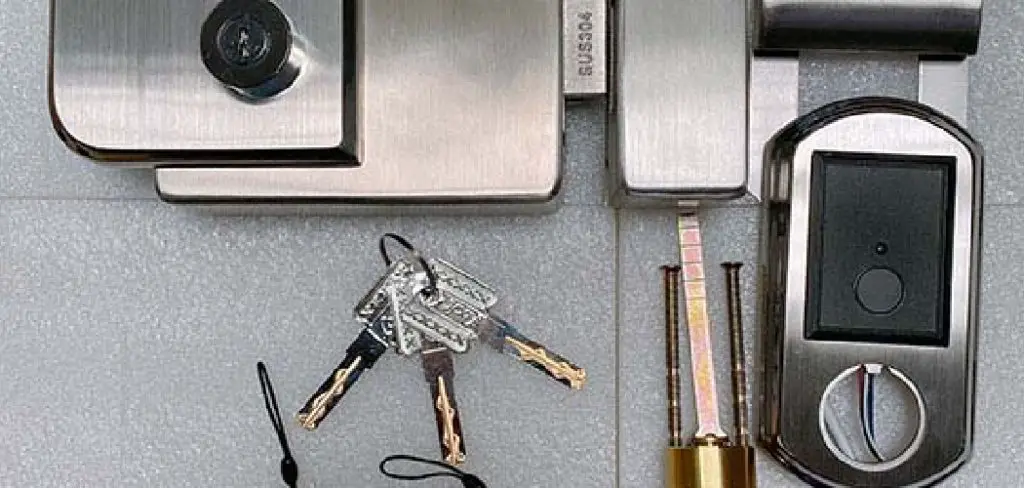
- A small Phillips head screwdriver
- A paperclip or similar tool for resetting the lock
If you don’t know your lock’s current programming code, don’t worry. You can still reset the lock without it, but you will need to perform a factory reset, which will erase all existing codes and restore the lock to its default settings.
10 Easy Steps on How to Reset a Kwikset Keypad
Step 1. Remove the Cover
Use the small Phillips head screwdriver to remove the screws securing the interior cover of your Kwikset keypad lock. Carefully set aside the screws and the cover, ensuring you don’t misplace them, as you will need to reattach the cover later. Removing the cover exposes the programming compartment and battery pack, which are crucial for resetting. This step will give you access to the programming button, typically a small circular button on the inside of the lock, essential for initiating the reset procedure. Be gentle during this step to avoid damaging any internal components.
Step 2. Disconnect the Battery Pack
Once the cover is removed, locate the battery pack, which is usually found within the interior compartment of the lock. Gently disconnect the battery pack from the keypad by carefully removing the connector. This step is crucial as it cuts off the power supply to the lock, allowing for a proper reset. Ensure you handle the wires carefully to prevent any damage that might affect the lock’s functionality.
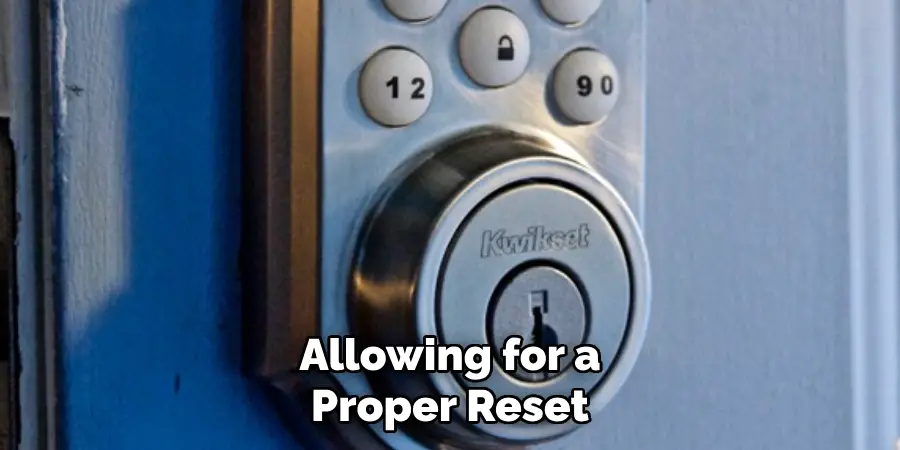
It is advisable to wait for a few seconds after disconnecting the batteries to ensure that all residual charge is depleted, which can help guarantee a successful reset out of all previously stored information. Once you’re ready to proceed, keep the battery pack aside as you move on to the next steps in the reset process.
Step 3. Press and Hold the Reset Button
Locate the reset button within the lock’s interior compartment. Press and hold the reset button using a paperclip or similar tool. This button is typically tiny and may require careful attention to find. Holding the button down for approximately 5 to 10 seconds is essential for clearing all previous codes and settings from the lock’s memory. During this time, you may notice the lock beeping or the keypad flashing, indicating that the reset process is underway. Ensure that the reset button is held firmly without releasing prematurely to ensure a complete reset. Once the reset is done, you can release the button and prepare to reestablish the lock’s power connection.
Step 4. Reconnect the Battery Pack
After successfully completing the reset, it’s time to restore the power to your Kwikset keypad lock. Carefully reconnect the battery pack to the keypad by attaching the connector back to its original position. Ensure the connection is secure to prevent any power interruptions affecting the lock’s functionality. Once connected, your lock will start the initialization process, indicated by a sequence of beeps or lights on the keypad.
This process reestablishes the lock’s power and prepares it for programming new codes. Be mindful to reattach the battery pack correctly to avoid damaging the connectors, and ensure that the battery is correctly seated within the compartment to maintain optimal performance. With the power restored, you can now proceed to reprogram your lock with new access codes as desired.
Step 5. Program a New Access Code
You can now program a new access code with the battery pack reconnected and the lock initialized. Begin by entering the default programming code, usually found in your user manual or on a label inside the lock. Once the programming code is accepted, enter a new 4 to 8-digit access code that will be used to unlock the keypad. Follow the instructions provided by the keypad to confirm the latest code and ensure it is memorized correctly.
Choosing a code that is easy for you to remember yet hard for others to guess is advisable, enhancing your home’s security. Once the new code is successfully programmed, test it by locking and unlocking the door to ensure everything functions as expected.
Step 6. Test the New Access Code
After programming the new access code, it is crucial to test it to ensure that your Kwikset keypad lock functions correctly. Begin by locking the door using your newly programmed code. Then, enter the same code to unlock the door. Listen for the beeping sound or visual confirmation, such as a light on the keypad, to verify that the code is accepted.

If the lock successfully engages and disengages, your new access code will be active, and the reset process will be complete. If the code does not work, double-check your steps to ensure the code was entered and appropriately confirmed during programming. Testing your new code multiple times further ensures reliable operation and peace of mind regarding your lock’s security.
Step 7. Replace the Interior Cover
Once you have confirmed that the new access code is functioning correctly, replace the interior cover of your Kwikset keypad lock. Carefully align the cover into its original position over the interior compartment. Use the small Phillips head screwdriver to securely fasten the screws back into place, ensuring that the cover is tightly attached without any loose edges.
This step is crucial to protect the lock’s internal components from dust, moisture, and tampering. Take care not to overtighten the screws to avoid stripping them or cracking the cover. A properly replaced cover ensures your lock maintains its aesthetic appearance and functionality. With the cover secured, your Kwikset keypad lock reset and reprogramming are now complete, offering enhanced security with your new access code.
Step 8. Ensure Regular Maintenance
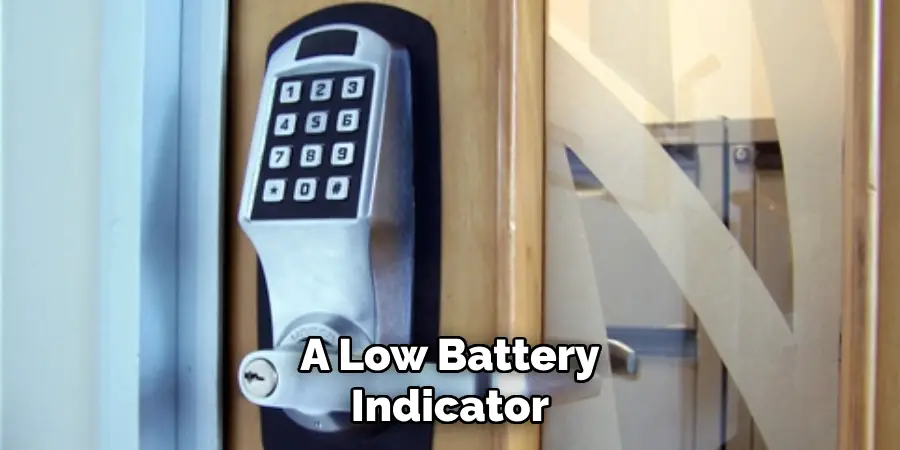
Regular maintenance is recommended to keep your Kwikset keypad lock functioning smoothly and prolong its lifespan. Regularly check the battery status and replace the batteries as needed to prevent any interruptions in the lock’s operation. A low battery indicator is usually displayed on the keypad, advising you to make timely replacements. Moreover, periodically clean the keypad and other external components with a soft, dry cloth to remove dust and dirt. If you experience any operational issues, consult the user manual or contact customer support for troubleshooting assistance. Incorporating routine checks into your home maintenance schedule can ensure that your keypad lock remains reliable and secure for years.
Step 9. Update User Access Management
With your Kwikset keypad lock fully reset and operational, reviewing and updating your user access management settings is essential. Determine who should have access to the lock and assign unique access codes to family members or trusted individuals. Consider how many codes you need and periodically review them for security purposes. If you have been previously granted temporary access, ensure that any unused or outdated codes are deleted to maintain control over who can access your property. This step helps reinforce the security of your home by allowing you to track and manage who enters it. Keeping a record of assigned codes can assist in quick updates or changes in the future.
Step 10. Backup System Settings
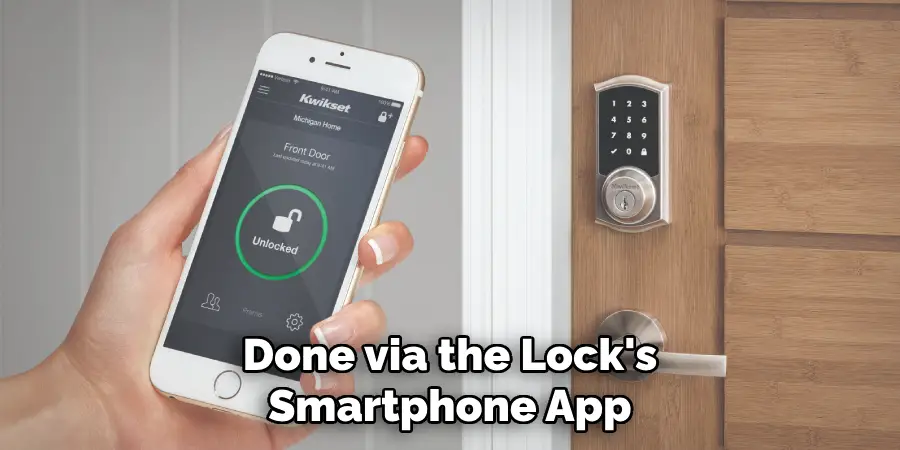
After updating your user access management and ensuring that all access codes are current, it’s advisable to back up your system settings for future reference. This can typically be done via the lock’s smartphone app or any digital platform that supports your Kwikset model, allowing you to save all current settings and access codes in a secure location. Backing up these details provides peace of mind in case of technical issues or another reset. Ensure you periodically update your backup each time significant changes are made to the settings.
By following these simple steps, you can easily reset and reprogram your Kwikset keypad lock for enhanced security and convenience.
Conclusion
How to reset a Kwikset keypad is a straightforward process that significantly enhances the security of your home.
By carefully following the outlined steps—from disconnecting and reconnecting the battery to programming new access codes—you can efficiently restore and customize your lock’s settings. Testing the new codes and performing regular maintenance ensure reliability and longevity. Additionally, thoughtful management of user access and periodic backup of system settings further secure your property.
With these measures in place, you can enjoy the convenience and peace of mind of a well-maintained, secure keypad lock system.