
Are you having trouble with your Eufy Floodlight Camera and need to reset it? Don’t worry, the process is simple and can be done in a few easy steps. Additionally, resetting your camera can often solve any technical issues you may be experiencing. In this guide, we will walk you through the process of how to reset Eufy Floodlight Camera.

Resetting your Eufy Floodlight Camera can help resolve issues like connection problems, performance glitches, or software errors. Whether you’re troubleshooting technical difficulties or preparing to sell or transfer your camera, the reset process will restore it to its factory settings.
This guide will walk you through the steps required to reset your device safely and effectively, ensuring that your floodlight camera is ready for a fresh start.
What Will You Need?
Before you begin the reset process, there are a few things you will need:
- Your Eufy Floodlight Camera
- A small pin or paperclip
- Access to your camera’s power source
Once these items are ready, you can proceed with the reset process.

10 Easy Steps on How to Reset Eufy Floodlight Camera
Step 1. Power Off the Camera:
Ensure the safety and efficiency of the reset procedure by powering off your Eufy Floodlight Camera. Locate the power source for your floodlight camera, which is typically connected to your home’s electrical system.
Switch off the designated circuit breaker or unplug the camera if it is connected to a standard outlet. Confirm that the camera is powered off by observing that the LED indicators on the device are no longer illuminated. This step is crucial to prevent any potential electrical hazards while resetting.
Step 2. Locate the Reset Button:
With your camera now powered off, identify the reset button on the device. The reset button is usually a small, recessed button located on the back or the bottom of the camera. You’ll need a small pin, paperclip, or a similar object to access this button. Take a moment to familiarize yourself with the reset button’s location, as this will make the subsequent steps easier to perform.
Step 3. Press and Hold the Reset Button:
Using your pin or paperclip, press and hold the reset button for about 10-15 seconds. As you do this, ensure that you apply steady pressure. This action triggers the reset process within the camera’s internal system, reverting all settings to their original factory defaults. It’s important to hold the button down for the full duration to ensure the reset command is registered properly.
Step 4. Release the Reset Button:
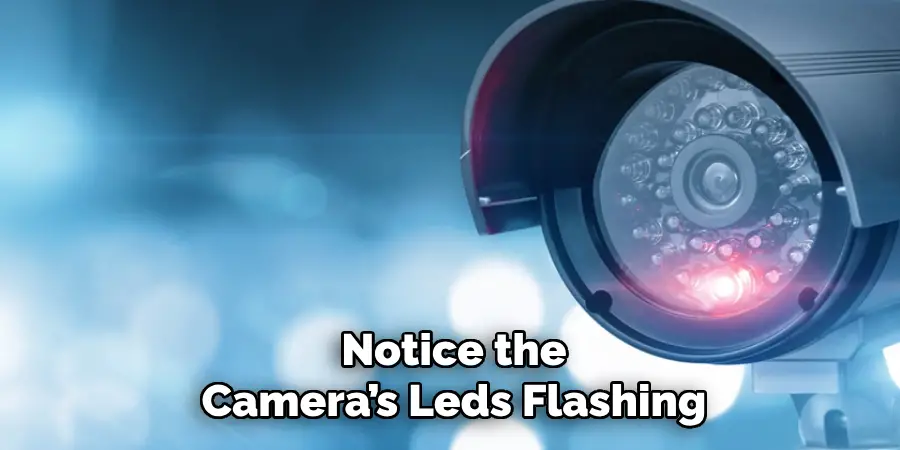
After holding the reset button for 10-15 seconds, release it. At this point, the camera should begin the reset process, which might take a few moments to complete. You might notice the camera’s LEDs flashing or hear a beep indicating that the reset process has been initiated successfully.
Step 5. Power On the Camera:
Once you’ve confirmed that the reset process has started, proceed to power the camera back on. Reconnect it to the power source by switching on the circuit breaker or plugging the device back into the outlet. Wait for the camera to boot up fully, which may take a minute or two.
Step 6. Reconnect to Your Network:
After the camera has powered on and completed its initial setup, you’ll need to reconnect it to your Wi-Fi network. Open the Eufy Security app on your smartphone and follow the prompts to add a new device. Select the Eufy Floodlight Camera from the list and enter your Wi-Fi credentials to re-establish the network connection.
Step 7. Configure Camera Settings:
You’ll need to configure your settings with the camera now reset and connected to your network. This includes adjusting motion detection zones, setting up alerts, and configuring any other preferences that enhance the operation and security of your floodlight camera. Refer to the user manual or the app for detailed instructions on setting these preferences.
Step 8. Update Firmware:
To ensure that your camera is running optimally, check for any available firmware updates. In the Eufy Security app, navigate to the device settings and look for the option to update the firmware. Keeping your camera’s firmware up-to-date ensures that you have the latest features and security enhancements.
Step 9. Test the Camera:
Once all settings are configured and updates are installed, test your camera to confirm it is functioning correctly. This includes verifying that the video feed is clear, motion detection is responsive, and notifications are being received as expected. Conduct a thorough check to ensure that there are no lingering issues.
Step 10. Secure Your Camera:
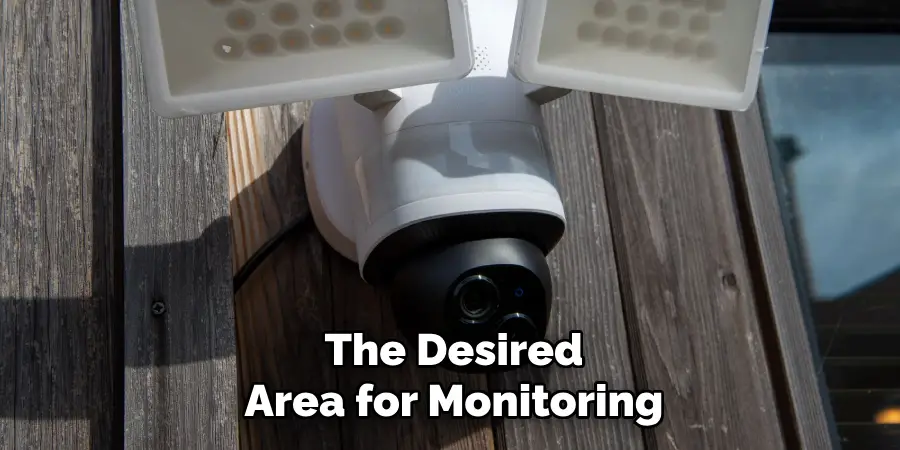
After completing the reset process and ensuring the camera is working correctly, it is essential to physically secure your camera in its proper location. Reattach your Eufy Floodlight Camera to its mounting bracket, making sure it is firmly fastened. Check that all screws and fixtures are tight to avoid any potential dislodging due to weather conditions or other external factors. Additionally, ensure that the camera’s view is unobstructed and that it covers the desired area for monitoring.
Once the camera is securely in place, consider additional security measures to protect it from tampering or theft. This could include using security screws that require a special tool for removal or installing the camera at a height that is out of easy reach. Also, ensure your camera settings within the Eufy Security app are optimized for security, such as enabling two-factor authentication (2FA) for your account, setting strong passwords, and enabling notifications for any unusual activity.
By following these steps to physically and digitally secure your camera, you can maximize the longevity and effectiveness of your Eufy Floodlight Camera, providing peace of mind and enhanced security for your home.
5 Additional Tips and Tricks
Tip 1: Use the Eufy Security App Diagnostics
Before initiating a reset, utilize the Eufy Security app’s built-in diagnostics to troubleshoot any issues. This tool can often identify and help resolve common problems, potentially avoiding the need for a full reset. You can also check device status, network strength, and any error messages through the app.
Tip 2: Perform a Soft Reset
If your camera is responsive but exhibiting minor issues, consider performing a soft reset instead of a full factory reset. Simply power off the camera for about 30 seconds before turning it back on. This can often clear temporary glitches without erasing your settings.
Tip 3: Ensure Firmware is Up-to-Date Before Resetting
Verify that your camera’s firmware is up-to-date before performing a reset. Sometimes, updating to the latest version can resolve any issues without needing a reset.
Tip 4: Contact Eufy Support
If you are uncertain about how to perform a reset or experience any difficulties during the process, reach out to Eufy’s customer support team. They can guide and assist, ensuring the reset is done correctly.
Tip 5: Consider Factory Reset as a Last Resort
Resetting your camera should be considered as a last resort after exhausting all other troubleshooting options. This ensures that you do not accidentally erase important settings or data and helps preserve your device’s lifespan. If possible, seek professional help before attempting a reset.
With these additional tips and tricks, you can effectively troubleshoot any issues with your Eufy Floodlight Camera and successfully reset it if necessary.
5 Things You Should Avoid
1. Ignoring the User Manual:
Always refer to the user manual before attempting any reset procedures. Failing to follow the recommended steps may result in improper resetting or even damage to your camera. The user manual is specifically designed to guide you through the correct process.
2. Skipping Firmware Updates:
Before initiating a reset, ensure that your camera’s firmware is up-to-date. Skipping this step might prevent you from resolving issues that could be fixed with a simple firmware update, thereby making the reset unnecessary.
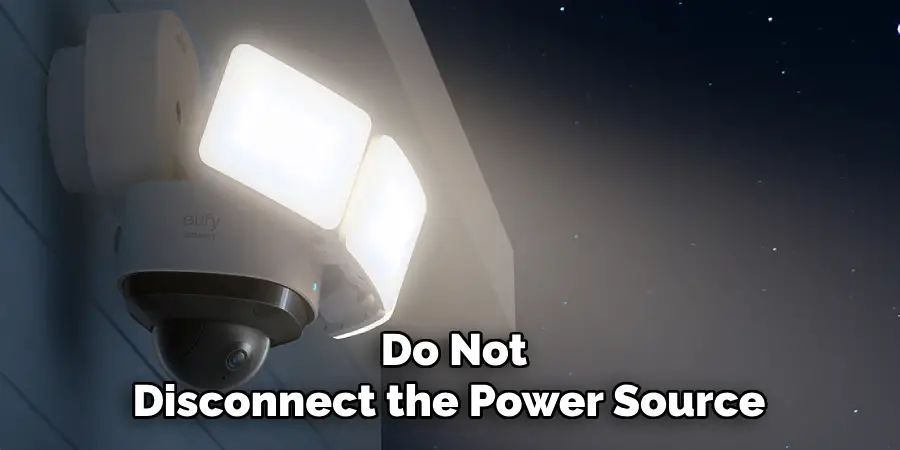
3. Disconnecting Power Mid-Reset:
Do not disconnect the power source once you’ve begun the reset process. Interrupting the reset can cause corruption of the camera’s settings or internal software, which may render the device inoperable.
4. Using Unverified Techniques:
Avoid using methods or hacks that are not recommended by Eufy. Sticking to sanctioned procedures ensures that you do not void your warranty or cause irreparable damage to your device. If in doubt, always consult the official support resources.
5. Neglecting Network Configuration:
Remember to reconfigure your network settings after resetting the camera. Skipping this step will leave your camera disconnected and useless, as it won’t be able to communicate with your app or other devices within your network. Ensure that you have your Wi-Fi credentials ready to facilitate a smooth reconnection.
By avoiding these common pitfalls, you can ensure that your Eufy Floodlight Camera reset process is smooth, effective, and without complications.
Conclusion
How to reset Eufy Floodlight Camera can be a straightforward process if done correctly and methodically. By following the detailed steps outlined in this guide, you ensure that all critical stages are addressed—from preparation and execution to post-reset testing and security.
Utilizing the Eufy Security app for diagnostics, engaging in proper physical securing techniques, and adhering to manufacturer-recommended procedures all contribute to a seamless reset experience. Moreover, taking advantage of the additional tips and avoiding common pitfalls will help you preserve your device’s integrity and functionality.
Ultimately, a well-executed reset not only resolves existing issues but also enhances the overall performance and security of your Eufy Floodlight Camera. Consider a reset as a last resort and consult Eufy’s customer support for any uncertainties, ensuring a successful and stress-free reset process.