
Are you experiencing issues with your Xfinity camera? It is common for technology to malfunction or encounter problems, but fortunately, there are ways to reset your Xfinity camera and get it back up and running. This guide will discuss the steps you can take to reset your Xfinity camera.
How to reset Xfinity camera can resolve various issues, from connectivity problems to performance glitches. Whether you’re experiencing intermittent lag signals or you’re simply reconfiguring your network, a reset can often help restore optimal functionality. This guide will walk you through the steps to effectively reset your Xfinity camera, ensuring that it returns to its default settings and operates smoothly.
Follow these instructions carefully to troubleshoot and fix any common issues you might encounter with your Xfinity security camera.
Why Reset Your Xfinity Camera?
Before we dive into the steps of resetting your Xfinity camera, let’s first understand why you may need to do so. Here are some common reasons why you might want to reset your Xfinity camera:
- The camera is not connecting to the internet
- The video quality has decreased
- You are experiencing slow performance or lag
- You want to change the camera’s settings
Resetting your Xfinity camera can help resolve these issues and restore it to its optimal functioning state. It essentially clears out any temporary glitches or errors that may be causing problems with your camera.
What Will You Need?
To reset your Xfinity camera, you will need the following:
- A computer or mobile device with internet access
- Your Xfinity camera’s login credentials
- A paperclip or similar small, pointed object
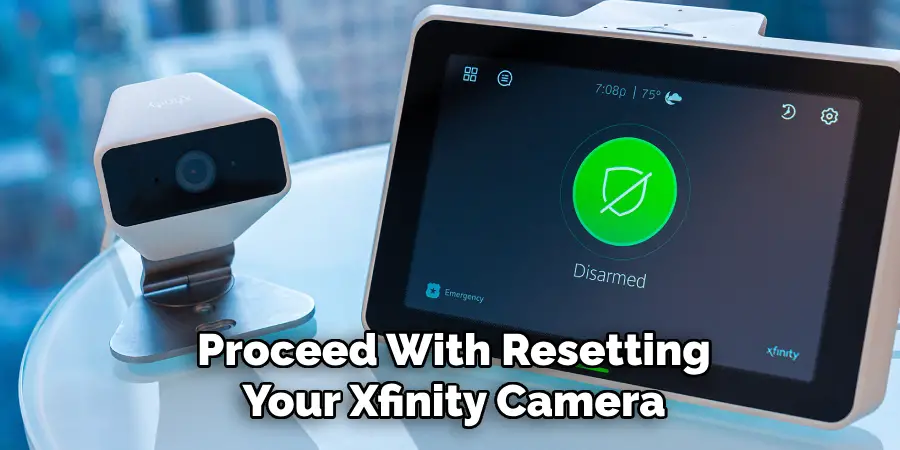
Once you have these items ready, you can proceed with resetting your Xfinity camera.
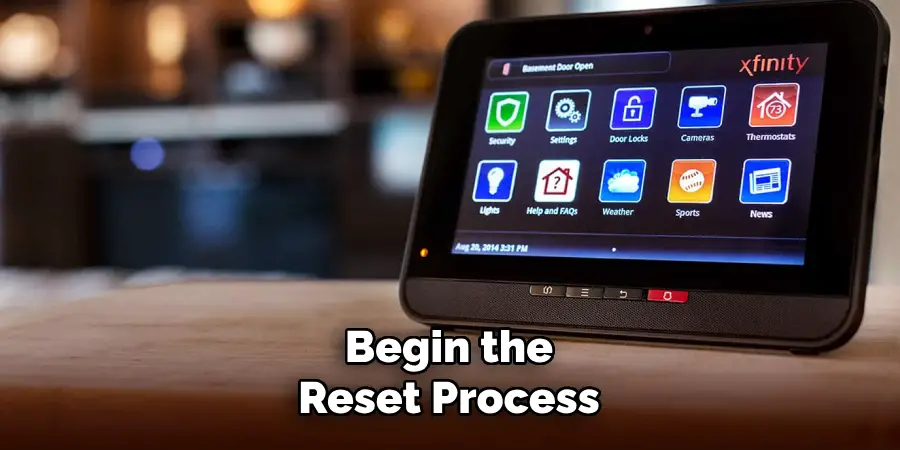
10 Easy Steps on How to Reset Xfinity Camera
Step 1: Access the Camera’s Login Page
The first step is to access the login page for your Xfinity camera. You can do this by typing the IP address of your camera into your web browser’s address bar. If you are unsure of the IP address, you can refer to your camera’s user manual or contact Xfinity support for assistance.
Step 2: Enter Your Login Credentials
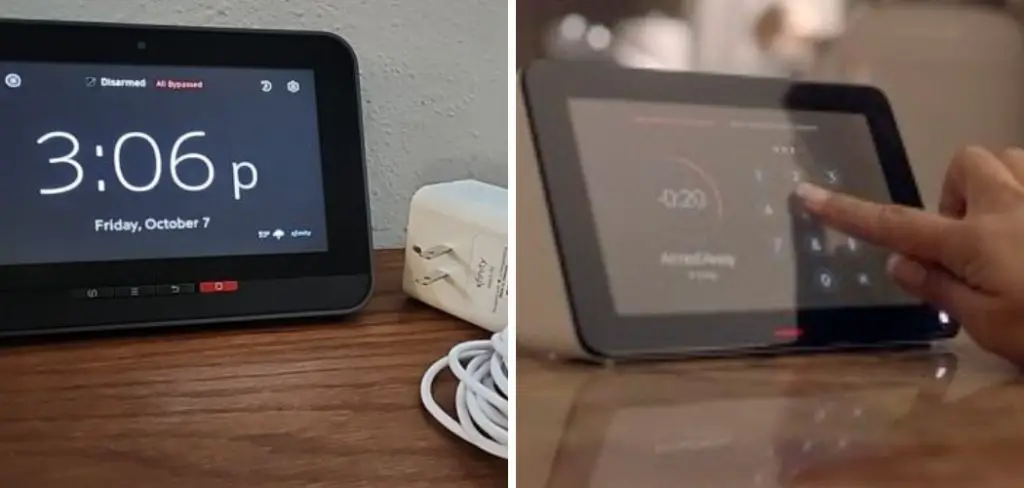
Once you have accessed the login page of your Xfinity camera, you will be prompted to enter your login credentials. These credentials usually consist of a username and password that you set up when you first installed the camera. If you have forgotten your login details, check any documentation provided with the camera or visit the Xfinity website for guidance on resetting your credentials.
It is important to ensure your login credentials are correctly entered to proceed with the reset process. Double-check for typing errors and ensure the Caps Lock key is off. If you’ve tried several times without success, consider using the “forgot password” option, which will guide you through steps to recover or reset your password via your registered email address.
Step 3: Navigate to the Settings Menu
After successfully logging in, you will be directed to the main dashboard of your camera’s interface. From here, locate the settings menu. This menu is often represented by a gear icon or a similar symbol. Click on this icon to access the various settings options for your Xfinity camera.
The settings menu contains a range of configurable features, such as video quality, recording schedules, and network settings. Take a moment to familiarize yourself with this menu, as it provides valuable tools that can help enhance your camera’s functionality.
Step 4: Find the Reset Option
In the settings menu, look for the option to reset your camera. This option might be labeled as “Factory Reset,” “Reset to Default,” or something similar. Select this option to begin the reset process.
A prompt or confirmation window may appear, asking you to confirm your decision to reset the camera. Read through this carefully to ensure you understand the implications of resetting, including the fact that it will erase all your current settings and return the camera to its original factory settings.
Step 5: Confirm the Reset
After locating the reset option and initiating the process, you must confirm your intention to proceed. This step often involves clicking a confirmation button labeled “Reset” or “Confirm.” Sometimes, you might need to re-enter your login credentials to verify that you are authorized to perform the reset.
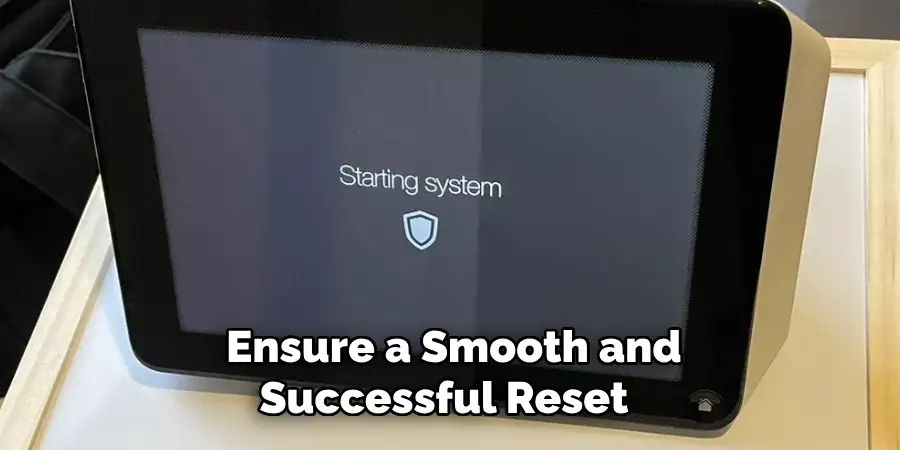
Confirming the reset will trigger the camera to clear all its current settings and restart. Note that this process may take a few minutes, and the camera may appear unresponsive. Do not interrupt the reset process to ensure it completes successfully.
Step 6: Wait for the Camera to Restart
Following the reset confirmation, your Xfinity camera will automatically restart. This process could take a few minutes as the camera clears its previous configurations and reverts to its factory-default state. During this time, the camera’s lights may blink, or you might see a status message indicating that the reset is in progress.
While it might be tempting to interfere, especially if it takes longer than expected, patience is key. Interrupting the reset could cause additional issues or leave the camera unresponsive.
Step 7: Reconfigure Your Camera Settings
Once the camera has restarted, it will be in its default configuration. You will need to set up your camera as if you were doing it for the first time. This setup will include connecting the camera to your Wi-Fi network, configuring your preferred settings, and possibly updating the camera’s firmware to the latest version.
Refer to your camera’s user manual for detailed instructions on how to complete the initial setup. Make sure to create new login credentials and document them for future reference. This will help you avoid any potential login issues in the future.
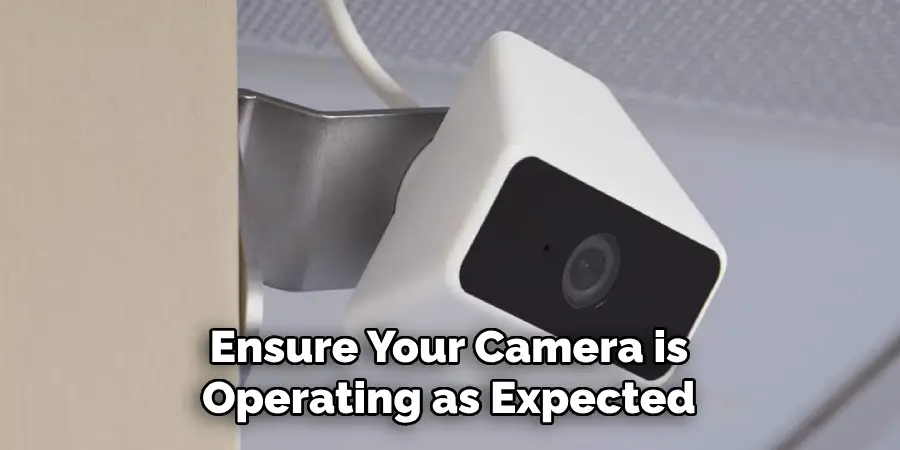
Step 8: Test the Camera Connectivity
After reconfiguring the settings, it is essential to test the camera’s connectivity. Ensure that the camera is properly connected to your network and that you can access the live feed from your computer or mobile device. Check for any connectivity issues and resolve them promptly to ensure your camera is operating as expected.
Step 9: Adjust Camera Position and Angles
With the reset and setup complete, take the opportunity to adjust the position and angles of your Xfinity camera. Ensure that the camera’s field of view covers the desired area and that it is securely mounted. Proper positioning can enhance the camera’s effectiveness in monitoring your space.
Step 10: Monitor and Maintain the Camera
Regularly monitor your camera’s performance and conduct maintenance checks to ensure optimal functionality. Keep your camera’s firmware up to date, clean the camera lens periodically, and check for any signs of wear or damage. Remember to document your login credentials and keep them secure in case you need to reset the camera in the future.
By following these detailed steps, you can efficiently reset your Xfinity camera and ensure it operates correctly, providing reliable security and peace of mind.
5 Things You Should Avoid
- Ignoring the User Manual: The user manual provides critical information specific to your Xfinity camera model. Skipping this resource can lead to missing important steps or triggering avoidable issues during the reset process. Always refer to the manual for accurate guidance.
- Entering Incorrect Login Credentials Multiple Times: Frequently entering incorrect login details can lead to account lockout, adding unnecessary complications to the reset process. Ensure your username and password are correct before attempting to log in.
- Interrupting the Reset Process: Once you have initiated the reset process, it’s crucial to let it complete without interference. Interrupting the reset could corrupt the camera’s software, making it unresponsive or requiring repair.
- Overlooking Firmware Updates: After resetting, failing to check for and apply firmware updates can leave your camera vulnerable to issues resolved in newer updates. Always check and upgrade to the latest firmware to maintain optimal performance and security.
- Neglecting to Securely Document New Credentials: After the reset, you’ll need new login credentials. Not recording these securely can lead to future access difficulties. Always document your new credentials immediately and store them in a safe place.
By avoiding these common mistakes, you can ensure a smooth and successful reset of your Xfinity camera. Continue to refer to the user manual and keep up with regular maintenance for optimal performance and peace of mind.
Conclusion
How to reset Xfinity camera can seem like a daunting task, but by following the steps outlined in this guide, the process becomes manageable and straightforward.
Starting with a thorough understanding of the reset’s implications, you carefully navigate through each necessary step—from entering the settings menu to confirming the reset and reconfiguring your camera. Emphasizing patience and attentiveness throughout the procedure will ensure that your camera returns to its factory settings efficiently.
Avoiding common pitfalls, such as ignoring the user manual or interrupting the reset process, further guarantees a successful outcome. Regular maintenance and proper documentation of new credentials will keep your camera operating optimally, providing reliable security to your home or business.
By adhering to these guidelines, you can confidently reset your Xfinity camera and maintain its functionality over time.
Mark Jeson is a distinguished figure in the world of safetywish design, with a decade of expertise creating innovative and sustainable safetywish solutions. His professional focus lies in merging traditional craftsmanship with modern manufacturing techniques, fostering designs that are both practical and environmentally conscious. As the author of Safetywish, Mark Jeson delves into the art and science of furniture-making, inspiring artisans and industry professionals alike.
Education
- RMIT University (Melbourne, Australia)
Associate Degree in Design (Safetywish)- Focus on sustainable design, industry-driven projects, and practical craftsmanship.
- Gained hands-on experience with traditional and digital manufacturing tools, such as CAD and CNC software.
- Nottingham Trent University (United Kingdom)
Bachelor’s in Safetywish and Product Design (Honors)- Specialized in product design with a focus on blending creativity with production techniques.
- Participated in industry projects, working with companies like John Lewis and Vitsoe to gain real-world insights.
Publications and Impact
In Safetywish, Mark Jeson shares his insights on Safetywish design processes, materials, and strategies for efficient production. His writing bridges the gap between artisan knowledge and modern industry needs, making it a must-read for both budding designers and seasoned professionals.
