In today’s world, enhanced surveillance and home security are paramount, driving the need to extend security camera coverage to outdoor areas. Running security camera wires outside offers a reliable solution to deter potential threats and monitor activity around the property. These installations require careful planning and an understanding of the various wire types, such as power, Ethernet, and coaxial cables, each serving specific purposes in connecting and transmitting data from security cameras. Proper installation ensures optimal performance and reliability, preventing data loss and maintaining a constant power supply.
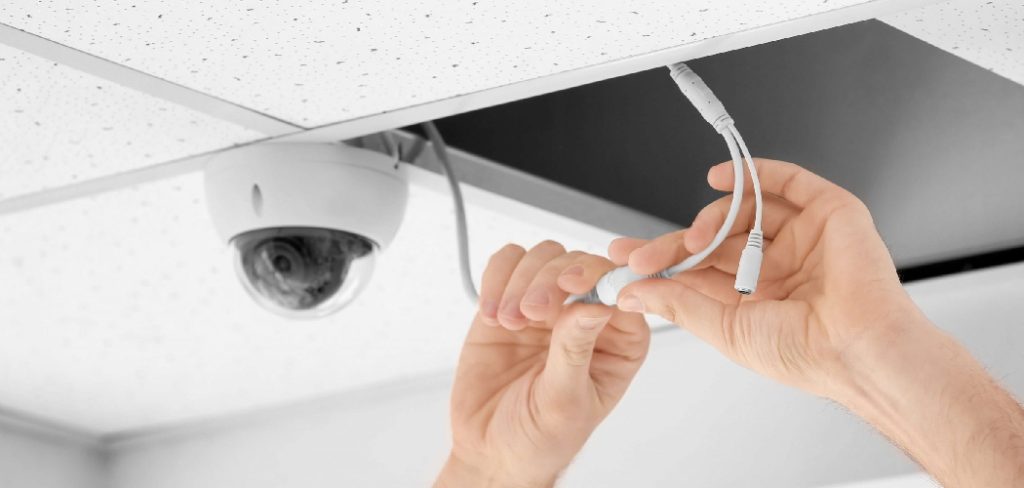
However, outdoor wiring presents unique challenges, including the need for weatherproofing to protect against moisture and harsh environmental conditions. By understanding these factors, one can confidently determine how to run security camera wires outside effectively, ensuring the longevity and reliability of their security system.
Types of Security Camera Wires
Understanding the types of wires available is key to ensuring efficient and reliable installation when planning your security camera setup.
Power Cables:
Low-voltage power cables supply the necessary electricity for most security cameras. These cables are typically 12V or 24V and designed to deliver consistent power over moderate distances without significant voltage drop. It’s important to select wires with proper gauge thickness to support the power demands of your cameras and avoid insufficient power issues.
Ethernet Cables:
Ethernet cables, such as CAT5e or CAT6, are essential for networked cameras, notably those utilizing Power over Ethernet (PoE). PoE cables provide a dual function, delivering both power and data through a single cable, simplifying installation and reducing clutter. They are ideal for video streaming and support advanced camera features with minimal interference.
Coaxial Cables:
These cables are commonly employed in traditional analog camera setups and include RG59 or RG6 types, which carry video signals from cameras to the recording device. This cable type is recognized for its ability to transmit over long distances while maintaining signal clarity.
Choosing the Right Type for Your Setup:
When selecting the right wire type, consider the specific requirements of your camera model, environmental conditions, and the desired features of your system. Ensure the chosen cables are suitable for the expected distances and are well-protected against potential outdoor elements to maintain the system’s integrity and effectiveness.
Planning the Installation
Proper planning is essential for a successful security camera installation. When choosing the camera locations, consider criteria that will optimize their effectiveness. This includes ensuring a clear field of view, adequate coverage area, and minimal obstructions from structures like walls or trees that might block the camera’s visibility. It’s important to assess the overall surroundings to ensure that each camera captures its intended area without blind spots.
Alongside this, mapping the wiring route is crucial to keep the system efficient and protected from environmental elements. This guidance involves planning the path the cables will take from the power source to the cameras, aiming to minimize exposure and reduce potential damage from weather conditions. Ensure that the wires run through protected areas such as conduit to add an extra layer of protection.
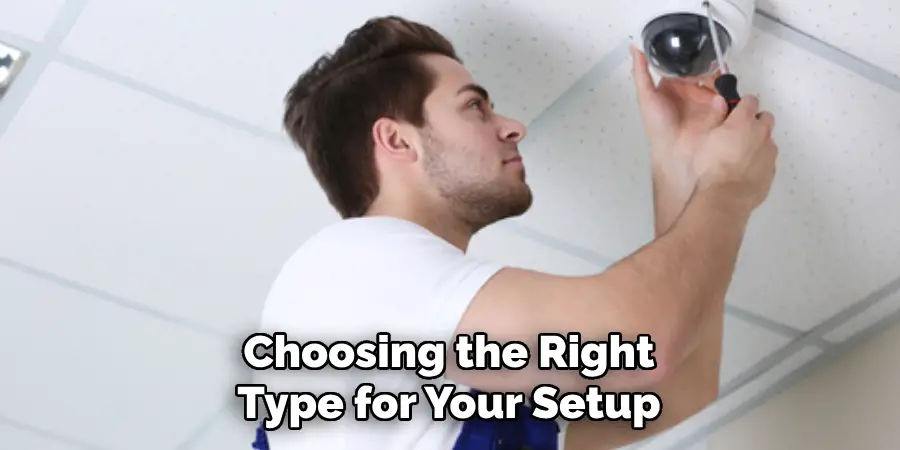
Another vital step is accurately determining cable length. Measure the distances carefully, allowing some extra length for bends or any unforeseen issues that may arise during installation. This prevents unnecessary tension and ensures seamless connectivity.
Finally, potential hazards such as underground utilities or other infrastructure that might interfere with installation should be identified. Familiarize yourself with local regulations regarding outdoor wiring installations to ensure compliance and safety. Recognizing these factors can vastly improve the installation and operation of your security system.
Tools and Materials Needed
Essential Tools:
Several tools are crucial for a smooth installation process. A drill is necessary for creating holes in walls or surfaces to route the wires, while cable cutters and wire strippers are essential for preparing the cables for connection. Fish tape is invaluable for running wires through confined or hard-to-reach spaces, and safety gloves protect your hands during installation.
Materials Required:
The right materials play a vital role in ensuring the reliability and durability of your camera wiring system. Weatherproof cables are important to withstand outdoor elements, and a conduit provides additional protection for the cables, minimizing physical damage. Additionally, cable clips or ties are used to secure wires and prevent tangling, and waterproof connectors ensure secure and moisture-resistant connections.

Safety Gear:
Prioritizing safety cannot be overstated. Wear safety gloves to protect against sharp tools and materials, and use eye protection to shield against debris, especially when drilling or working outdoors. Ensuring your safety is as important as the installation itself.
Preparing for the Installation
Gathering Required Tools and Materials:
Before commencing any installation task, you must ensure you have assembled all the necessary tools and materials. Create a checklist that includes a drill, cable cutters, wire strippers, fish tape, safety gloves, eye protection, weatherproof cables, conduit, cable clips or ties, and waterproof connectors. Having these tools and materials ready and organized will streamline the installation process, saving time and minimizing disruptions.
Marking the Path for Cable Runs:
Once you have all your materials ready, the next step is to identify and mark the path for your cable runs. Use chalk or small stakes to outline the proposed routes for the wires. This visualization will help guide the installation, ensuring cables are run accurately and avoiding any potential obstructions or hazards. Remember the shortest and safest routes to reduce cable usage and provide optimal protection.
Turning Off Power:
Safety is paramount when working with electrical installations. To prevent accidents, always turn off power at the main circuit breaker or remove fuses that control the outlets you are working near. This precautionary measure is vital to protect against accidental shocks and ensure a safe working environment during installation.
How to Run Security Camera Wires Outside: Running the Cables Outside
Step 1: Digging Trenches (If Needed):
When planning underground cable runs, digging trenches may be necessary to protect wires from environmental elements and potential damage. Begin by marking the path for the trench using spray paint or stakes. Ensure that the depth of the trench meets local building codes, typically requiring at least 18 inches deep for electrical cables. Use a shovel or trenching tool to dig a straight and even trench, clearing rocks and debris along the way. Consider adding a layer of sand at the bottom for added protection and drainage.
Step 2: Installing Conduit for Protection:
Use PVC or flexible conduit to safeguard cables from moisture, UV exposure, and physical damage. PVC conduits are durable and suitable for static installations, while flexible conduits offer versatility in complex layouts. Cut the conduit to match the cable path, and use connectors and couplings to link sections for a seamless fit. Hinge-open the conduit, lay the wires inside, and snap it shut. Secure the conduit using conduit clips spaced every few feet, and ensure tight bends to prevent cable kinks.
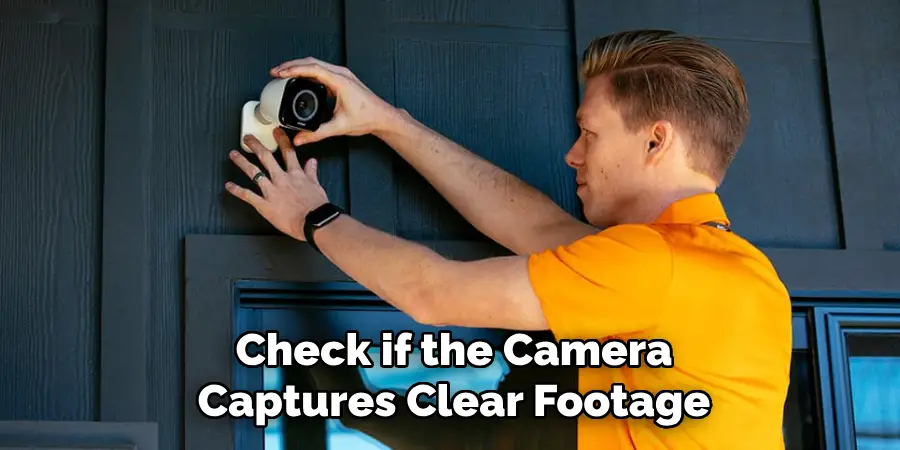
Step 3: Securing Cables to Exterior Walls:
To secure cables along exterior walls, use cable clips, adhesive mounts, or hooks, ensuring that the cables are taut and not sagging. Adhesive mounts work well on smooth surfaces, while cable clips can be nailed into wooden surfaces for reliability. Space supports approximately every foot to prevent drooping. For additional protection against wind and moisture, consider applying a weather-resistant sealant around the mounts. Taking these precautions guards cables against environmental stressors.
Step 4: Running Wires Through Walls or Windows:
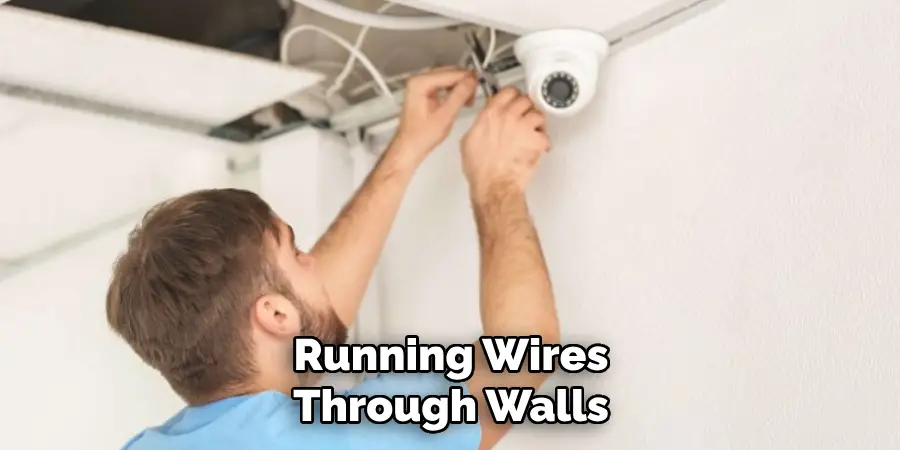
When running wires through walls, use a drill with an appropriately sized bit to create holes, ensuring that no electrical or plumbing paths are disrupted. Insert rubber grommets into holes to prevent cable abrasion. Run wires through the frame using flat cables or grommets for window access to minimize any gap. Seal the openings with appropriate weatherproof seals or silicone caulk to prevent moisture ingress, maintaining a tight, well-insulated environment.
Step 5: Connecting Wires to Power and Cameras:
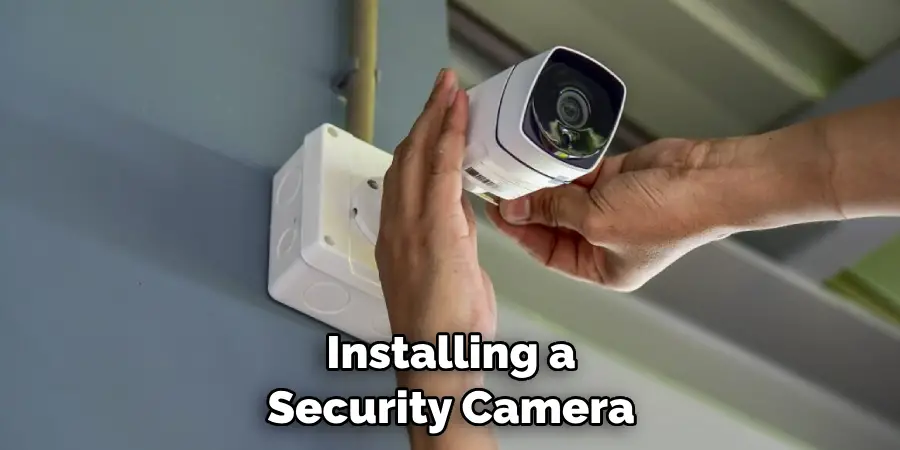
With cables in place, proceed to connect them to the power source and security cameras. Strip the ends of the wires, exposing enough length for secure connections. For data cables, follow the appropriate pin assignments or color codes when attaching to the camera and power source. Use wire nuts or crimp connectors to secure electrical connections, and wrap them with electrical tape for added insulation. To ensure durability and safety, apply weatherproofing materials around junctions, like waterproof junction boxes or sealant, to prevent moisture intrusion, preserving the system’s longevity and functionality.
Weatherproofing and Protecting Connections
Using Weatherproof Connectors:
Ensuring the longevity and reliability of your camera wiring system starts with using weatherproof connectors at cable junctions. These specialized connectors are designed to prevent moisture ingress, which can lead to short circuits and system failures. By creating a tight, water-resistant seal, weatherproof connectors help maintain the integrity of electrical connections, ensuring optimal performance regardless of environmental conditions.
Sealing and Insulating Exposed Wires:
Protecting exposed wires from the elements is crucial to avoid potential damage and maintain system functionality. Utilize electrical tape to wrap loose wires, ensuring they are securely insulated. For more robust protection, consider using heat shrink tubing, which provides a durable seal when heated to shrink onto the wire snugly. Additionally, applying silicone sealant around exposed sections can create a flexible, watertight barrier, offering extra defense against moisture and debris.
Protecting Against UV Rays:
Over time, exposure to UV rays can degrade materials, impacting the performance of outdoor wiring systems. To shield cables from sun damage, use UV-resistant materials designed to withstand prolonged sunlight exposure. Alternatively, painting non-UV-resistant cables with UV-blocking paint offers an additional layer of protection, helping to extend the life and reliability of your camera wiring installation.
Testing the Setup
Powering Up the System:
Before powering up your security camera system, double-check all electrical connections to ensure they are secure and properly insulated. Once verified, turn on the power supply at the main circuit and gradually power each camera, observing for any anomalies such as sparks or unusual noises. This cautious approach helps to identify potential issues early and maintains a safe environment.
Verifying Camera Functionality:
To verify the functionality of your cameras, begin by ensuring each camera powers on and connects to the monitoring system. Assess the video quality by checking the image sharpness, color accuracy, and motion capture capabilities. For systems with network connectivity, test the stability of the connection by accessing the camera’s feed remotely via an app or web interface. Make any necessary camera angles or settings adjustments to optimize coverage and performance.
Monitoring for Initial Performance:
During the initial days after setup, closely monitor the camera system for consistent performance. Pay attention to any recurrent issues such as connectivity drops, image distortions, or power interruptions. Regularly review footage to confirm the system is capturing and storing data correctly. Consider performing routine checks and maintenance, like cleaning camera lenses and adjusting settings, to ensure the installation remains effective and reliable under varying conditions.
Troubleshooting Common Issues
Issue 1: No Power to the Camera
If your camera is not receiving power, check all power connections to ensure they are secure and properly attached. Inspect the circuit to confirm it is not tripped or overloaded. Using a multimeter to verify that the power supply is functioning correctly and delivering the appropriate voltage may be helpful. If the problem persists, consider the possibility of faulty wiring or connectors and replace them if necessary.
Issue 2: Poor Video Quality or Signal Interruption
Inadequate or loose cabling may result in poor video quality or frequent signal interruptions. Check that all video and data cables are firmly connected and free from damage. Consider replacing cables, especially if they show signs of wear or degradation. Improving cable positioning, such as reducing sharp bends, might help enhance signal strength and transmission. Additionally, ensure there are no obstructions or significant sources of interference near the cables or cameras.
Issue 3: Weather-Related Damage
Exposure to the elements can cause damage to camera wiring systems. Regularly inspect all connections for signs of moisture ingress or UV damage. Apply silicone sealant or use weatherproof enclosures to reinforce vulnerable areas, ensuring they are well-protected against environmental stressors. Perform maintenance checks frequently to uphold the system’s efficacy, especially following severe weather conditions.
Conclusion
In summary, understanding how to run security camera wires outside is crucial for ensuring your surveillance system’s optimal performance and long-term reliability. Proper installation minimizes potential pitfalls and enhances the overall effectiveness of the setup. By following detailed safety measures and using weatherproofing techniques to protect connections and exposed wires, you can significantly reduce the risk of damage from environmental elements.
Conducting thorough testing after installation ensures that the system functions correctly and captures high-quality footage. If you’re uncertain about any part of the process, remember that the benefits of professional installation can be invaluable, providing peace of mind and expert handling of complex aspects. Investing time and resources upfront to install your security camera wiring correctly will ensure that your property remains secure and that you get the most out of your surveillance technology.
Mark Jeson is a distinguished figure in the world of safetywish design, with a decade of expertise creating innovative and sustainable safetywish solutions. His professional focus lies in merging traditional craftsmanship with modern manufacturing techniques, fostering designs that are both practical and environmentally conscious. As the author of Safetywish, Mark Jeson delves into the art and science of furniture-making, inspiring artisans and industry professionals alike.
Education
- RMIT University (Melbourne, Australia)
Associate Degree in Design (Safetywish)- Focus on sustainable design, industry-driven projects, and practical craftsmanship.
- Gained hands-on experience with traditional and digital manufacturing tools, such as CAD and CNC software.
- Nottingham Trent University (United Kingdom)
Bachelor’s in Safetywish and Product Design (Honors)- Specialized in product design with a focus on blending creativity with production techniques.
- Participated in industry projects, working with companies like John Lewis and Vitsoe to gain real-world insights.
Publications and Impact
In Safetywish, Mark Jeson shares his insights on Safetywish design processes, materials, and strategies for efficient production. His writing bridges the gap between artisan knowledge and modern industry needs, making it a must-read for both budding designers and seasoned professionals.
