
Are you noticing a musty smell in your home? Do you have pests, rodents, or excess moisture in your crawl space? These are all signs that your crawl space vents may not be properly secured.
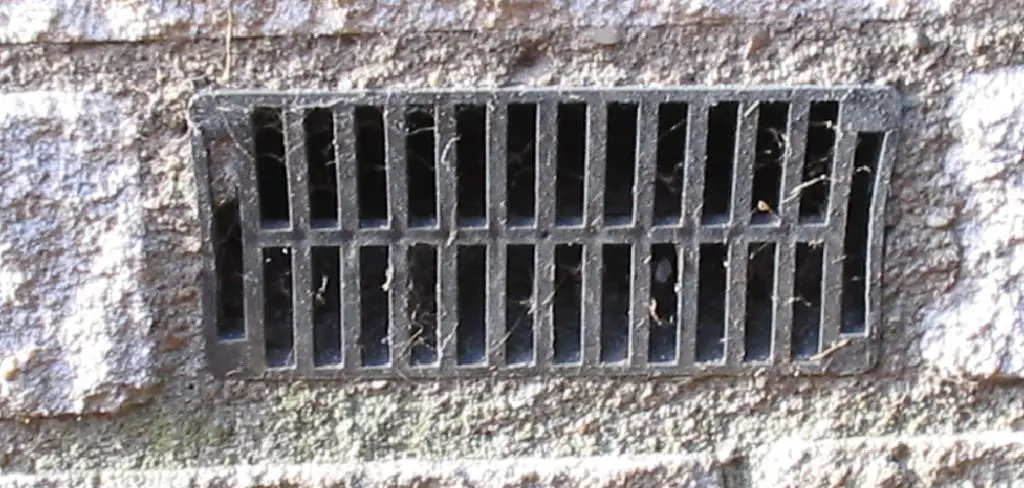
Securing crawl space vents is essential for maintaining the health and integrity of your home. If not properly ventilated and secured, crawl spaces often provide a breeding ground for moisture, pests, and mold. By ensuring that your crawl space vents are adequately protected, you can prevent these potential hazards and extend the lifespan of your home’s foundation.
This guide will detail the steps and considerations on how to secure crawl space vents, from selecting the right materials to installing them correctly. Whether you are a seasoned DIY enthusiast or a homeowner looking to improve your property’s condition, this introduction will set you on the right path toward a safer and more secure crawl space.
What Will You Need?
Before beginning the process of securing your crawl space vents, it is essential to gather all the necessary materials and tools. Here is a list of things you will need:
- Protective gear such as gloves, goggles, and a dust mask
- Measuring tape
- Metal hardware cloth or mesh
- Wire cutters or tin snips
- Hammer or staple gun with staples
- A caulking gun and waterproof caulk
- Screwdriver or power drill (depending on the type of vent)
Once you have gathered all the necessary materials, you can begin the process of securing your crawl space vents.
8 Easy Steps on How to Secure Crawl Space Vents
Step 1: Measure and Cut the Mesh
The first step in securing your crawl space vents is to measure and cut the metal hardware cloth or mesh to the appropriate size. Begin by measuring the dimensions of each vent opening. You’ll want the mesh to cover the entire opening while extending at least an inch beyond the edges. This extra overhang will ensure you have enough material to secure the mesh firmly in place.
Once precise measurements are taken, use wire cutters or tin snips to cut the mesh to the correct dimensions. Be sure to wear protective gloves during this step to avoid any injuries from sharp edges. It’s also recommended to double-check your measurements before cutting to avoid wasting material. Properly cut mesh will form a more effective barrier against pests and debris, ensuring that it fits snugly over your vents without leaving gaps.
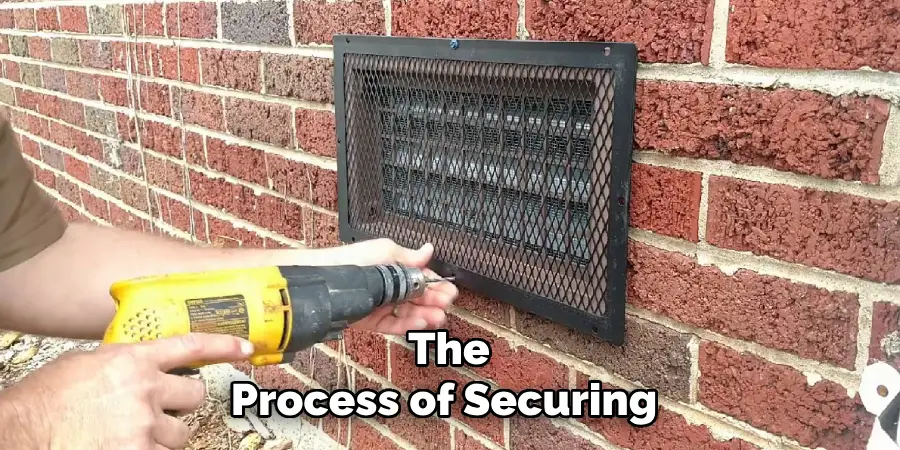
Step 2: Attach the Mesh to the Vents
With your mesh cut to size, the next step is to attach it securely over each vent opening. Begin by positioning the mesh over the vent, ensuring that it extends evenly on all sides beyond the vent’s edges. If necessary, make any minor adjustments to the position so that it fits snugly.
Using a hammer if you are using nails or a staple gun loaded with appropriate staples, begin fastening the mesh to the crawl space vent frame. Start at one corner and work your way around, securing the mesh firmly at regular intervals. Ensure that the mesh is taut and free of any wrinkles or gaps that might allow pests to enter.
For added security, consider using screws with washers around the perimeter of the mesh. This will provide an extra layer of protection and help keep the mesh tightly in place over time. Once the mesh is fully secured, inspect it to make sure there are no loose edges or areas where pests could potentially gain entry.
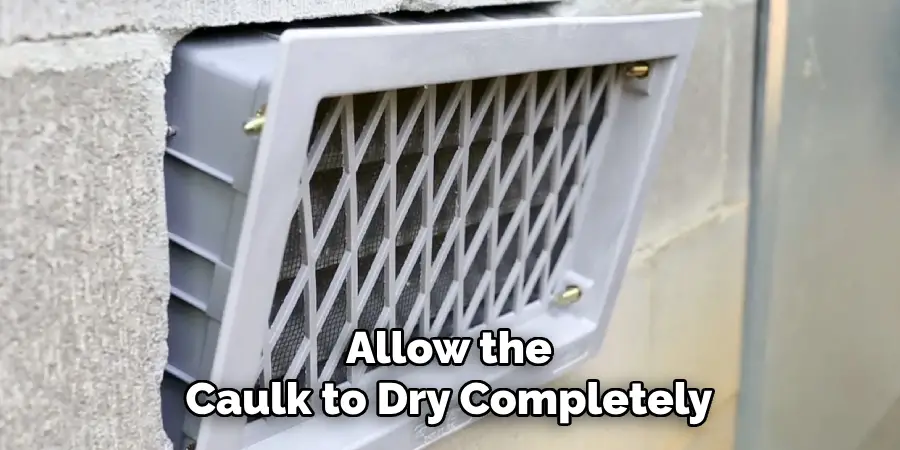
Step 3: Seal the Edges with Caulk
Once the mesh is securely fastened to the vent, it’s important to seal the edges to ensure a tight and waterproof barrier. Using a caulking gun, apply a continuous bead of waterproof caulk around the perimeter of the mesh where it meets the vent’s frame. This will help block small gaps and prevent moisture from seeping through.
Begin by cutting the tip of the caulk tube at a 45-degree angle to create an opening. Start at one corner of the vent and apply the caulk smoothly along the edge, moving steadily and evenly to avoid any gaps or breaks. Be sure to smooth the caulk with a caulk smoothing tool or your finger for a clean finish. Allow the caulk to dry completely before moving on to the next step.
Step 4: Inspect for Additional Vents
After sealing the edges with caulk, it is crucial to inspect your crawl space thoroughly for any additional vents or openings that need to be secured. Crawl spaces may have multiple vents, and leaving even one unsecured can undermine your efforts to protect your home from pests, moisture, and debris.
Walk around the perimeter of your crawl space and carefully check for any other vent openings. Pay close attention to the areas near the corners and along the foundation, as these are common places for additional vents. If you find more vents, repeat Steps 1 to 3 to measure, cut, attach, and seal the mesh.
Ensuring that every vent is properly secured will provide comprehensive protection for your crawl space and contribute to a healthier home environment. Once you have inspected and secured all vents, proceed to the final inspection and maintenance steps to complete the process.
Step 5: Perform a Final Inspection
Before concluding the project, performing a thorough final inspection of your work is essential. Carefully revisit each vent that you have secured to ensure that the mesh is still tightly in place and that the caulk has dried properly. Check for any signs of gaps, loose edges, or potential weak spots that could allow pests or moisture to enter your crawl space. If you find any issues, take the necessary steps to reinforce or reseal those areas.
Additionally, consider inspecting the surrounding area for any other potential entry points or issues that might need attention, such as foundation cracks or siding gaps. Addressing these concerns will further enhance the protection of your crawl space and contribute to the overall health and integrity of your home.
Step 6: Clean Up Your Work Area
After completing the final inspection, it’s time to clean up your work area. Start by collecting all the tools and materials you used during the project. Make sure to safely dispose of any sharp metal mesh pieces to avoid injury. Store your tools properly for future use, and ensure that any unused caulk tubes are sealed to prevent them from drying out.

Cleaning up not only leaves your work area tidy but also eliminates potential safety hazards. Double-check that you haven’t left any nails, staples, or other potentially harmful debris on the ground, particularly if the area is accessible to pets or children. Proper disposal and storage of materials ensure your workspace is safe and ready for future projects.
Step 7: Maintain Regular Inspections
Even after you’ve completed the initial installation of the mesh over your crawl space vents, it’s important to conduct regular inspections to ensure ongoing protection. Aim to check your vents at least twice a year, preferably in the spring and fall, to identify any signs of wear or damage that might have occurred over time.
During these inspections, look for any loose mesh, new gaps, or areas where the caulk may have deteriorated. Addressing these issues promptly will help you maintain a secure barrier against pests, moisture, and debris. Additionally, check the general condition of the crawl space for other potential issues, such as standing water or evidence of animal activity.
Step 8: Schedule Professional Inspections
While regular personal inspections are crucial, scheduling professional inspections of your crawl space is also highly recommended. Pest control and home maintenance professionals have the expertise and equipment to identify issues that might escape an untrained eye. Arrange for a professional inspection at least once every two years to ensure that your crawl space remains in optimal condition.
During a professional inspection, experts will thoroughly examine the mesh installation, caulk integrity, and overall structural health of your crawl space. They may also provide additional services such as pest treatment, moisture control, and minor repairs—further safeguarding your home from potential threats.
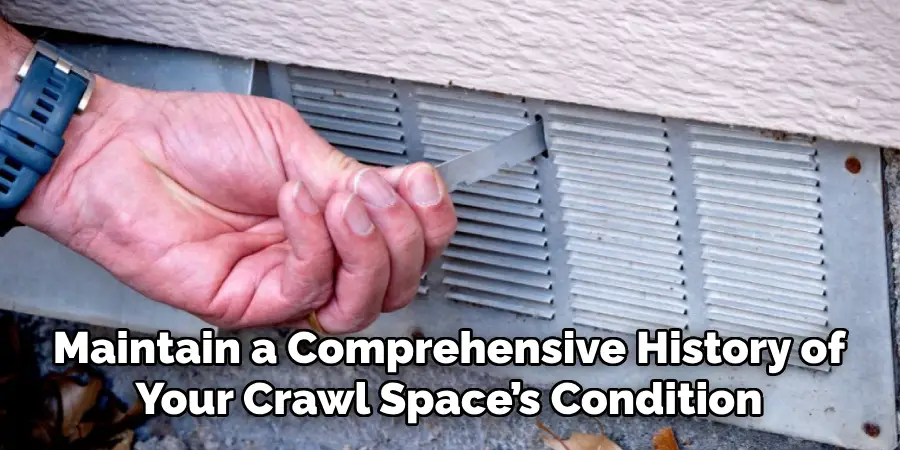
Investing in professional assessments can save you time and money by preventing minor issues from developing into significant problems. Keep a record of all professional inspections and the recommendations provided to maintain a comprehensive history of your crawl space’s condition.
By following these steps and implementing appropriate maintenance measures, you can effectively protect your crawl space from unwanted pests, moisture, and debris.
Conclusion
How to secure crawl space vents is an essential step in maintaining the overall health and safety of your home. By properly installing metal mesh over the vents, you can effectively block pests, moisture, and debris from entering your crawl space.
The process involves measuring, cutting, attaching, and sealing the mesh to ensure a tight fit and conducting thorough initial and final inspections guarantees that all openings are secured, thus preventing potential damage.
Regular maintenance is key to ensuring long-term protection—make it a habit to inspect the vents at least twice a year. Professional inspections provide an added layer of security, identifying issues that may not be visible to the untrained eye.
By combining these efforts, you can create a robust defense against common threats to your crawl space, contributing to a healthier and more secure home environment.
Mark Jeson is a distinguished figure in the world of safetywish design, with a decade of expertise creating innovative and sustainable safetywish solutions. His professional focus lies in merging traditional craftsmanship with modern manufacturing techniques, fostering designs that are both practical and environmentally conscious. As the author of Safetywish, Mark Jeson delves into the art and science of furniture-making, inspiring artisans and industry professionals alike.
Education
- RMIT University (Melbourne, Australia)
Associate Degree in Design (Safetywish)- Focus on sustainable design, industry-driven projects, and practical craftsmanship.
- Gained hands-on experience with traditional and digital manufacturing tools, such as CAD and CNC software.
- Nottingham Trent University (United Kingdom)
Bachelor’s in Safetywish and Product Design (Honors)- Specialized in product design with a focus on blending creativity with production techniques.
- Participated in industry projects, working with companies like John Lewis and Vitsoe to gain real-world insights.
Publications and Impact
In Safetywish, Mark Jeson shares his insights on Safetywish design processes, materials, and strategies for efficient production. His writing bridges the gap between artisan knowledge and modern industry needs, making it a must-read for both budding designers and seasoned professionals.
