
Are you tired of your wobbly deck railing? Not only is it a safety hazard, but it can also be an eyesore. Luckily, securing your deck railing doesn’t have to be difficult or expensive. You can ensure your deck railing is secure and sturdy with a few simple steps.
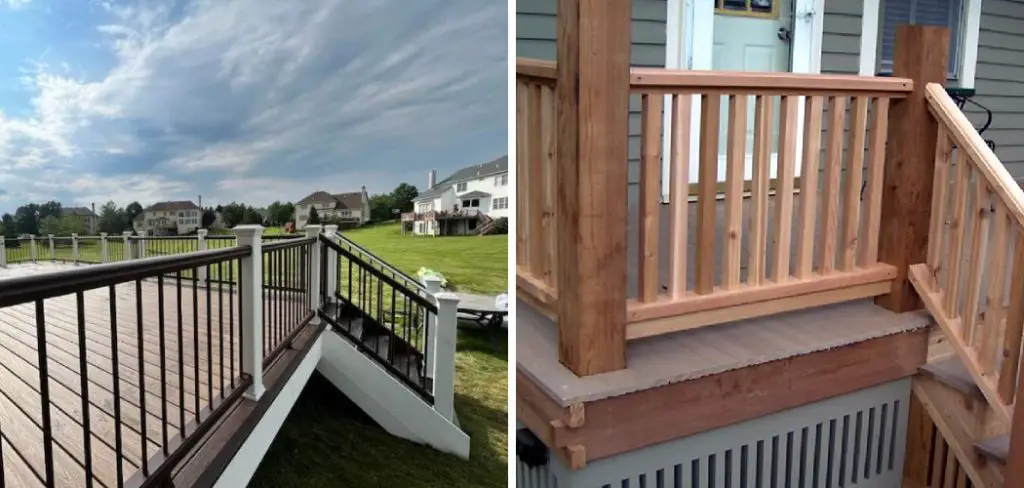
A wobbly deck railing is an eyesore and a serious safety hazard. Whether your deck is situated in the backyard of your home or on a commercial property, ensuring that the railings are secure is crucial for preventing accidents and providing peace of mind.
This guide on how to secure wobbly deck railing will walk you through the steps to diagnose the root cause of the wobble and offer practical solutions to tighten and stabilize your deck railing, making it safe and steady for everyday use.
What Will You Need?
Before you start securing your deck railing, assembling all the necessary tools and materials is important. Here are some items you may need:
- Measuring tape
- Drill
- Screws
- Screwdriver or power drill
- Wood filler (if needed)
- Level tool
- Lumber blocks (if needed)
Once you have gathered these materials, you can secure your wobbly deck railing.
10 Easy Steps on How to Secure Wobbly Deck Railing
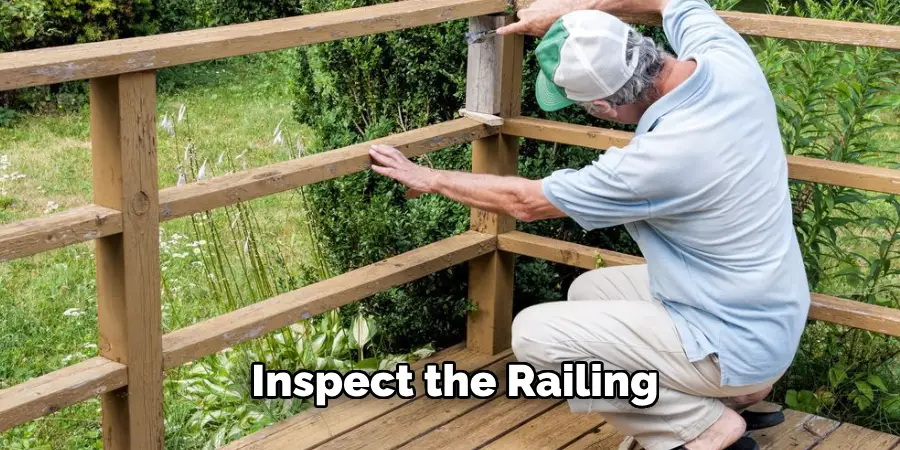
Step 1: Inspect the Railing
Start by thoroughly inspecting the entire railing to identify where the wobble originates. Check each post, baluster, and connection to the deck floor and any adjacent walls or structures. Look for signs of damage or wear, such as loose screws, cracks in the wood, or weakened joints. Use your hands to gently push and pull on each railing component to see if there’s any movement. Make a note of any parts that feel loose or unstable, as these are the areas that will need attention. Being methodical and detailed during this inspection will ensure that you identify all potential issues, allowing for a more comprehensive and effective repair process.
Step 2: Tighten Loose Screws
After identifying the areas where the railings are loose, the next step is to tighten any loose screws or bolts. Use a screwdriver or power drill to secure these fasteners, applying firm pressure to ensure they are snug. If a screw won’t tighten because the hole is stripped, remove the screw and fill the hole with wood filler. Allow the filler to dry completely, then reinsert the screw to create a stronger connection. This action should immediately improve the stability of any loose parts, but remember to check all screws and bolts, as multiple fasteners may need tightening to ensure overall stability.
Step 3: Replace Damaged or Missing Screws and Bolts
While tightening screws and bolts, you may come across some that are damaged or missing entirely. Replacing these fasteners is crucial for the stability of your deck railing. Choose screws or bolts that are the same size and type to ensure a proper fit. When replacing damaged screws, remove the old ones completely and clear any debris from the holes before inserting the new screws. If a screw hole is damaged and cannot securely hold a screw, consider drilling a new pilot hole nearby to ensure a secure attachment. This step helps reinforce the connection points, providing additional stability to your deck railing.
Step 4: Reinforce Weak Posts
If any of the deck posts feel weak or unstable, reinforcing them is essential. Start by ensuring the base of each post is securely attached to the deck joists. You can add additional screws or bolts at the base for extra stability. Alternatively, if the post is still shaky, consider adding a lumber block, known as blocking, between the joists alongside the post. This added support can help distribute the load more evenly and reduce movement. Use a level tool to ensure the posts are perfectly vertical before securing them firmly in place.
Step 5: Secure Railings to the Adjacent Structures
Check the points where the railing connects to your home or any adjacent structures. These connections are crucial for overall stability. If you find any weak or loose connections, use screws and brackets to secure the railing firmly to these structures. For added strength, ensure the brackets are heavy-duty and intended for outdoor use. Properly securing these points will prevent side-to-side movement and stabilize the railing.
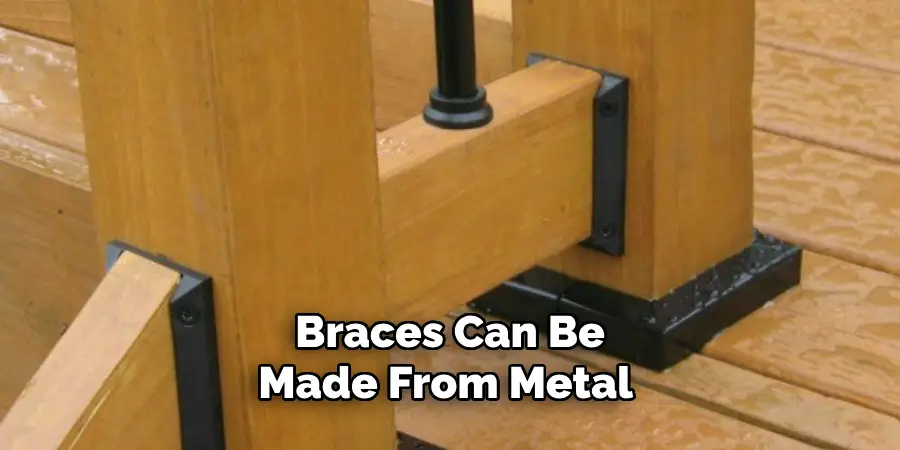
Step 6: Add Diagonal Bracing
Consider adding diagonal bracing for sections of the deck railing that still feel wobbly. Braces can be made from metal or wood and should be installed at an angle from the post to the deck floor. Diagonal bracing helps distribute weight more effectively and can significantly reduce the wobble. Secure one end of the brace to a point midway up the post and the other end to a deck joist or beam. Make sure the brace is tightly fastened and check for stability after installation.
Step 7: Replace or Repair Worn Components
During your inspection, you might have found components such as balusters, rail caps, or post caps that are worn out or damaged. Replacing or repairing these parts is crucial for maintaining the overall integrity of the railing. Remove any damaged components and replace them with new ones of the same size and style. For wooden parts, consider applying a weather-resistant sealant to protect against future wear and tear.
Step 8: Fill and Seal Cracks
If you notice any cracks in the wood, filling and sealing them to prevent further damage is vital. Use wood filler to fill in any visible cracks or gaps. Once the filler is dry, smooth the area and apply a sealant to protect against moisture and other environmental factors. Properly maintained wood looks better and provides a more secure railing system.
Step 9: Test the Railing for Stability
After completing your repairs, test the railing to ensure stability. Apply various levels of force to different railing sections to check for movement. Be thorough in your testing, as overlooked issues can still pose a risk. If any part still feels wobbly, revisit the previous steps to identify and address the problem areas.
Step 10: Regular Maintenance
To keep your deck railing secure, conduct regular maintenance checks and address any issues as they arise. Seasonal inspections can help you catch early signs of wear and prevent major problems. Regularly tightening screws and bolts, applying sealants, and replacing worn components will prolong the life of your deck railing and ensure it remains safe and sturdy.
By following these steps, you can secure your wobbly deck railing and maintain a safe and appealing outdoor space.
5 Additional Tips and Tricks
- Reinforce Post Connections: Ensure that the posts are securely bolted to the deck frame. Add bolts or hardware to strengthen the connection and reduce wobbling if necessary.
- Use Blocking Between Joists: Install blocking between deck joists underneath the railing posts. This will help to stabilize the posts and minimize any movement.
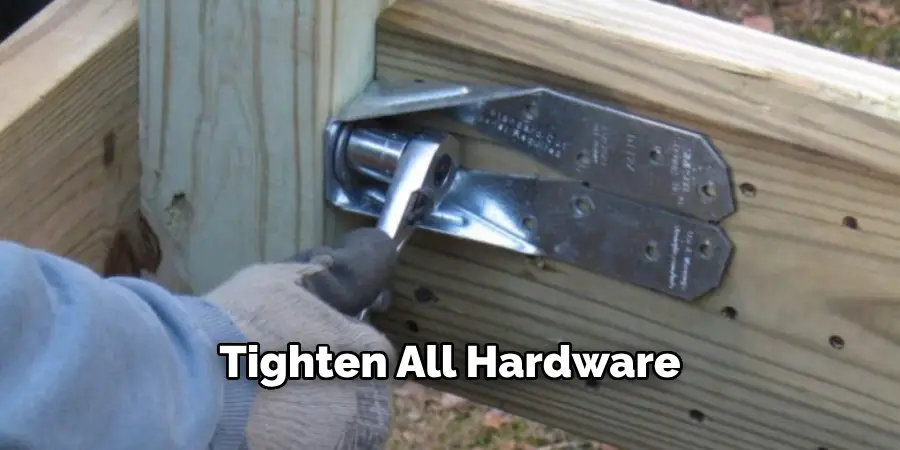
- Tighten All Hardware: Regularly check and tighten all screws, bolts, and brackets used in the railing system. This simple maintenance step can prevent components from loosening and causing instability.
- Add Metal Brackets: For added support, consider adding metal brackets at the joint where the post meets the deck. These brackets can provide extra stability and prevent the railing from shifting.
- Install Diagonal Bracing: Diagonal bracing between the posts and the deck can help to distribute the load and resist lateral movements. Securely fasten the bracing to both the posts and the deck frame for maximum effectiveness.
With these additional tips and tricks, you can ensure that your deck railing system is strong, stable, and safe for all to use.
5 Things You Should Avoid
- Using Inadequate Fasteners: Avoid using nails or undersized screws as they are not strong enough to secure the railing posts properly. Always use heavy-duty bolts and screws that are rated for structural support.
- Skipping Sealant or Weatherproofing: Failing to seal or weatherproof the railing posts and hardware can lead to corrosion and wood rot. This deterioration can weaken the entire railing system over time, making it unsafe.
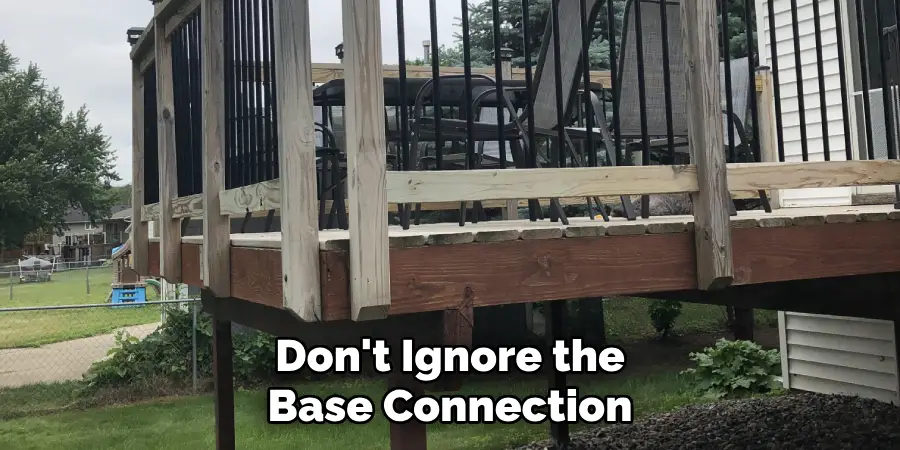
- Ignoring the Base Connection: Do not overlook the importance of securely fastening the base of the railing posts to the deck frame. A weak connection at the base will cause the entire post to wobble, regardless of the strength of the upper connections.
- Installing without Blocking or Bracing: Neglecting to install blocking or diagonal bracing can lead to an unstable railing. These supports are crucial for distributing loads and preventing lateral movements.
- Over-torquing Fasteners: Be cautious not to over-tighten screws and bolts, as this can strip the threads and reduce the holding power of the fasteners. Proper torque ensures that the hardware remains effective in securing the railing.
By avoiding these common mistakes, you can ensure the longevity and safety of your deck railing system.
Conclusion:
How to secure wobbly deck railing is paramount to ensuring the safety and stability of your outdoor space. By following the essential tips and tricks outlined above—such as reinforcing post connections, using blocking between joists, tightening all hardware, adding metal brackets, and installing diagonal bracing—you can significantly enhance the strength and stability of your railing system.
Additionally, being mindful of common pitfalls like using inadequate fasteners, skipping weatherproofing, ignoring the base connection, neglecting blocking or bracing, and over-torquing fasteners will help maintain the integrity of your deck railing.
With careful attention to these details, you can create a sturdy and reliable railing that will stand the test of time, providing peace of mind and ensuring the safety of all who use your deck.
Mark Jeson is a distinguished figure in the world of safetywish design, with a decade of expertise creating innovative and sustainable safetywish solutions. His professional focus lies in merging traditional craftsmanship with modern manufacturing techniques, fostering designs that are both practical and environmentally conscious. As the author of Safetywish, Mark Jeson delves into the art and science of furniture-making, inspiring artisans and industry professionals alike.
Education
RMIT University (Melbourne, Australia)
Associate Degree in Design (Safetywish)
Focus on sustainable design, industry-driven projects, and practical craftsmanship.
Gained hands-on experience with traditional and digital manufacturing tools, such as CAD and CNC software.
Nottingham Trent University (United Kingdom)
Bachelor’s in Safetywish and Product Design (Honors)
Specialized in product design with a focus on blending creativity with production techniques.
Participated in industry projects, working with companies like John Lewis and Vitsoe to gain real-world insights.
Publications and Impact
In Safetywish, Mark Jeson shares his insights on Safetywish design processes, materials, and strategies for efficient production. His writing bridges the gap between artisan knowledge and modern industry needs, making it a must-read for both budding designers and seasoned professionals.
