
Are you tired of worrying about the security of your belongings while traveling or at the gym? Worry no more because Solgaard has covered you with their innovative anti-theft lock.
How to set solgaard lock is a straightforward process designed to enhance the security of your belongings with ease. Whether you’re securing a travel backpack or a piece of luggage, understanding the lock’s mechanisms ensures you have peace of mind throughout your journey. This guide will walk you through the essential steps to properly set and reset your Solgaard lock so that you’re ready for your next adventure.
By following these instructions, you can fully utilize the lock’s features and ensure the protection of your valuables.
What are the Benefits of Setting Your Solgaard Lock?
Setting your Solgaard lock is a crucial step in ensuring the maximum security of your belongings. Here are some benefits of properly setting your lock:
- Protection Against Theft: The Solgaard lock’s anti-theft feature makes it nearly impossible for thieves to break into and steal your belongings.
- Peace of Mind: Knowing that your valuables are secured with a durable and reliable lock will give you peace of mind during travels or gym sessions.
- Easy to Use: Despite its advanced security features, the Solgaard lock is effortless to set up and use.
Now that you know why setting your Solgaard lock is essential, let’s explore how to do it.
10 Easy Steps on How to Set Solgaard Lock
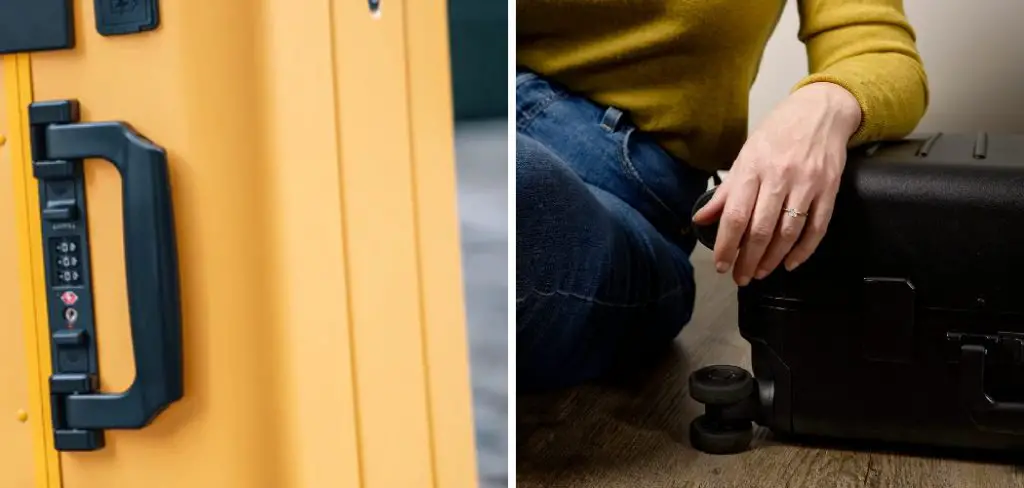
Step 1. Locate the Reset Button
To begin setting up your Solgaard lock, it’s essential to locate the reset button, which is typically found on the side or back of the lock mechanism itself. This small button may be inconspicuous, ensuring it’s not easily tampered with by unauthorized individuals. Use a pointed object, such as a pen or paperclip, to press the reset button gently.
It’s important not to apply too much force to avoid damaging the lock. Once the reset button is pressed, the lock system enters a programming mode, allowing you to set your personalized combination. This initial step is crucial as it prepares the lock for the subsequent steps in customizing your security code, ensuring you’re the only one with access to your belongings.
Step 2. Enter Your New Combination
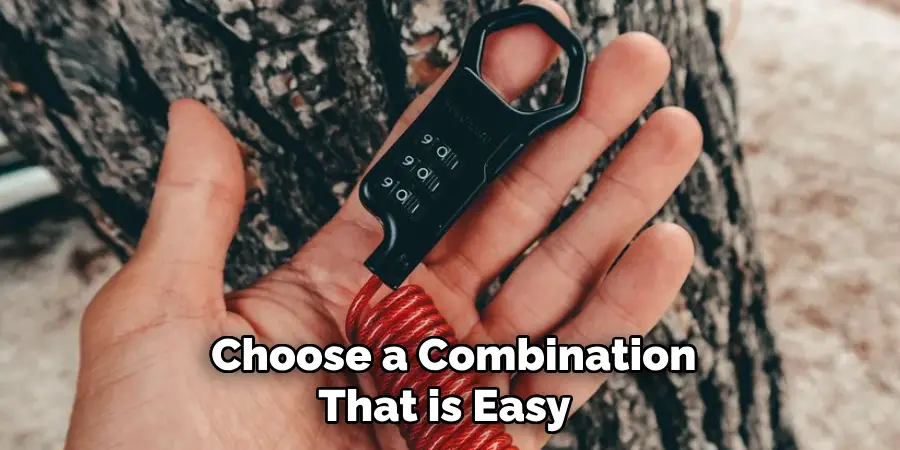
With the reset button pressed, you can now enter your desired combination. Turn the dials to set your personalized code. Choose a combination that is easy to remember but difficult for others to guess. It could be a unique sequence of numbers or a particular date that holds significance to you. Take your time setting each dial carefully to ensure accuracy in the combination. This step is vital in establishing a robust and secure code that keeps your belongings safe. Once you have your combination set, proceed to the next step to lock it in place.
Step 3. Confirm Your Combination
After setting your new combination, you must confirm it to ensure the lock recognizes your intended code. To do this, release the reset button and momentarily turn the dials away from your chosen combination. Then, rotate them back to the exact code you have set. Gently pull on the shackle or mechanism to see if it releases. If it unlocks, your combination is correctly programmed. This confirmation step guarantees that your lock is set correctly and is a crucial part of the process to prevent any mishaps while using the lock in the future.
Step 4. Lock Your Solgaard Lock
Now that you have successfully set and confirmed your combination, it’s time to secure your Solgaard lock. Close the lock by inserting the shackle back into the lock body. Rotate the dials to scramble the combination, ensuring they are not aligned with your set code. This step effectively locks your Solgaard lock and protects your belongings against unauthorized access. Always remember to mix the dials after locking as an additional security measure. Your Solgaard lock is now ready to use, keeping your items secure and giving you confidence in its protective capabilities.
Step 5. Test Your Solgaard Lock
To ensure that your Solgaard lock is set up correctly and functions as expected, it’s essential to test it. Rotate the dials away from your set combination to lock the system. Then, try to open the lock without aligning the correct code—this should not allow the shackle to release, confirming that security is in place. Next, realign the dials to the combination you set previously and pull the shackle again. The lock should open smoothly, indicating your combination was successfully programmed. This testing step ensures that your lock operates properly and confidently secures your belongings. If any issues are identified during testing, repeat the setup process from Step 1 to ensure your combination is accurately set.
Step 6. Set a Reminder for Your Combination
To avoid forgetting your combination, setting a reminder for yourself is beneficial. You can write down the combination in a secure place or use a digital note app with password protection to store the code safely. Consider also associating the combination with a mnemonic or memory aid to make it easier to recall. Reviewing this information helps keep the combination fresh in your mind. Creating reminders eliminates the risk of being locked out of your belongings, ensuring continued access and security.

Step 7. Periodically Change Your Combination
It’s advisable to change your Solgaard lock combination periodically for enhanced security. This practice minimizes the risk of unauthorized access over time, mainly if you frequently use your lock in public spaces or share its location with others. To change your combination, simply reset the lock following the initial setup steps. Choose a new, memorable sequence entirely different from your previous code. By regularly updating your combination, you maintain a higher level of security, protecting your valuables with the confidence that comes from using a reliable, versatile lock.
Step 8. Maintain Your Solgaard Lock
Proper maintenance is essential to ensure that your Solgaard lock continues to function optimally over time. Regularly inspect the dials and shackles for any signs of wear or damage. Lubricate the moving parts with a light oil, such as graphite lubricant, to keep them operating smoothly and prevent rust. Avoid exposing the lock to harsh weather conditions, and wipe it down with a dry cloth if it gets wet. Taking care of your Solgaard lock prolongs its lifespan and guarantees reliable performance, securing your belongings with enduring effectiveness.
Step 9. Troubleshoot Your Solgaard Lock
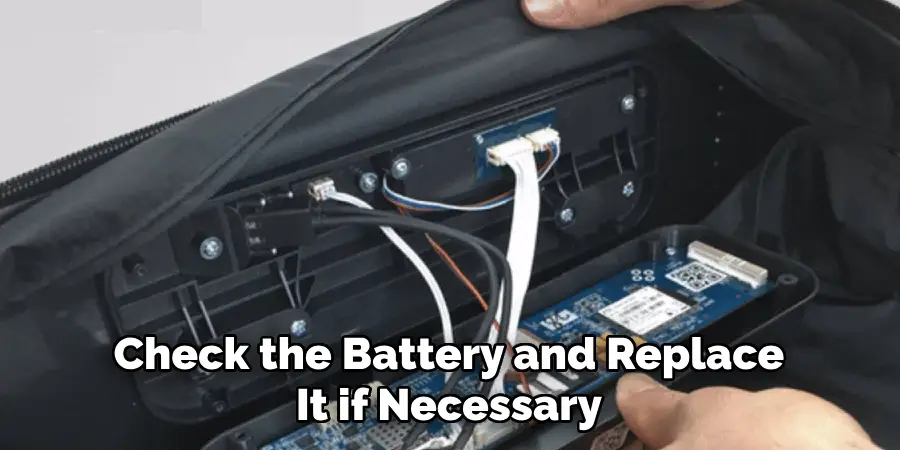
If you encounter any difficulties with your Solgaard lock, troubleshooting can help remedy common issues quickly. Should the lock refuse to open even with the correct combination, ensure that the dials are aligned precisely with your code, and try gently jiggling the shackle to release it. If persistent problems occur, verify that the lock hasn’t sustained any damage or blockage in its mechanism. For digital models, check the battery and replace it if necessary. Consulting the user manual for specific guidelines and customer support options can further assist in resolving any technical problems, ensuring your Solgaard lock operates smoothly and continues to secure your possessions effectively.
Step 10. Practice Responsible Use
While the Solgaard lock provides excellent security for your personal belongings, practicing responsible usage is essential to maximize its effectiveness. Always ensure your lock is applied correctly to secure items in potentially vulnerable locations. Be mindful of using your lock in a way that does not inconvenience others, such as placing it in shared spaces without permission. Moreover, stay informed about any updates or changes in the lock’s functionality that the manufacturer may communicate. Responsible use ensures your items’ safety and fosters a considerate attitude toward shared environments and resources.
By following these ten steps, you can easily set up and maintain your Solgaard lock, keeping your belongings secure and giving yourself peace of mind.
5 Things You Should Avoid
- Using Excessive Force: Avoid using excessive force when setting the lock, as this can damage the mechanism and render it unusable.
- Ignoring the Instructions: Always read and follow the manufacturer’s instructions carefully. Ignoring these guidelines can lead to improper setup and potential lock malfunction.
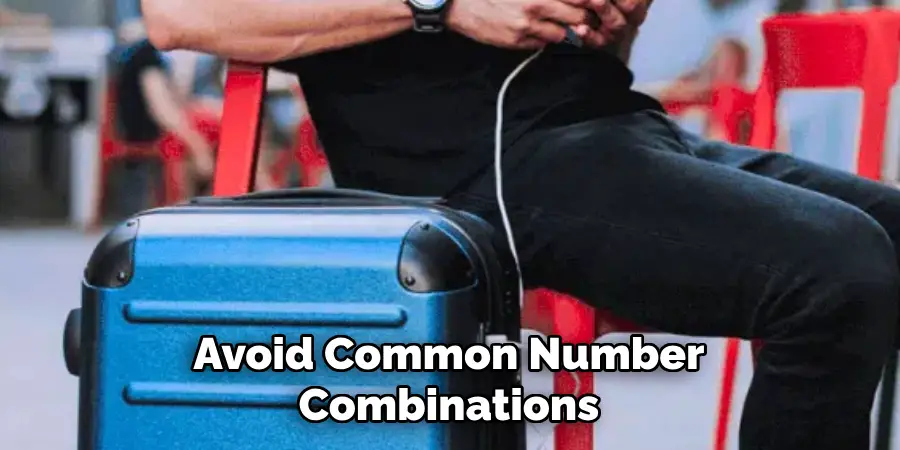
- Setting Obvious Combinations: Avoid common number combinations like “1234” or “0000.” These make it easier for unauthorized individuals to guess your combination and gain access.
- Neglecting to Test the Lock: Always test the lock before setting your combination. This step is necessary to open the lock later.
- Failing to Record the Combination: It’s crucial to record your lock combination in a secure place. Failure to do so may result in being locked out if you forget your set combination.
Conclusion
Setting your Solgaard lock effectively involves following a few key steps to ensure security and functionality.
Begin by carefully reading the manufacturer’s instructions to understand the process thoroughly. Avoid setting apparent combinations, and always record your chosen numbers in a safe place to prevent lockouts. Testing the lock immediately after setting the combination is necessary to verify it operates correctly.
By adhering to these guidelines on how to set solgaard lock, you can safeguard your belongings with confidence, enjoying peace of mind with your Solgaard lock.