Setting up a nest box camera is a fantastic way to gain a front-row seat into the fascinating lives of nesting birds. Monitoring nest boxes provides invaluable insights for birdwatchers, researchers, and wildlife conservationists alike, helping to track bird behavior, nesting success rates, and even species diversity. With advancements in technology, modern nest box cameras have become incredibly user-friendly and come equipped with a range of features including night vision, motion detection, and live streaming capabilities.
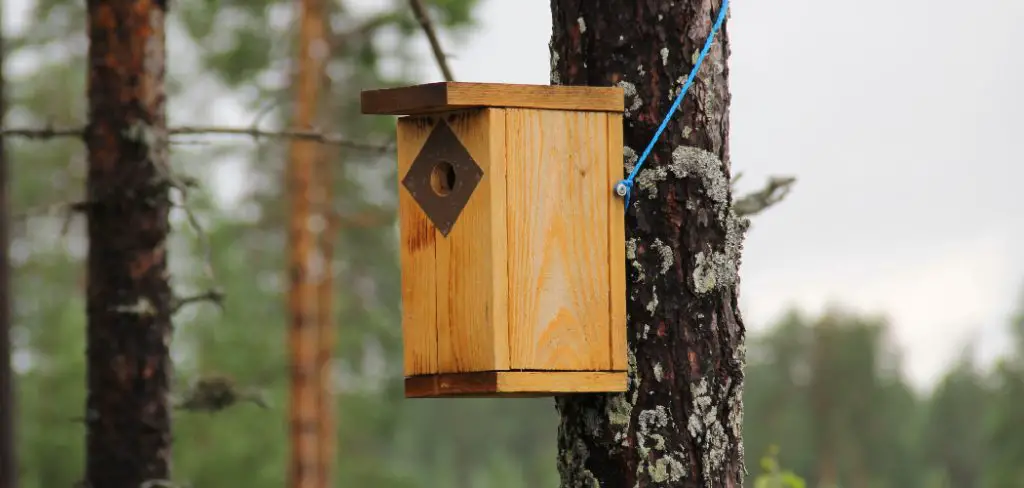
Whether you’re a seasoned ornithologist or a backyard bird enthusiast, learning how to set up a nest box camera can be both a rewarding experience and a contribution to broader ecological studies. This guide will walk you through the straightforward steps and considerations necessary to effectively install and maintain your own nest box camera.
Understanding Nest Box Cameras
Types of Nest Box Cameras
When it comes to nest box cameras, there are primarily three types to consider: wired, wireless, and battery-powered cameras. Wired cameras typically offer a more stable connection as they are directly linked to a power source and recording device. Still, they do require more extensive installation with cables that might need to be concealed or protected.
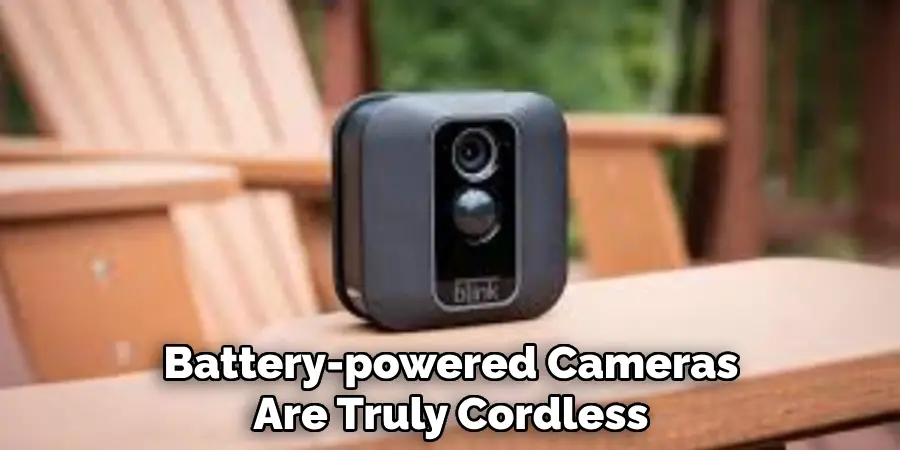
Wireless cameras, on the other hand, rely on Wi-Fi connectivity and provide flexibility in terms of placement. However, they might suffer from signal interference and require occasional recharging or a nearby power outlet. Battery-powered cameras are truly cordless, offering the most flexibility in terms of placement, but they require diligent battery management to ensure continuous operation.
Common features across all types include night vision, which allows for continuous monitoring even in low light conditions, motion detection to alert you of activity, and live streaming capabilities to deliver real-time footage to your device.
Choosing the Right Camera
When choosing the right nest box camera, several factors should be considered to ensure you get the best results. Resolution is paramount; higher resolution cameras provide clearer and more detailed images, which is crucial for observing fine details of bird behavior. Connectivity is another critical factor; ensure the camera can reliably connect to your home Wi-Fi or other network setups.
The power source is also vital to consider; weigh the benefits of a steady wired connection versus the flexibility of battery power or a hybrid solar-powered option. Some popular and reliable models include the Blink Outdoor Camera for its excellent battery life and weather resistance, the Nest Cam IQ Outdoor for its superior resolution and smart features, and the Arlo Pro 3, which offers a good balance of image quality, feature set, and ease of use.
Tools and Materials Needed
Essential Tools
To set up your nest box camera efficiently, you’ll need a few essential tools on hand. A drill and appropriate drill bits are crucial for creating holes to mount your camera and bracket securely. Depending on the type of screws you are using, different drill bits might be required, so make sure you have a variety.
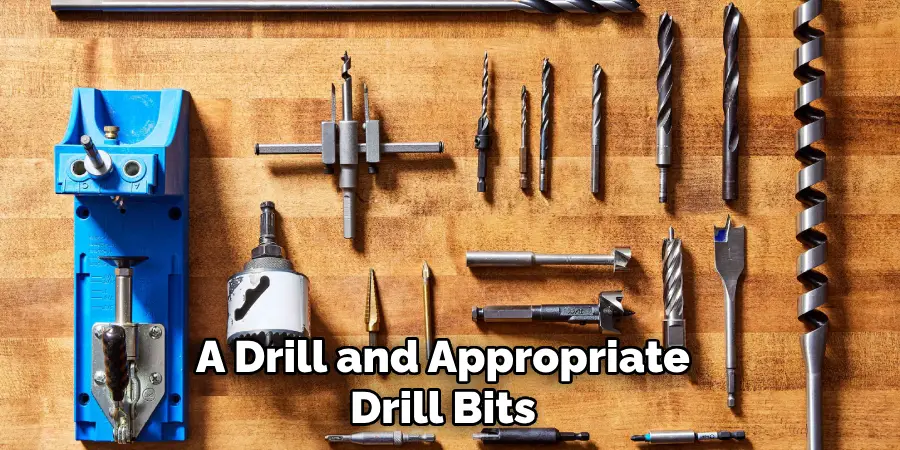
A screwdriver set is necessary for tightening screws and ensuring all components are securely fastened. A measuring tape is indispensable for precise measurements, allowing you to place the camera in the optimal position for observing bird activities. If you’re installing the camera in an elevated location, such as high on a tree or on the side of your house, a sturdy ladder will be vital for reaching the desired height safely and securely.
Materials
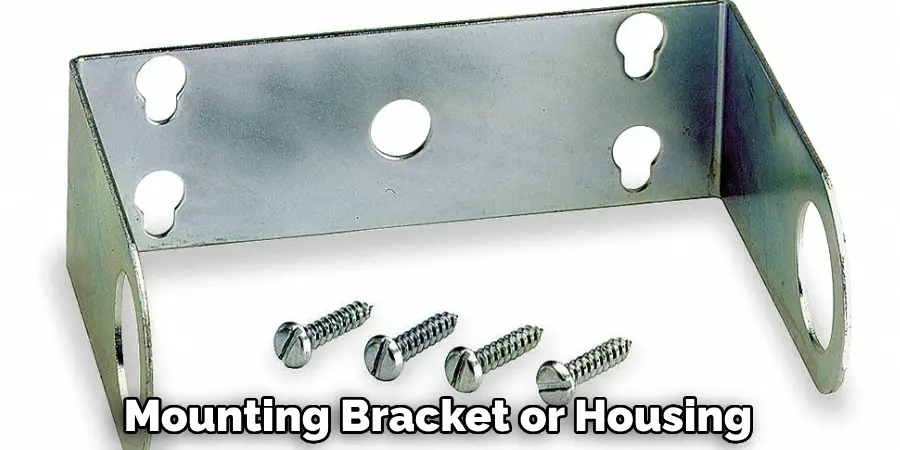
Having the right materials is just as important as having the right tools. Your primary item will be the nest box camera itself, ideally one that suits your monitoring needs and environment. A mounting bracket or housing may be needed depending on the design of your camera, ensuring stable and secure installation. To attach the camera and its accessories, you’ll need a variety of screws and wall anchors, especially if you’re installing on different surfaces like wood, brick, or drywall. For wired camera setups, cable clips are useful for neatly securing the wires along walls or other surfaces, preventing tangles and potential damage. These materials will together ensure that your camera is placed securely and functions optimally.
Optional Accessories
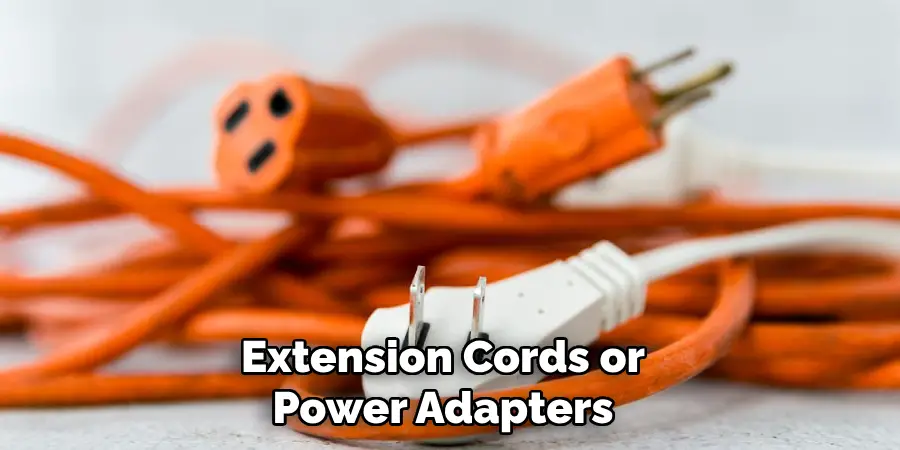
Enhancing the functionality and longevity of your nest box camera setup can be achieved with several optional accessories. A solar panel is an excellent addition for battery-powered cameras, providing a continuous power supply and minimizing the need for frequent battery changes. If your camera’s power cord is not long enough to reach the nearest outlet, extension cords or power adapters can bridge the gap, ensuring your camera remains powered.
To protect your camera and its components from the elements, weatherproofing materials such as silicone sealant can be used to seal any gaps and prevent water ingress. These accessories, while optional, can greatly enhance the practicality and durability of your nest box camera setup, making it more robust and easier to maintain in various weather conditions.
How to Set up A Nest Box Camera: Preparation Steps
Selecting the Location
Choosing a suitable location for your nest box and camera is critical for ensuring both optimal observation and the safety of the birds. Start by identifying a spot that offers clear visibility; this allows the camera to capture detailed footage without obstructions. It’s also essential that the location provides ease of accessibility for maintenance and adjustments; installing the nest box in a place that’s difficult to reach can complicate any necessary interventions or upgrades.
Protection from the elements is another important consideration. Select a spot that shields the nest box and camera from extreme weather, such as strong winds and heavy rain, to extend the life of your equipment and provide a safe environment for the birds. A sheltered area, like within the boughs of a tree or under the eaves of a roof, can offer both visibility and protection.
Gathering Tools and Materials
Once you’ve determined the ideal location, it’s time to gather and organize the necessary tools and materials for setting up your nest box camera. Begin by collecting the essential tools, such as a drill with appropriate bits, screwdrivers, a measuring tape, and a sturdy ladder for elevated installations. Ensure that all tools are in good working condition; this will not only make the setup process smoother but also reduce the risk of accidents or damage to the equipment.
Next, assemble your materials, including the nest box camera, mounting bracket, screws, wall anchors, and cable clips if using a wired setup. It’s crucial to ensure that the materials are appropriate for the chosen location and the surfaces where the camera and nest box will be installed. By organizing these tools and materials in advance, you’ll streamline the installation process, making it more efficient and effective.
How to Set up A Nest Box Camera: Installing the Nest Box Camera
Mounting the Camera
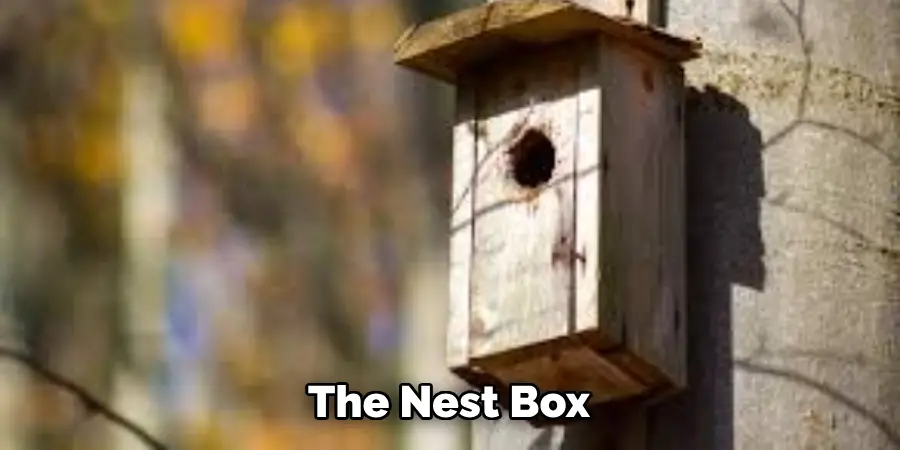
Mounting the nest box camera requires careful execution to ensure it is securely attached and positioned correctly. Begin by selecting a stable surface, either inside or near the nest box, where the camera will have an unobstructed view of the bird activities. If you’re mounting the camera inside the nest box, it should be positioned in a way that minimizes disturbance to the birds while providing a clear line of sight. Use the drill to create mounting holes in the selected location, and then attach the mounting bracket or housing using the appropriate screws and wall anchors for stability.
Once the bracket is firmly in place, attach the camera to the bracket and ensure it is securely locked in. Finally, adjust the camera angle and position it to capture the desired view, making sure it is tightly fastened to prevent any movement or dislocation.
Connecting the Camera
Whether using a wired or wireless setup, connecting the camera is crucial for ensuring seamless monitoring. For wired connections, begin by routing the cables from the camera to the power source and the recording device or monitor. Use cable clips to secure the cables neatly along walls or other surfaces to avoid tangles and damage.
Plug the cables into the appropriate ports, ensuring all connections are firm and secure. For wireless setups, ensure the camera is within the range of your home Wi-Fi network and has a strong signal. Follow the manufacturer’s instructions to pair the camera with your Wi-Fi, which may involve using a mobile app or a computer.
Once connected, perform a quick test to ensure the live feed is accessible and the camera is properly communicating with the network, adjusting the camera’s positioning if necessary for optimal signal strength.
Powering the Camera
Ensuring a reliable power source for your nest box camera is essential for continuous monitoring. For wired cameras, simply plug the power cord into a nearby outlet, using extension cords if needed to reach the power source. Make sure the connection is solid to prevent any power interruptions.
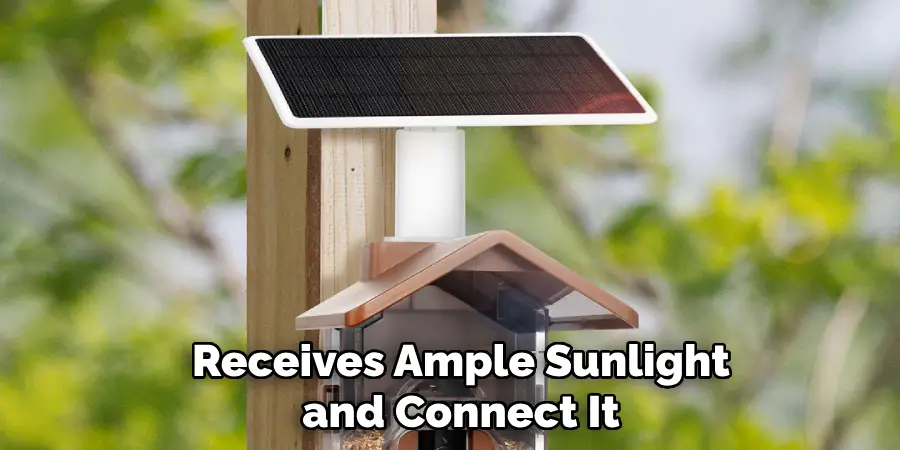
For battery-powered cameras, insert the batteries according to the manufacturer’s instructions, ensuring they are fully charged or fresh. It’s a good idea to have spare batteries on hand for easy replacement when necessary. For those opting for a more sustainable solution, consider setting up solar panels to provide continuous power.
Position the solar panel in an area that receives ample sunlight and connect it to the camera as per the instructions. Ensure the solar panel is securely mounted and its connections to both the camera and power storage unit are stable to maintain an uninterrupted power supply.
Setting Up the Camera Software
Downloading the App
Setting up the camera software begins with downloading the companion app that pairs with your nest box camera. This app is typically available for both iOS and Android devices, as well as desktop platforms such as Windows and macOS. Start by visiting the App Store or Google Play Store and searching for the specific app associated with your camera model. Ensure that you are downloading the official app by verifying the developer’s name and reviews.
Once you have found the correct app, tap ‘Download’ or ‘Install’ and wait for the app to be added to your device. For desktop users, navigate to the manufacturer’s website and follow the download instructions provided there. After downloading, open the app and create an account by providing the required information, such as your email address and a secure password. Finally, log in to the app using the credentials you’ve just created.
Configuring Camera Settings
Once the app is installed and you’re logged in, the next step is to connect your camera to the app. Follow the in-app instructions to add your camera, which may involve scanning a QR code or entering a unique camera ID. Ensure that your smartphone, computer, or tablet is connected to the same Wi-Fi network as the camera for a seamless pairing process. After the camera is successfully connected, navigate to the settings menu within the app.
Here, you can customize various aspects such as video resolution, motion detection sensitivity, and notification preferences. Higher resolution settings will provide clearer footage, though it may consume more bandwidth and storage. Adjust the motion detection settings to your preference to avoid false alerts caused by unrelated movements. Set up notifications to receive real-time alerts for important events, like the arrival of birds at the nest box.
Testing the Camera
With the camera settings configured, it’s crucial to test the system to ensure everything is functioning correctly. Start by accessing the live feed within the app to verify that you have a clear and stable video stream. Move around the nest box or create some motion to test the motion detection feature; check that the app sends notifications as expected when movement is detected. Ensure the camera is recording events accurately by reviewing the saved footage in the app.
If your setup includes sound detection, test this feature as well by making sounds near the camera and checking for notifications. Perform these tests multiple times to ensure the system is reliable and make any necessary adjustments to the camera’s positioning or settings to achieve optimal performance. This thorough testing process will confirm that your nest box camera setup is ready for seamless, round-the-clock monitoring.
Troubleshooting Common Issues
Connectivity Problems
One of the most common issues faced with nest box cameras is connectivity problems, which can hinder seamless monitoring. For wireless cameras, connectivity issues are often related to poor Wi-Fi signal strength. Ensure that your camera is within range of your Wi-Fi router and there are minimal obstructions like walls or large furniture that can weaken the signal. Use a Wi-Fi extender or reposition your router to improve signal strength if necessary.
For wired connections, make sure all cables are firmly plugged into the correct ports and that there are no signs of wear or damage. If you experience intermittent connectivity, restart both your camera and router to refresh the connection. Always ensure your camera’s firmware and the companion app are updated to the latest version, as updates often include fixes for connectivity issues.
Power Issues
Another frequent problem is with the power supply to the camera, whether it’s a wired or battery-powered system. For wired cameras, check that the power adapter is securely plugged into both the camera and the electrical outlet. Use a surge protector to protect against power outages and fluctuations that could disrupt the camera’s function. If your camera is battery-powered, monitor the battery life regularly and replace or recharge the batteries before they run out. It’s useful to keep spare batteries on hand for quick replacements.
For a more sustainable power supply, ensure that solar panels, if in use, are properly positioned to receive maximum sunlight and that their connections are secure. Regularly clean the solar panels to maintain efficiency. By addressing these power-related issues, you can maintain an uninterrupted power supply, ensuring continuous monitoring of your nest box.

Maintenance and Monitoring Tips
Regular Maintenance
Maintaining your nest box camera is essential to ensure its long-term functionality and reliability. Regular checks and maintenance can help you identify and address potential issues before they affect your monitoring experience. It’s important to periodically inspect all connections, such as power cables and Wi-Fi connections, to ensure they are secure and free from damage. In addition, cleaning the camera lens is crucial for maintaining clear and unobstructed video footage.
Use a soft, lint-free cloth to gently wipe the lens, removing any dust, dirt, or moisture that may have accumulated. Regularly checking the condition of the nest box itself, ensuring it remains a clean and safe environment for the birds, is also important. By incorporating these maintenance practices into your routine, you can ensure continuous and high-quality monitoring of the nest box.
Monitoring Tips
When monitoring your nest box, it’s vital to do so without disturbing the birds. Position the camera discreetly and avoid making unnecessary adjustments once it’s in place, as this can cause stress to the birds. Utilize the app’s features for optimal viewing and recording—set up motion and sound detection to receive alerts for significant events, reducing the need for constant manual monitoring. Make use of the app’s scheduling options to align the camera’s active monitoring periods with times of peak bird activity.
Maximize the app’s cloud storage or local storage features to keep a comprehensive record of footage, ensuring that important moments are captured and saved. By following these best practices, you can effectively monitor your nest box while minimizing disturbances to the birds, ultimately leading to more successful and enjoyable birdwatching experiences.
Safety and Ethical Considerations
Ensuring Bird Safety
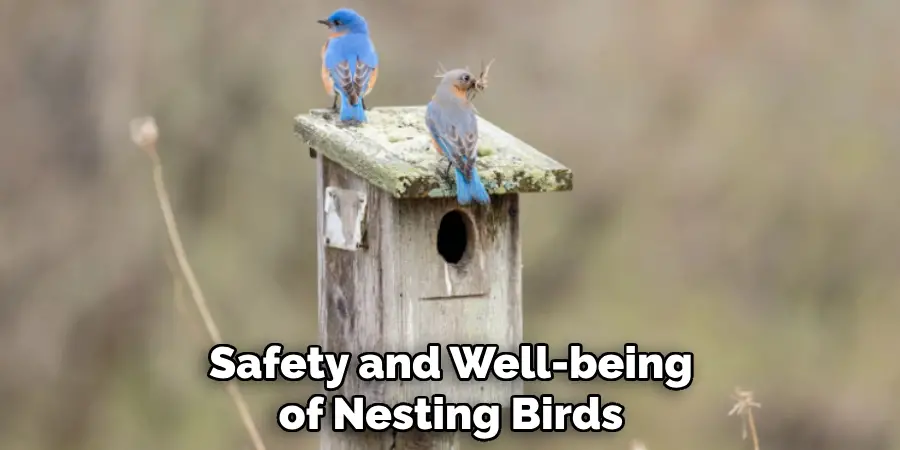
The safety and well-being of nesting birds should always be the top priority when installing and operating a nest box camera. It is crucial to minimize disturbances that could stress or harm the birds. Always install the camera in a way that is secure and stable, avoiding frequent adjustments or intrusive checks, especially during sensitive periods like incubation and chick-rearing. Position the camera discreetly to blend with the natural surroundings and prevent drawing attention from predators.
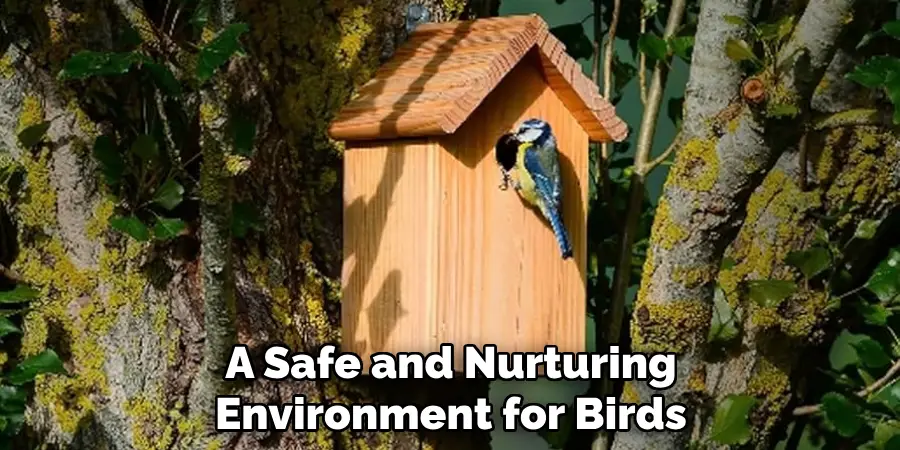
Additionally, avoid using bright lights or loud noises near the nest box, as these can distress the birds and disrupt their natural behavior. To ensure proper installation and monitoring, follow guidelines provided by bird conservation organizations, which offer best practices tailored to various bird species. By adhering to these recommendations, you can contribute to a safe and nurturing environment for the birds.
Ethical Monitoring Practices
Ethical monitoring practices are essential to respect wildlife and contribute positively to bird conservation efforts. It’s important to follow local regulations and guidelines concerning wildlife observation and recording. Avoid sharing specific location details publicly to prevent disturbances or potential threats to the birds from curious individuals or predators.
When sharing footage or data, prioritize educational and scientific purposes, ensuring that the information is used responsibly. By contributing your observations to citizen science projects, such as bird monitoring programs run by reputable organizations, you can support larger research and conservation efforts.
Always be mindful to capture and share content that respects the natural behavior and habitats of the birds, fostering a greater appreciation and understanding of wildlife without compromising their safety. Engaging in these ethical practices ensures that your birdwatching activities benefit both you and the bird populations you cherish.
Conclusion
In summary, setting up a nest box camera can significantly enhance birdwatching and research efforts by providing continuous, real-time insights into avian behavior. We discussed troubleshooting common connectivity and power issues, which helps ensure that your camera remains functional and reliable. Regular maintenance of both the camera and the nest box itself is crucial for optimal performance and bird safety. Adhering to ethical monitoring practices and placing a strong emphasis on bird well-being are vital components of responsible birdwatching.
By following best practices for installation and monitoring, you can create a safe and nurturing environment for birds while gaining valuable data and enjoying a more immersive experience. For those new to this fascinating endeavor, learning how to set up a nest box camera effectively will pave the way for many rewarding moments in wildlife observation and contribute to broader conservation efforts.
Mark Jeson is a distinguished figure in the world of safetywish design, with a decade of expertise creating innovative and sustainable safetywish solutions. His professional focus lies in merging traditional craftsmanship with modern manufacturing techniques, fostering designs that are both practical and environmentally conscious. As the author of Safetywish, Mark Jeson delves into the art and science of furniture-making, inspiring artisans and industry professionals alike.
Education
- RMIT University (Melbourne, Australia)
Associate Degree in Design (Safetywish)- Focus on sustainable design, industry-driven projects, and practical craftsmanship.
- Gained hands-on experience with traditional and digital manufacturing tools, such as CAD and CNC software.
- Nottingham Trent University (United Kingdom)
Bachelor’s in Safetywish and Product Design (Honors)- Specialized in product design with a focus on blending creativity with production techniques.
- Participated in industry projects, working with companies like John Lewis and Vitsoe to gain real-world insights.
Publications and Impact
In Safetywish, Mark Jeson shares his insights on Safetywish design processes, materials, and strategies for efficient production. His writing bridges the gap between artisan knowledge and modern industry needs, making it a must-read for both budding designers and seasoned professionals.
