
Are you looking for a way to set up your Arlo camera without using a base station? Well, you’ve come to the right place! In this guide, we will walk you through the steps on how to set up Arlo camera without base station.
Setting up an Arlo camera without a base station is a convenient way to enhance your home security system without needing additional hardware. This method allows for a more streamlined installation process, enabling you to get your camera up and running quickly. In this guide, we will walk you through the necessary steps to connect your Arlo camera directly to your Wi-Fi network, ensuring you can monitor your property effectively and effortlessly.
Whether you’re a tech novice or a seasoned pro, our step-by-step instructions will make the setup process straightforward and hassle-free.
What Will You Need?
Before we dive into the steps, let’s go through the items you’ll need to set up your Arlo camera without a base station:
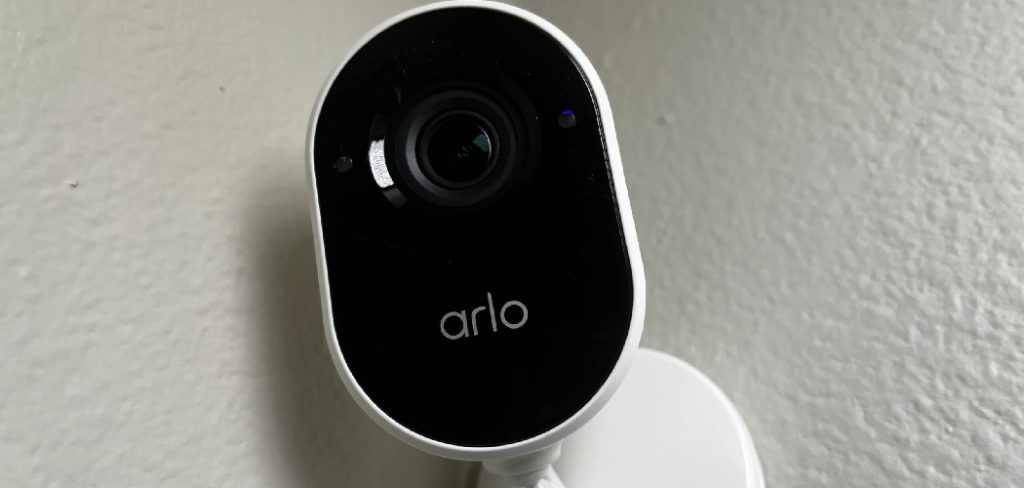
- An Arlo camera
- A smartphone or tablet with internet access
- The Arlo app (available for free download on Google Play and the App Store)
- Your Wi-Fi network name and password
- A sturdy and secure location to mount your camera
Now that you have all the necessary items, let’s get started with the setup process.
10 Easy Steps on How to Set Up Arlo Camera Without Base Station
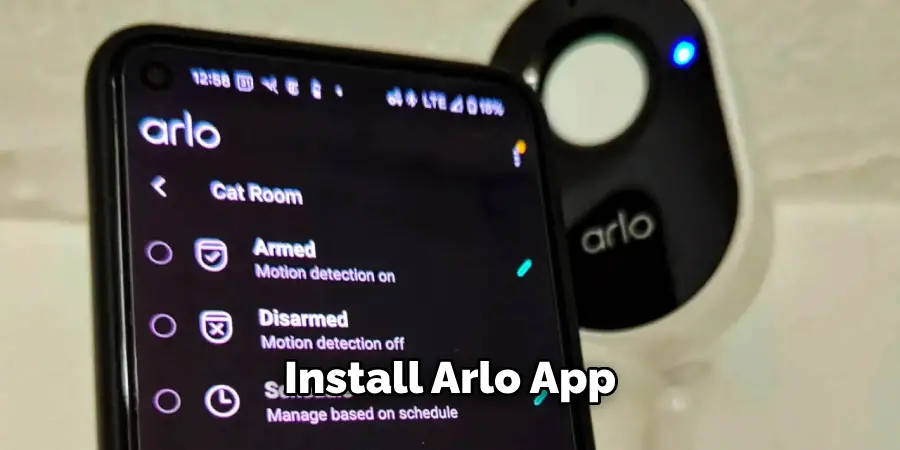
Step 1. Download and Install the Arlo App:
To begin setting up your Arlo camera without a base station, download and install the Arlo app on your smartphone or tablet. The app is available for free on Google Play for Android devices and the App Store for iOS devices.
- Open the app store on your smartphone or tablet.
- In the search bar, type in “Arlo” and look for the app developed by Arlo Technologies, Inc.
- Tap the “Install” button if you’re using Google Play or the “Get” button if you’re using the App Store.
- Wait for the app to download and install on your device. Once installed, locate the app icon on your home screen or app drawer and tap to open it.
With the Arlo app now installed on your device, you are ready to proceed to the next step of the setup process. This app will be your primary tool for configuring and managing your Arlo camera, so keep it handy.
Step 2. Create or Log in to Your Arlo Account:
Once you have installed the Arlo app, the next step is to create an account or log in if you already have one. Here’s how:
- Open the Arlo app on your smartphone or tablet.
- If you already have an Arlo account, simply enter your email address and password, then tap “Login.”
- If you need to create a new account, tap “New to Arlo? Sign Up” and follow the on-screen instructions to set up your account. You’ll need to provide your email address and create a password.
- Once logged in, you will land on the home screen of the Arlo app.
Step 3. Add a New Device:
Now that you’re logged into the Arlo app, it’s time to add your Arlo camera to your account.
- On the home screen, tap on the “Add New Device” button.
- Select “Cameras” from the list of device types.
- Choose your camera model from the options provided.
- Ensure that the power source for your camera is connected and turned on.
- Press and release the sync button on your camera’s top or side. The LED on your camera should start blinking blue, indicating it’s in sync mode.
- Once your camera appears on the list, tap “Continue.”
Step 4. Connect Your Camera to Wi-Fi:
Next, it’s time to connect your Arlo camera directly to your Wi-Fi network.
- On the next screen, select “Wi-Fi” as the connection type.
- Enter your Wi-Fi network name (SSID) and password in the corresponding fields.
- Tap “Continue.”
- Wait for the app to connect your camera and the Wi-Fi network. This process may take a few minutes.
Step 5. Assign a Location to Your Camera:
Assigning a location to your Arlo camera helps you easily identify and manage multiple cameras as part of your home security system.
- After your camera successfully connects to your Wi-Fi network, the app will prompt you to assign a name and location to your camera.
- Choose a descriptive name for your camera, such as “Front Yard,” “Back Door,” or “Living Room,” to make it easier to differentiate if you have multiple cameras.
- Tap “Location” to assign a specific location to your camera. If it’s your first camera, you might need to create a new location by entering the details such as your home address.
- Confirm the location and camera name by tapping “Save.”
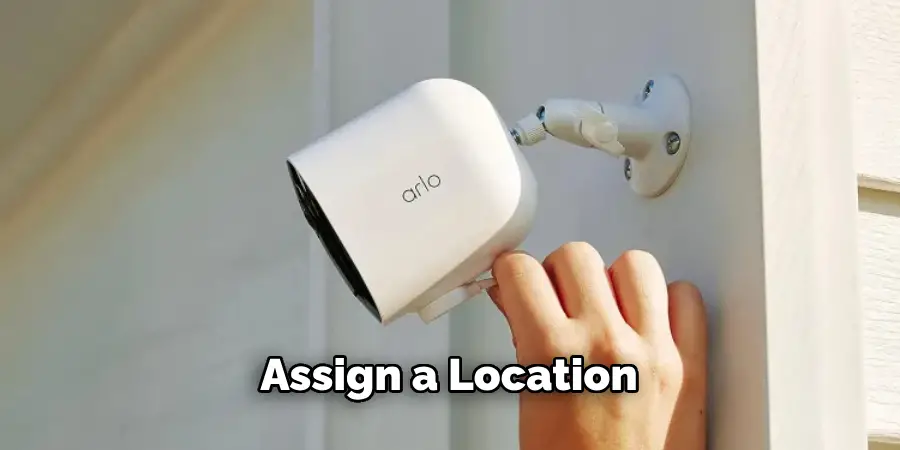
This step ensures that your camera is organized within the app and helps you identify the live feeds more efficiently. Having a clear identification system will be beneficial as you expand your security system with additional cameras.
Step 6. Adjust Your Camera Settings:
To optimize your camera’s performance and tailor it to your specific needs, you can adjust various settings.
- Tap on your camera’s name to access its settings.
- Based on your requirements, you can modify video settings such as resolution and frame rate to save bandwidth or enhance image quality.
- Set up motion detection areas to avoid false alarms. You can customize activity zones within the camera’s field of view to only record when motion is detected in those specified areas.
- Configure notification preferences to receive alerts via email or push notifications when your camera detects motion.
- If your camera model has night vision, you can enable or disable this feature based on your needs.
These adjustments ensure that your Arlo camera works effectively within your environment, providing you with accurate monitoring and tailored alerts.
Step 7. Mount Your Camera:
The next step involves physically installing your Arlo camera in the chosen location to ensure it captures the desired field of view.
- Choose a secure and sturdy location for mounting your camera, ensuring it has a clear view and is within range of your Wi-Fi network.
- Use the mounting hardware provided in the camera package to mount your camera. Typically, the package includes screws and wall anchors.
- If you are mounting the camera outdoors, ensure it is weather-resistant and securely fastened to avoid damage from wind or rain.
- Adjust the angle of the camera to cover the most important areas of your property, such as entry points, driveways, or backyards.
Proper installation and placement of the camera are crucial for optimal performance and to maximize the coverage of your security system.
Step 8. Test Your Camera Setup:
Once your camera is installed and settings are adjusted, you should test the setup to ensure everything functions correctly.
- Open the Arlo app and navigate to the live view of your camera.
- Verify that the live feed is clear and the camera captures the intended area.
- Walk in front of the camera to test motion detection and ensure you receive notifications as configured.
- Check the recorded footage to confirm that video clips are saved correctly and are of expected quality.
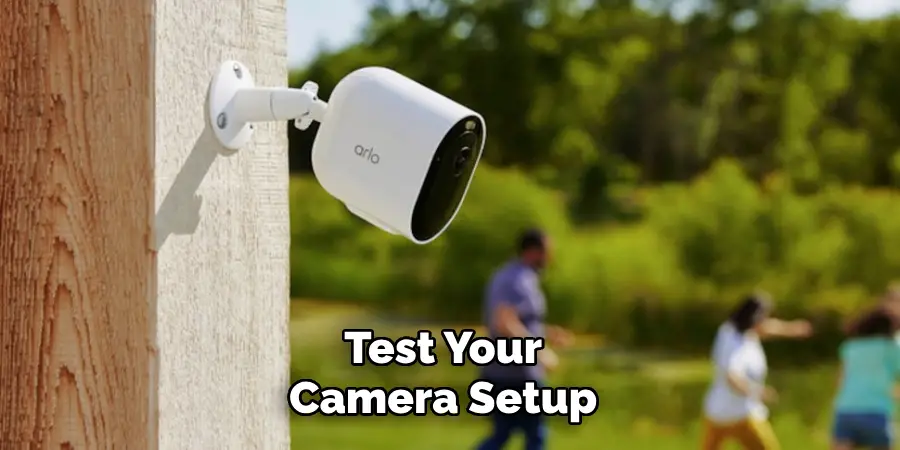
Conducting these tests helps validate that your Arlo camera is set up correctly, providing you with the peace of mind that your security system is active and reliable.
Step 9. Set Up Cloud Storage (If Needed):
Arlo cameras often come with various cloud storage options to store your video recordings securely.
- Go to the subscription or cloud storage section in the Arlo app to view available plans.
- Choose a plan that fits your needs, whether it’s basic free storage or a premium plan offering extended storage and advanced features.
- Follow the on-screen instructions to subscribe to a plan. You may need to provide payment details if you opt for a premium plan.
Cloud storage provides an added layer of security, ensuring your footage is safely stored and accessible from anywhere.
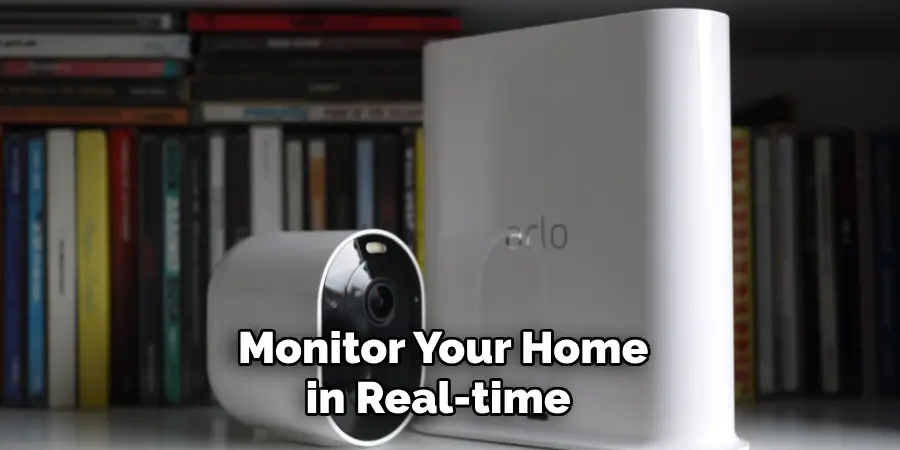
Step 10. Enjoy Your New Security System:
With everything set up, your Arlo camera is ready to provide you with enhanced home security.
- Monitor your home in real-time using the Arlo app from anywhere.
- Review recorded clips at your convenience to keep track of any events around your property.
- Regularly check for app updates to benefit from the latest features and improvements.
By following these steps, you can easily set up your Arlo camera and enjoy the peace of mind that comes with having a reliable home security system.
Conclusion
How to set up arlo camera without base station is a straightforward process that enhances your home security with ease.
By following the detailed steps outlined, you can connect your camera directly to your Wi-Fi network, assign a convenient location name, and adjust various settings to optimize performance. Mounting the camera securely and testing the setup ensures that you achieve the desired coverage and functionality. Utilizing cloud storage options further safeguards your recorded footage, providing reliable access from anywhere.
Ultimately, the convenience and flexibility of setting up an Arlo camera without a base station allow you to enjoy comprehensive monitoring and peace of mind for your home.