
Setting up a reliable home security system is crucial for ensuring the safety of your home and loved ones. The Arlo Home Security System is designed to provide peace of mind with its advanced features and ease of use. Whether you’re looking to monitor indoor activities, keep an eye on your front porch, or secure your backyard, Arlo offers versatile solutions tailored to meet your needs.
This guide on how to set up arlo home security system will walk you through the essential steps to install and configure your Arlo security cameras, ensuring a seamless setup process and optimal performance for comprehensive home protection.
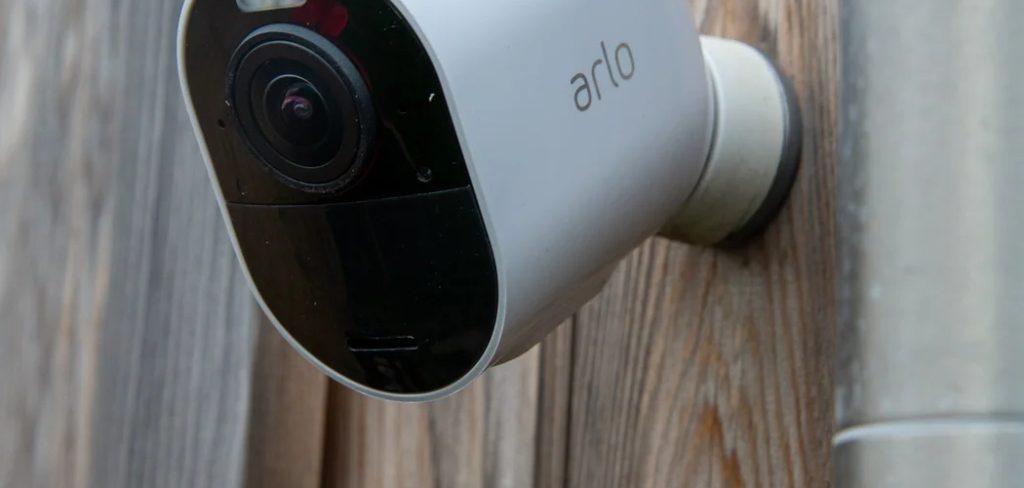
What is the Arlo Home Security System?
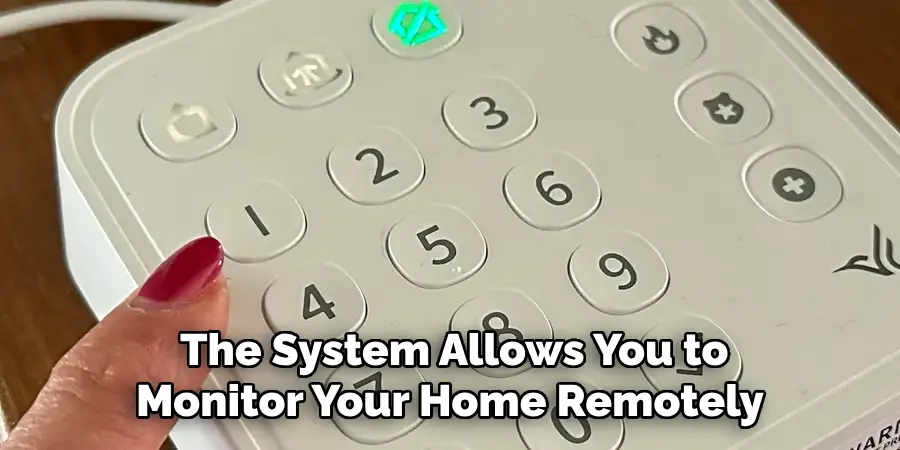
Arlo is a popular brand of wireless home security cameras and systems developed by Netgear. The system allows you to monitor your home remotely through live streaming, motion detection alerts, and cloud storage for saved footage. With customizable features and high-resolution cameras, Arlo provides reliable surveillance with easy installation and compatibility with various smart devices.
It also offers a range of security accessories, such as door and window sensors, motion detectors, and sirens, to enhance your home protection.
Why Choose Arlo Home Security System?
There are several reasons why Arlo stands out as a top choice for home security systems. Here are some of the key features and benefits that make it an ideal option for your home:
Wireless:
Unlike traditional wired security systems, Arlo cameras run on batteries and connect to your home Wi-Fi network, providing flexibility in camera placement and easy installation. This makes it a suitable choice for renters or those who don’t want to deal with complicated wiring.
High-Quality Cameras:
Arlo cameras come equipped with high-definition lenses, providing clear and crisp images and videos. They also offer night vision capabilities, ensuring 24/7 monitoring of your home.
Mobile App Control:
The Arlo app allows you to monitor your home from anywhere at any time. You can access live footage, adjust camera settings, receive motion detection alerts, and more, all through the convenience of your smartphone.
Customizable Features:
You can customize various features of your Arlo system to fit your specific needs. This includes setting up specific zones for motion detection, adjusting camera schedules, and creating custom modes for different scenarios.
Cloud Storage:
Arlo offers free cloud storage for up to 7 days of recorded footage. You also have the option to upgrade to a paid plan for longer storage periods and additional features like advanced motion detection zones and person detection.
Needed Materials
To set up your Arlo home security system, you will need the following materials:
- Arlo Camera(S)
- Batteries for Cameras
- Mounting Hardware (if Necessary)
- Ethernet Cable (for Initial Setup)
- Smartphone or Tablet (for App Control)
8 Step-by-step Guides on How to Set Up Arlo Home Security System
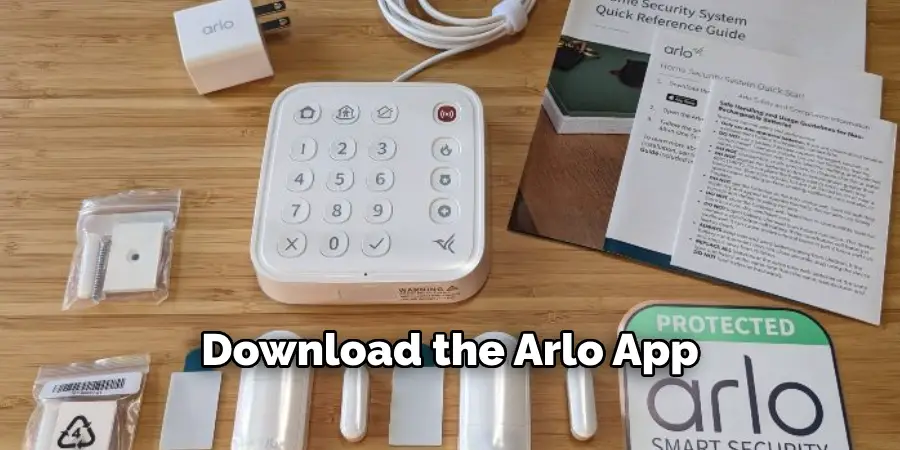
Step 1: Download the Arlo App
The first step in setting up your Arlo Home Security System is to download the Arlo app on your smartphone or tablet. The app is available for both iOS and Android devices and can be found in the respective app stores. Simply search for “Arlo” in the Apple App Store or Google Play Store and download the app.
Once downloaded, open the app and follow the on-screen instructions to create an Arlo account or log in if you already have one. This app will be your main tool for monitoring your home, adjusting settings, and receiving alerts, so having it installed and set up is essential for getting started with your Arlo system.
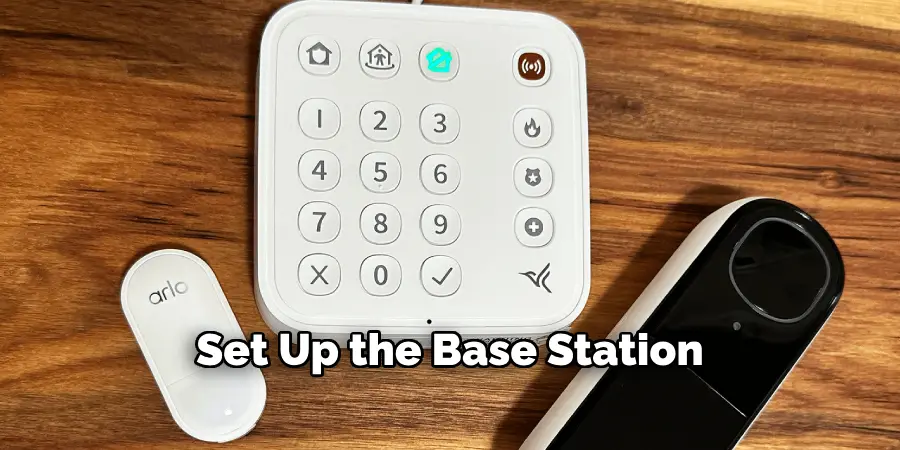
Step 2: Set Up the Base Station
The base station is the central hub that connects all your Arlo cameras and accessories. It also serves as a bridge between your cameras and your Wi-Fi network. To set up the base station, follow these steps:
- Connect the Ethernet cable from your router to the back of the base station.
- Plug the power adapter into an outlet and connect it to the base station.
- Wait for all LEDs on the front of the base station to turn green, indicating that they are powered on.
- Download any necessary firmware updates when prompted by the app.
Step 3: Add Cameras
Once your base station is set up, you can start adding cameras to your system. To do this, follow these steps:
- Press the “Add Device” button in the Arlo app.
- Select “Camera” as the device you want to add.
- Follow the on-screen instructions to sync your camera with the base station. This may involve pressing the sync button on both devices simultaneously or scanning a QR code.
Step 4: Install Batteries
Once your camera is synced with the base station, you will need to install batteries if they are not already included. To do this, remove the battery cover and insert the batteries according to the correct polarity. Then, replace the cover securely.
Note: If you have an Arlo Pro or Arlo Pro 2 camera, you can also opt to purchase rechargeable batteries and a charging station for convenience.
Step 5: Mount Cameras
After ensuring that your cameras are powered and synced with the base station, the next step is to mount them in the desired locations around your home. Here’s how you can properly mount your Arlo cameras:
Choose Locations:
Select strategic locations for installing your cameras, such as entry points, driveways, or other areas you want to monitor. Ensure these locations are within the base station’s range and have a clear line of sight.
Use Provided Mounts:
Utilize the mounting hardware included with your Arlo cameras. Decide if you want to mount the cameras on a wall, ceiling, or any other surface.
Install Mounts:
Affix the mounting brackets to the selected surfaces using screws. It is important to make sure the mounts are tight and secure to prevent any movement or dislodging.
Attach Cameras:
Once the mounts are firmly in place, attach the cameras by either screwing them in or snapping them into the mount, depending on the design. Adjust the angle of the cameras to ensure they capture the desired field of view.
Test Each Camera’s View:
Use the Arlo app to view the live feed from each camera and make any final adjustments to the positioning to ensure optimal coverage and clear, unobstructed views.
These steps will help you effectively position and install your cameras for comprehensive home security surveillance.
Step 6: Connect to Wi-Fi
After mounting your cameras, the next step is to connect them to your home Wi-Fi network. This can be done through the Arlo app by following these steps:
- In the app, select “Settings” and then “My Devices”.
- Select your camera from the list of devices.
- Follow the on-screen instructions to connect your camera to Wi-Fi.
Note: If you are having trouble connecting your cameras to Wi-Fi, make sure that they are within range of your router and that there are no physical obstructions blocking the signal.
Step 7: Customize Your Settings
Once all your cameras are connected to Wi-Fi and configured with the base station, you can start customizing your settings to fit your specific needs. This includes setting up motion detection zones, creating schedules for when cameras should be active, and adjusting video quality and storage preferences.
It is recommended that you go through each setting in the Arlo app and tailor them to your preferences for optimal use of your security system.
Step 8: Create Custom Modes
Another useful feature of Arlo is the ability to create custom modes for different scenarios. For example, you may want to have a mode for when no one is home versus when someone is home or asleep. You can customize which cameras are activated and what actions they take in each mode.
Following these steps on how to set up arlo home security system, you can successfully set up your Arlo home security system and begin monitoring your home for added peace of mind. Remember to regularly check and update your settings as needed for optimal performance. Happy securing!
Frequently Asked Questions
Q1: Can I Control My Arlo System Remotely?
A: Yes, as long as you have the Arlo app downloaded on your smartphone or tablet and an active internet connection, you can control your system from anywhere. It is recommended to have a strong and stable Wi-Fi connection for optimal performance.
Q2: How Many Cameras Can I Add to My Arlo System?
A: The number of cameras you can add depends on the specific model of your base station. For example, the Arlo Ultra and Pro 3 base stations can support up to 15 cameras, while the Arlo Pro and Pro 2 base stations can support up to five cameras. It is important to check the specifications of your particular base station before adding more cameras.
Q3: Do I Need a Subscription for Arlo?
A: While basic features such as live streaming, motion detection, and local storage are available without a subscription, Arlo offers additional features and storage options with their paid subscription plans. These include advanced motion detection, cloud storage for recording footage, and support for more cameras. It is not necessary to have a subscription for your Arlo system to function, but it can enhance its capabilities.
Conclusion
Setting up your Arlo home security system is a straightforward process that ensures your home is well-monitored and secure. By following steps on how to set up arlo home security system from downloading the app to creating custom modes, you can tailor your security system to your specific needs and preferences.
Regularly checking your system and settings will help maintain its effectiveness, providing peace of mind and a reliable way to observe your home. Remember that a well-configured security system not only protects your property but also offers a safer environment for you and your loved ones.