
Setting up a cellular trail camera can seem like a daunting task, but with the right guidance, it can be a straightforward and rewarding process. These advanced devices allow hunters, wildlife enthusiasts, and security professionals to remotely monitor and capture high-quality images of wildlife or intruders, all transmitted directly to their smartphones or computers.
By following a few key steps on how to set up cellular trail camera, you can ensure your cellular trail camera is set up correctly, enjoys optimal performance, and provides reliable, real-time data. Whether you’re using it for wildlife observation or enhancing property security, this guide will walk you through the essentials of selecting, installing, and configuring your cellular trail camera.
Why Choose a Cellular Trail Camera?
As technology continues to advance, so do trail cameras. Traditional trail cameras required physically retrieving the SD card and manually transferring images to a computer for analysis. With cellular trail cameras, you can access images and videos in real time from your smartphone or computer without interrupting the camera’s operation. This feature alone makes cellular trail cameras an attractive option for those looking to monitor wildlife patterns, track game movement, or enhance security.
The cellular features of these cameras also provide convenience and accessibility, which is ideal for remote locations or areas with limited access. Additionally, cellular trail cameras eliminate the need for frequent visits to the camera site, reducing human scent and disturbance that may disrupt wildlife behavior.
8 Step-by-step Guidelines on How to Set Up Cellular Trail Camera
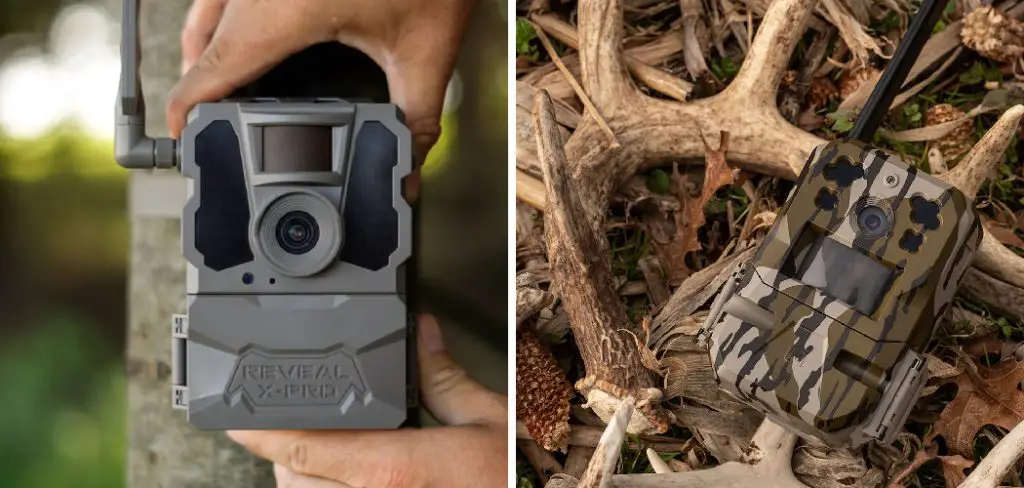
Step 1: Choosing the Right Cellular Trail Camera
Selecting the appropriate cellular trail camera is crucial for achieving the best results based on your specific needs. Start by considering the key features that matter most to you, such as image resolution, battery life, detection range, and cellular network compatibility. Higher-resolution cameras will provide clearer images, but they may also consume more storage and power. Long battery life is essential if you plan to leave the camera in a remote location for extended periods.
Additionally, ensure the camera supports the cellular network coverage in the area where it will be deployed. Popular options include cameras compatible with 4G LTE networks, which offer fast and reliable data transmission. Evaluate other factors like ease of use, customer support, and any additional features like weather resistance, which could be vital depending on your environment. Reading customer reviews and expert opinions can also help you make an informed decision.
Step 2: Choosing the Right Cellular Plan
Once you’ve selected your cellular trail camera, it’s essential to choose a suitable cellular plan for data transmission. Different carriers offer various plans, so research and compare options to find one that meets your needs and budget.
Look for plans with ample data allowance, as high-resolution images and videos can consume significant amounts of data. Some carriers also offer specialized plans specifically designed for trail cameras, which may be more cost-effective.

Step 3: Preparing Your Cellular Trail Camera
Before setting up your cellular trail camera in the field, it’s crucial to make sure it’s adequately charged and ready to go. Most cameras come with rechargeable batteries or battery packs; ensure they are fully charged before deployment.
Next, insert an SD card (if required) with the correct storage capacity for your camera’s settings. Some cellular trail cameras come with internal storage, eliminating the need for an SD card. Lastly, familiarize yourself with the camera’s controls and settings to ensure you can make any necessary adjustments in the field.
Step 4: Locating a Suitable Location
Choosing the right location for your cellular trail camera is critical for capturing the best images and videos. Start by identifying areas with high wildlife activity or routes frequently used by animals. Look for natural funnels, such as trails, water sources, or food plots, where animals are likely to pass. If you’re using the camera for security purposes, identify strategic points such as entryways, driveways, or critical infrastructure that you want to monitor.
Once you’ve identified a potential spot, consider the camera’s detection range and angle. Position the camera at a suitable height, typically 3-4 feet off the ground, and ensure it faces north to avoid false triggers caused by the sun’s movement. Secure the camera to a sturdy tree or post using mounting straps or brackets, and clear any obstructions that might interfere with the camera’s view.
Step 5: Adjusting Camera Settings
The camera’s settings play a crucial role in the quality and quantity of images captured. Most cellular trail cameras come with default settings, but you can adjust them to suit your specific needs. Start by selecting the desired image resolution, typically ranging from 8MP to 20MP, depending on your camera model. Higher resolutions will provide clearer images but may consume more storage and data.
Next, choose the trigger speed, which determines how quickly the camera captures an image or video once triggered by movement. A faster trigger speed is ideal for capturing fast-moving wildlife or potential intruders. You can also adjust other settings like time-lapse mode, flash type, and sensitivity levels based on your preferences.
Step 6: Testing the Camera
Before leaving the camera in the field, it’s essential to test it to ensure everything is working correctly. Arm the camera and walk in front of it to trigger a test image or video. Check the quality and range of images captured, as well as battery life and data usage levels. Make any necessary adjustments before final deployment.
Otherwise, you may encounter issues while in the field and miss out on important footage. It’s also a good idea to check the camera periodically once it’s set up to ensure it continues to function correctly.
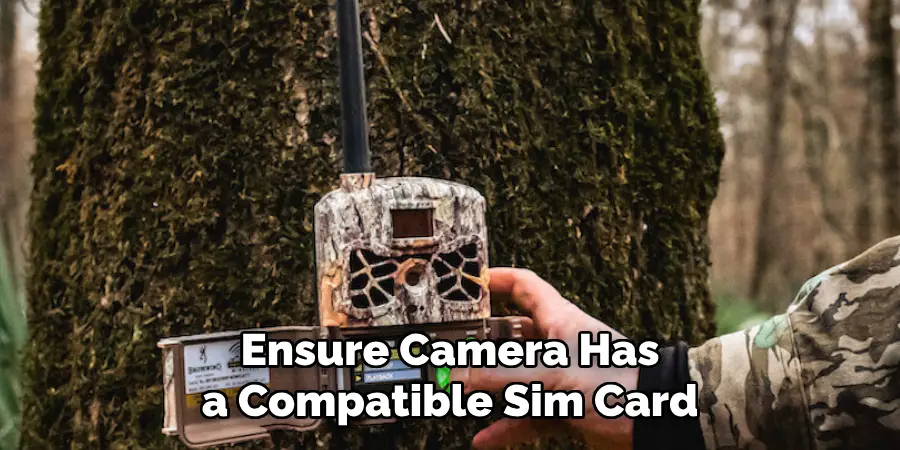
Step 7: Setting Up Cellular Connection
Setting up the cellular connection is a vital step to ensure your trail camera can transmit images and videos to your device effectively. Begin by ensuring that the camera has a compatible SIM card inserted. The SIM card should be activated and compatible with the chosen cellular plan and network. Follow the camera manufacturer’s instructions to insert the SIM card correctly.
Once the SIM card is installed, power on the camera and navigate to the cellular settings menu. Here, you’ll typically need to enter the APN (Access Point Name) settings provided by your cellular carrier. This information can usually be found on the carrier’s website or through customer support. Input the relevant information accurately to enable the cellular connection.
Step 8: Monitoring and Managing Your Camera
Once your cellular trail camera is set up, you can begin monitoring and managing it remotely through a smartphone app or online portal. Depending on the camera model, you may receive notifications when images or videos are captured, along with data usage and battery life levels. You can also adjust settings and view footage in real-time through the app or portal. Regularly check in on your camera to ensure it continues to function correctly and make any necessary adjustments as needed.
With these steps on how to set up cellular trail camera you should now have all the information you need to successfully set up and use a cellular trail camera for wildlife observation or security purposes. Remember to choose a suitable camera and plan, prepare it properly, select an optimal location, adjust settings, and regularly monitor and manage your camera for the best results. Happy scouting!
Security Considerations
When setting up a cellular trail camera for security purposes, it’s important to prioritize the security and privacy of both your equipment and the data it collects. Here are some key considerations to take into account:
1. Secure Mounting
Ensure that your camera is securely mounted in a manner that makes it difficult to tamper with or steal. Use robust mounting brackets and security boxes specifically designed for trail cameras. Additionally, consider using padlocks and cable locks to secure your camera further.
2. Password Protection
Set a strong, unique password for your camera’s settings and the associated smartphone app or online portal. This helps to prevent unauthorized access and ensures that only you can manage and view the footage.
3. Data Encryption
Wherever possible, enable data encryption options provided by your camera or cellular carrier. Encrypted data ensures that the images and videos captured by your camera are secure during transmission and storage.
4. Regular Updates
Keep your camera’s firmware and the associated app or online portal up to date. Manufacturers often release updates that include security patches, which can protect your equipment from potential vulnerabilities.
5. Monitor Activity
Regularly monitor the activity on your camera to detect any unusual or potentially malicious behavior. Set up alerts and notifications that inform you of any unexpected changes or attempts to access the camera.
6. Physical Security
If your camera is being used in a remote location, periodically check on it to ensure it hasn’t been tampered with or damaged. Additionally, use trail camera detectors and other anti-theft devices to enhance the physical security of your camera setup.
7. Backup Footage
Enable automatic backups for the footage captured by your trail camera. Store backups in a secure location to protect against data loss due to theft, damage, or technical issues.
Following these security considerations will help ensure that your cellular trail camera operates securely, giving you peace of mind whether you are using it for wildlife observation or property surveillance.

Frequently Asked Questions
Q1: How Long Do Cellular Trail Camera Batteries Last?
A1: The battery life of a cellular trail camera varies based on the camera model, settings, and frequency of use. Some cameras have longer battery lives than others, lasting anywhere from a few weeks to several months. It’s best to check the manufacturer’s specifications for estimated battery life, make sure to check battery levels regularly, and replace them as needed.
Q2: Can I Use My Own SIM Card in a Cellular Trail Camera?
A2: Yes, it is possible to use your own SIM card in a cellular trail camera if it is compatible with the camera’s network and plan. However, it’s essential to ensure that the SIM card is activated and has an adequate data plan for transmitting images and videos from the camera.

Conclusion
In conclusion, setting up and managing a cellular trail camera involves several critical steps to ensure optimal performance and security. From choosing the right camera and location to configuring cellular settings and monitoring the device remotely, each phase is necessary for successful operation. Proper attention to security considerations like secure mounting, password protection, data encryption, and regular updates is essential for safeguarding your device and the data it captures.
By following this comprehensive guide on how to set up cellular trail camera, you’ll be well-prepared to use a cellular trail camera effectively for wildlife observation or security purposes. Remember to stay diligent about maintenance and to periodically review your setup to adapt to any changes in your environment or requirements. Happy scouting and secure surveillance!
Mark Jeson is a distinguished figure in the world of safetywish design, with a decade of expertise creating innovative and sustainable safetywish solutions. His professional focus lies in merging traditional craftsmanship with modern manufacturing techniques, fostering designs that are both practical and environmentally conscious. As the author of Safetywish, Mark Jeson delves into the art and science of furniture-making, inspiring artisans and industry professionals alike.
Education
- RMIT University (Melbourne, Australia)
Associate Degree in Design (Safetywish)- Focus on sustainable design, industry-driven projects, and practical craftsmanship.
- Gained hands-on experience with traditional and digital manufacturing tools, such as CAD and CNC software.
- Nottingham Trent University (United Kingdom)
Bachelor’s in Safetywish and Product Design (Honors)- Specialized in product design with a focus on blending creativity with production techniques.
- Participated in industry projects, working with companies like John Lewis and Vitsoe to gain real-world insights.
Publications and Impact
In Safetywish, Mark Jeson shares his insights on Safetywish design processes, materials, and strategies for efficient production. His writing bridges the gap between artisan knowledge and modern industry needs, making it a must-read for both budding designers and seasoned professionals.
