
Setting up a Liftmaster remote can seem daunting, but with the right guidance, it becomes a straightforward task.
Whether you are programming a new remote for the first time or reprogramming an existing one, this guide on how to set up liftmaster remote will walk you through each step clearly and efficiently.
By following this process, you’ll ensure that your garage door operates smoothly and securely with your Liftmaster remote.
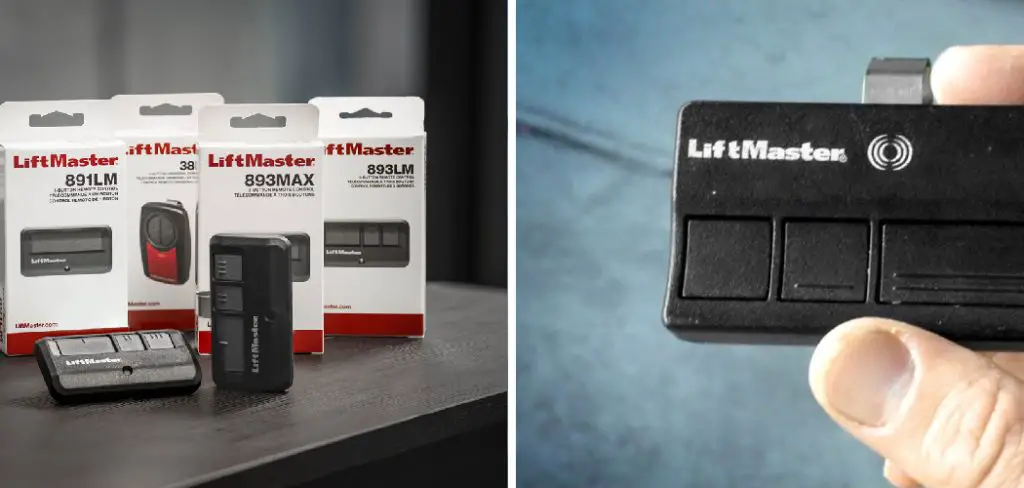
What is a Liftmaster Remote?
A Liftmaster remote is a small handheld device that allows you to open and close your garage door from a distance. It works by sending signals to the garage door opener, triggering it to either open or close the door.
This eliminates the need for you to manually operate the garage door, making it more convenient and efficient.
You can program multiple Liftmaster remotes to work with a single garage door, allowing you to give access to family members or friends. Additionally, some Liftmaster remotes have the capability of controlling multiple garage doors, making it an ideal solution for households with more than one garage.
Why Use a Liftmaster Remote?
Aside from the convenience factor, using a Liftmaster remote offers several benefits:
Enhanced Security:
With rolling code technology, each time you use your remote, the security code changes. This prevents potential thieves from capturing and copying the signal to gain access to your garage.
Increased Safety:
By eliminating the need for manual operation of your garage door, a Liftmaster remote reduces the risk of accidents or injuries.
Compatibility:
Liftmaster remotes are designed to work with all Liftmaster openers as well as some models of Chamberlain and Craftsman garage door openers.
Easy Programming:

Programming a Liftmaster remote is a simple process that can be completed in just a few minutes, making it an accessible option for all users.
9 Step-by-step Guides on How to Set Up Liftmaster Remote
Step 1: Determine Compatibility
Before proceeding with the setup, it is essential to ensure that your Liftmaster remote is compatible with your garage door opener. Check the make and model of your garage door opener, which is usually found on the back or side of the unit. Consult the user manual of both the remote and the garage door opener to verify compatibility.
Liftmaster remotes are generally compatible with Liftmaster openers as well as some Chamberlain and Craftsman models, but it is always best to confirm this in advance. Ensuring compatibility will save time and prevent any potential issues during the programming process.
Step 2: Find the Learn Button
The next step is to locate the learn button on your garage door opener. It is usually found near the antenna wire and may be color-coded or labeled.
The color of the button can indicate the frequency of your opener; for example, if it is red, it operates on a 390MHz frequency, and if it is purple, it operates on an 850MHz frequency.
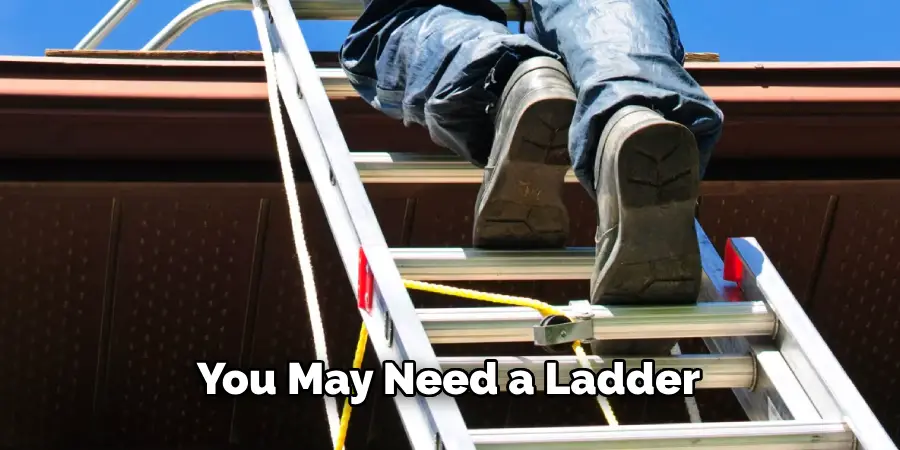
You may need a ladder to access the learn button if your garage door opener is mounted on the ceiling. It is essential to make sure that the area around the learn button is clear of any debris or obstructions before proceeding.
Step 3: Put Your Remote Into Programming Mode
Once you have located the learn button, the next step is to put your Liftmaster remote into programming mode.
To do this, press and hold the button on your remote that you want to use to operate your garage door. Continue holding the button until the LED light on the remote begins to flash or remains steadily lit, depending on the model of your remote.
This indicates that the remote is now in programming mode and ready to communicate with your garage door opener. Be sure to keep the button pressed throughout this process to avoid exiting the programming mode unintentionally.
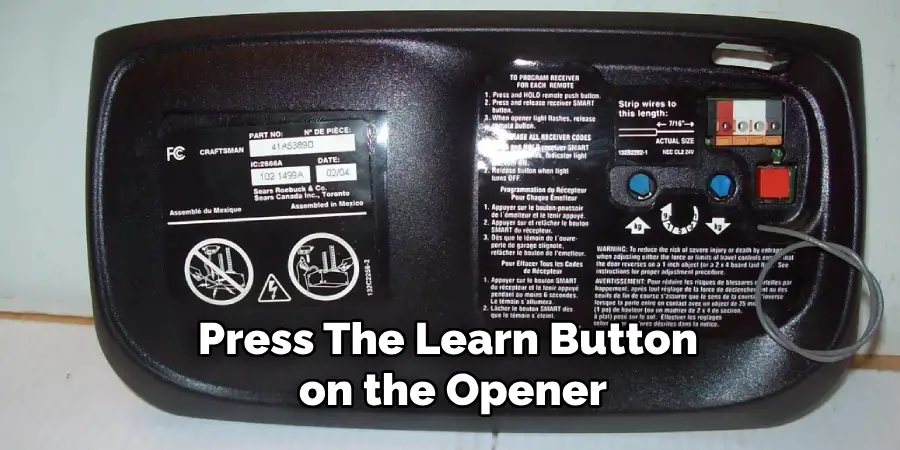
Step 4: Press the Learn Button
With your Liftmaster remote in programming mode, the next step is to press the learn button on your garage door opener. Press and release this button quickly; do not hold it down for an extended period, as this may erase all programmed remotes from the system.
After pressing the learn button, you will typically have about 30 seconds to complete the next steps.
The LED light on the garage door opener unit may begin to blink, indicating that it is in programming mode and ready to pair with your remote. If the LED does not blink, consult the user manual to ensure you have located the correct button and followed the steps accurately.
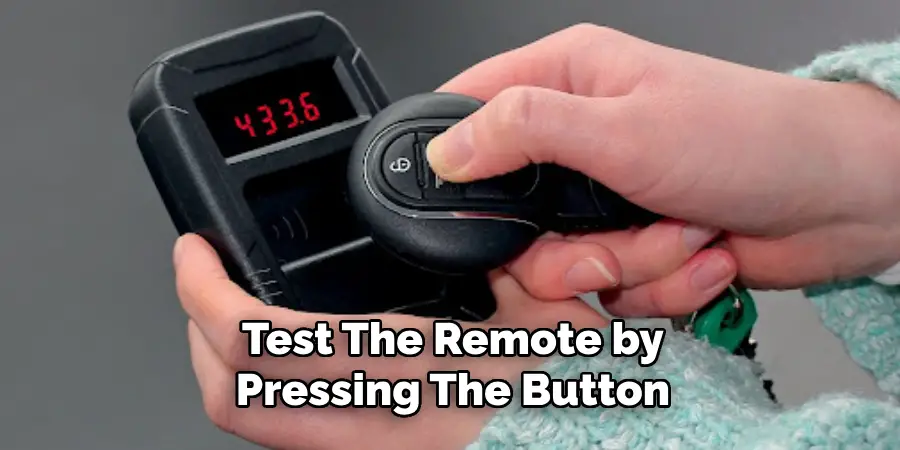
Step 5: Test the Remote
After successfully pairing your Liftmaster remote with the garage door opener, it’s crucial to test if the programming was successful.
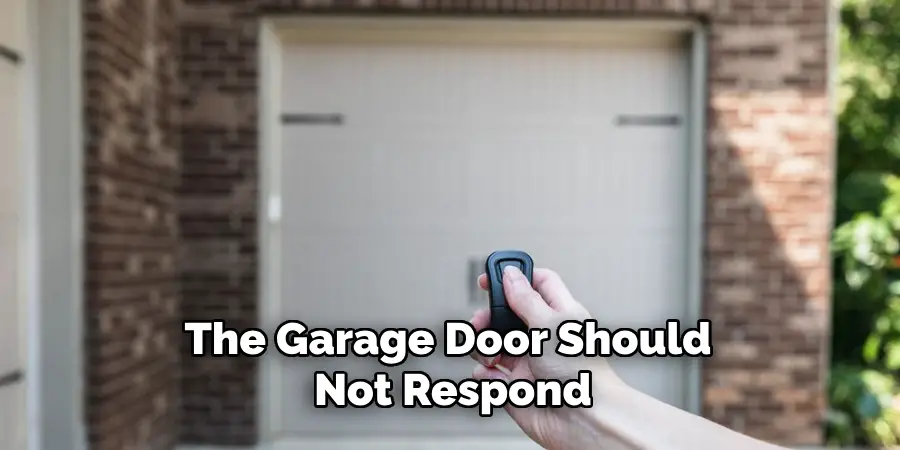
Stand at a reasonable distance from the garage door and press the button on the remote that you programmed. Observe the garage door to see if it responds by opening or closing. If the door operates as expected, the remote has been programmed correctly.
If the door does not respond or behaves erratically, you may need to repeat the programming process to ensure that the remote and opener are properly synchronized. Testing the remote is an important step to confirm that everything is working as it should before relying on it for daily use.
Step 6: Program Additional Remotes
If you have additional Liftmaster remotes that you wish to program to the same garage door opener, you can easily do so by repeating the previous steps. Begin by ensuring that each additional remote is compatible with your garage door opener. Then, follow steps 2 through 5 for each remote you wish to program.
To start, locate the learn button on your garage door opener and put the new remote into programming mode by pressing and holding the button until the LED light begins to flash or remains steady.
Next, press the learn button on the opener and then press the button on the remote. Test each new remote after programming by pressing its button to ensure the garage door opens or closes correctly.
Step 7: Clearing All Remotes
If you need to clear all programmed remotes from your garage door opener, follow the same steps as when programming a new remote. Press and hold the learn button on your garage door opener for about six seconds until the LED light turns off or goes out.
This process clears all remotes from the system and prevents any unauthorized access to old or lost remotes.
After clearing all remotes, you will need to reprogram each one that you want to use again by following the previous steps.
Step 8: Erasing Individual Remotes
If you need to erase a specific remote from your garage door opener’s memory, the process is straightforward and doesn’t require you to clear all remotes. Start by identifying the remote you want to erase and ensure that it is within range of the garage door opener.
Locate the learn button on your garage door opener, but this time, press and hold the button on the remote you wish to remove. Hold it for about 10 seconds, and release it when the LED light on the remote either goes out or stops flashing.
The garage door opener will register this action and erase the specific remote from its memory. To verify that the remote has been successfully erased, press its button again; the garage door should not respond. This step allows you to manage which remotes have access to your garage, enhancing security and control.
Step 9: Syncing Multiple Openers
If you have more than one garage door opener and wish to sync multiple openers to a single Liftmaster remote, the process is straightforward. Begin by ensuring that all your garage door openers are compatible with the remote you are using. Compatibility can usually be verified by checking the user manuals or the manufacturer’s website.
Start with one garage door opener and follow steps 2 through 5 to program the remote to that opener. Once the remote is programmed to the first opener, proceed to the next garage door opener.
For each additional opener, put the remote into programming mode by pressing and holding the desired button on the remote until the LED light begins to flash or remains steady.
Then, press the learn button on the next garage door opener and quickly press the same button on the remote that you used for the fiFtrst opener. Repeat this process for each garage door opener you have.
After programming, test the remote by pressing the button assigned to each opener and ensuring that each door operates correctly. This method allows you to control multiple openers with a single remote, providing added convenience and streamlining your garage door management.
If any of the openers do not respond properly, repeat the programming process to ensure all devices are correctly synchronized.
Following these steps on how to set up liftmaster remote, you can easily program your Liftmaster remote to operate your garage door opener, as well as add or remove other remotes and sync multiple openers. Enjoy the convenience and security of having a reliable remote control for your garage door. Happy programming!
Troubleshooting and Common Issues
Remote Not Working After Programming
If your Liftmaster remote is not working after following the programming steps, there could be several reasons for this issue:
Battery:
Ensure that the remote’s battery is properly installed and has sufficient charge. A weak or dead battery can prevent the remote from functioning correctly.
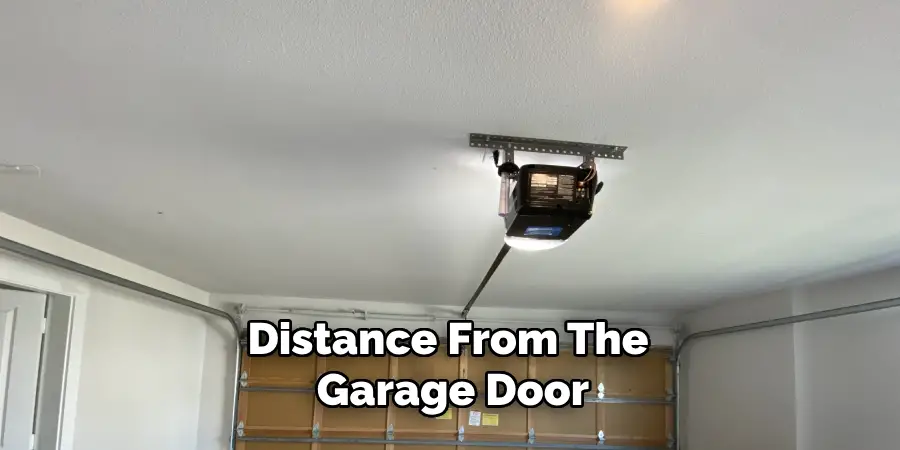
Distance:
Make sure you are within an appropriate range of the garage door opener. Most remotes have a limited range, and being too far away may prevent the signal from reaching the opener.
Interference:
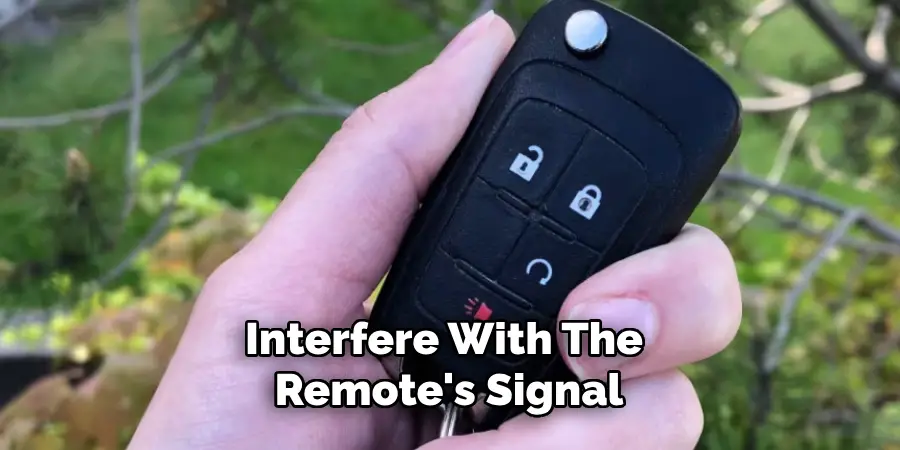
Electronic devices, metal objects, or other wireless signals in the vicinity may interfere with the remote’s signal. Try to eliminate or move any potential sources of interference.
Obstruction:
Check for any physical obstructions between the remote and the garage door opener, including walls or vehicles.
Remote Loses Programming
If your Liftmaster remote loses its programming frequently, it may be due to a few common causes:
Battery:
As mentioned before, a weak or dead battery can cause issues with the remote’s programming. Make sure to replace the battery if needed.
Interference:
Similarly, interference from other devices or signals may disrupt the remote’s programming. Try to eliminate potential sources of interference.
Faulty Opener:
If the opener itself is malfunctioning, it may not properly receive or store the remote.’
Safety Considerations
Seek Professional Assistance:
While programming and operating your Liftmaster remote and garage door opener might seem straightforward, certain situations may warrant professional assistance. If you encounter any difficulties or are unsure about the process, contacting a qualified technician is highly recommended. This ensures that the job is done safely and correctly.
Regular Maintenance:
Perform routine maintenance checks on your garage door opener system. This includes inspecting the springs, cables, rollers, and other hardware for signs of wear or damage. Proper maintenance ensures the safe operation of your garage door and prevents potential accidents.
Keep Remote Out of Reach:
To prevent accidental activation or unauthorized use, keep the remote controls out of reach of children. Educate family members, especially children, about the dangers associated with garage doors and the importance of not playing with the remote.
Ensure Proper Alignment:
Make sure that the sensors on your garage door opener are properly aligned. Misaligned sensors can prevent the door from closing correctly or may cause it to reverse unexpectedly. Regularly check and adjust the sensors to maintain optimal functionality.
Do Not Walk Under a Moving Door:
Avoid walking or driving under a moving garage door. Always wait for the door to completely open or close before passing through the garage door opening. This prevents potential injuries from the door unexpectedly closing on you.
Manual Release Handle:
Familiarize yourself with the location and operation of the manual release handle on your garage door opener.
This handle allows you to manually open or close the garage door in the event of a power outage or a malfunction with the opener. Use the manual release handle only when the garage door is fully closed.
By following these safety considerations, you can help ensure the secure and efficient operation of your Liftmaster garage door opener and remote, protecting both you and your property from potential risks.
Frequently Asked Questions
Q: Can I Program My Liftmaster Remote to Work With My Car’s Built-in Garage Door Opener?
A: Yes, you can. Many Liftmaster openers are compatible with in-car remote systems, allowing you to conveniently open and close your garage door without needing a separate remote. You will need to check your car’s owner’s manual or contact the manufacturer for specific instructions on how to program the in-car remote system.
Q: Can I Program My Liftmaster Remote to Work With Non-Liftmaster Brand Openers?
A: In some cases, yes. Liftmaster offers universal remote controls that can be programmed to work with non-Liftmaster brand openers. However, compatibility cannot be guaranteed for all brands and models of garage door openers. You may need to consult the Liftmaster website or contact their customer support for more information on universal remotes.
Q: Is There a Limit to How Many Remotes I Can Program to Work With My Garage Door Opener?
A: No, there is no limit to the number of remotes you can program to operate your Liftmaster garage door opener. However, it is important to note that each additional remote will require its own unique programming process. The more remotes you have, the longer it may take to program them all.
Q: Can I Program My Liftmaster Remote to Work With Multiple Garage Door Openers?
A: Yes, you can. You can program your remote to work with up to three different garage door openers. This is particularly useful for households with multiple garages or for individuals who have a separate garage opener for their car and another for their house. It eliminates the need to carry multiple remotes.
Q: What Should I Do If My Remote Stops Working Even After Following All Programming Steps?
A: If your Liftmaster remote stops working even after programming it correctly, there may be an issue with the opener itself. Check the battery, try resetting the remote, and make sure there are no interference or obstructions. If none of these solutions work, it is recommended to contact a professional for assistance.
Conclusion
Programming and maintaining your Liftmaster remote and garage door opener can significantly enhance convenience and security in your daily life. Following the provided steps and guidance on how to set up liftmaster remote can ensure that your system functions smoothly and reliably.
Should you face any challenges, the troubleshooting tips and safety considerations outlined will help you address common issues safely and effectively.
Remember, regular maintenance and proper handling of your remote control and garage door opener are essential in preventing malfunctions and ensuring long-term reliability. By adhering to these best practices, you can enjoy the peace of mind that comes with a well-functioning and secure garage door system.