
Setting up a Lorex camera on your Android device can seem like a daunting task, but with the right guidance, it can be smooth and straightforward. Whether you’re looking to enhance the security of your home or monitor a specific area, having a well-configured camera system can provide peace of mind and increased safety.
This guide on how to set up lorex camera on android walks you through each step of the setup process, from downloading the necessary app to configuring your camera settings, ensuring you get your Lorex camera up and running quickly and efficiently.
What is a Lorex Camera?
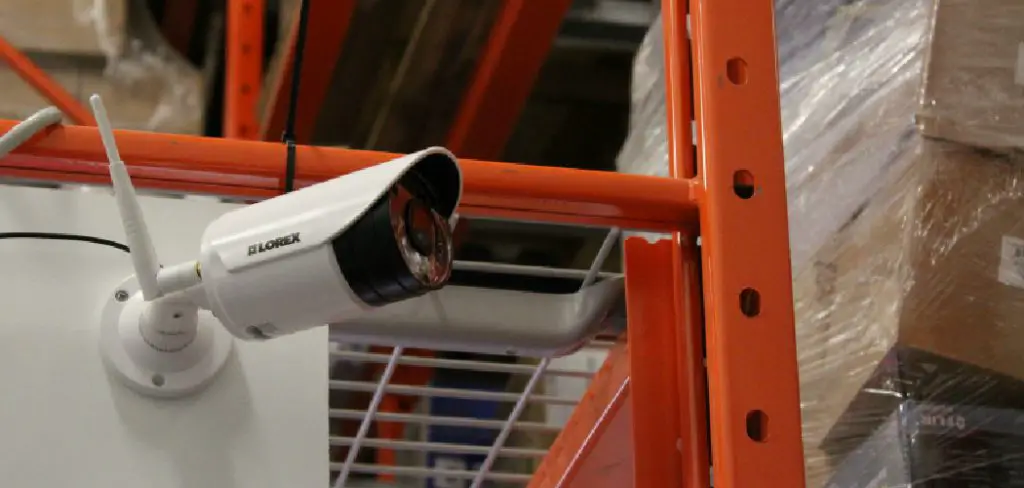
Before we dive into the setup process, let’s take a quick look at what exactly is a Lorex camera. A lorex camera is a wireless security camera that allows you to monitor and record video footage from any location using your Android device. It uses Wi-Fi connectivity to connect with your smartphone or tablet, giving you real-time access to live video feeds from your cameras.
You can set up multiple Lorex cameras and manage them all through the Lorex app, making it a convenient and reliable home security solution. Now, let’s get started with the setup process.
Why Set Up Lorex Camera on Android?
There are several reasons why you may want to set up a Lorex camera on your Android device. Some of the benefits include:
Enhanced Security:
With a Lorex camera, you can keep an eye on your home or property from anywhere at any time.
Remote Monitoring:
You can access live video feeds and recorded footage from your Lorex cameras using your Android phone or tablet, even when you’re away from home.
Customizable Settings:
The Lorex app allows you to customize your camera settings, such as motion detection sensitivity and recording schedules, according to your specific needs.
Needed Materials
To set up your Lorex camera on Android, you’ll need the following materials:
A Lorex Security Camera:
First and foremost, you’ll need a Lorex security camera. This can be any model from the brand, depending on your specific needs.
An Android Device:
You’ll also need an Android smartphone or tablet to download the Lorex app and access your camera’s features and settings.
Stable Internet Connection:
A stable internet connection is necessary to set up and use your Lorex camera. Make sure you have a reliable Wi-Fi network available before starting the setup process.
7 Step-by-step Guides on How to Set Up Lorex Camera on Android
Step 1: Download the Lorex App
To begin the setup process, the first essential step is to download the Lorex app on your Android device. Follow these instructions to download the app:
Open the Google Play Store:
Unlock your Android device and locate the Google Play Store icon. Tap on it to open the app.
Search for the Lorex App:
In the search bar at the top of the screen, type “Lorex Home” and press the enter key.
Select the Correct App:
From the search results, select the app named “Lorex Home – Live Video Monitoring” developed by LOREX TECHNOLOGY INC.
Install the App:
Once you have selected the correct app, tap on “Install” to begin downloading it to your device. The installation process may take a few minutes, depending on your internet connection speed.
Step 2: Create a New Account or Log In
After successfully installing the Lorex app, the next step involves creating a new account or logging in if you already have one. Here’s how to proceed:
Open the Lorex App:
Locate the newly installed Lorex app on your Android device and tap on the icon to open it.
Welcome Screen:
Upon opening the app, you will be greeted with a welcome screen. If prompted, allow the app permission to access your device’s storage, camera, and Wi-Fi connections.
Create a New Account:
If you are a new user, tap on the “Sign Up” or “Create Account” button. Fill in the required information, such as your email address, a strong password, and any other necessary details. Follow the prompts to complete the account creation process.
Log In:
If you already have an existing Lorex account, tap on the “Log In” button. Enter your registered email address and password in the appropriate fields, then tap “Login” to access your account.
Verify Your Email:
For new account users, you may receive a verification email from Lorex. Open your email inbox and look for the verification email. Click on the confirmation link provided in the email to verify your account.
Once you have either created a new account or logged in, you will be ready to proceed with the next steps of setting up your Lorex camera on your Android device.
Step 3: Add a Camera
After successfully creating an account and logging in to the Lorex app, you can now add your camera to the app. Follow these steps:
Tap on the “+” Button:
In the bottom right-hand corner of your screen, tap on the “+” button to begin adding a new camera.
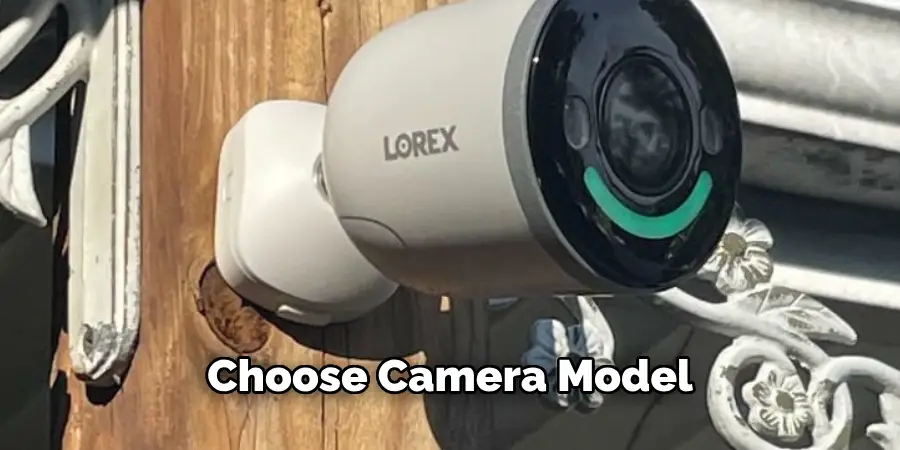
Choose Your Camera Model:
Select your specific camera model from the list provided. If you’re unsure which model you have, refer to your camera’s manual or contact Lorex customer support for assistance.
Connect Your Camera:
Follow the instructions provided by the app to connect your camera to your Wi-Fi network. Make sure your camera is within range of your Wi-Fi network for a successful connection.
Name Your Camera:
Once connected, you will be prompted to name your camera. Choose a unique and easily recognizable name for easy identification.
Step 4: Configure Settings
With the camera added successfully, it’s time to configure its settings according to your preferences. Here’s how:
Select Your Camera:
From the app’s home screen, select the camera you want to configure.
Tap on “Settings”:
In the top right-hand corner of your screen, tap on the “Settings” button to access your camera’s settings.
Customize Your Settings:
From the settings menu, you can customize various features of your camera, such as motion detection sensitivity, recording schedules, and push notifications.
Step 5: Test Your Camera
Before finalizing the setup process, it’s essential to test your camera to ensure everything is working correctly. Here’s how:
Select Your Camera:
From the app’s home screen, select the camera you want to test.
Tap on “Live View”:
In the bottom left-hand corner of your screen, tap on the “Live View” button to access a live video feed from your camera.
Check for Quality and Functionality:
Ensure the live video is clear and that all camera features, such as pan and tilt, are functioning correctly. If you encounter any issues, refer back to the previous steps or contact Lorex customer support for assistance.
Step 6: Add More Cameras (Optional)
If you have multiple cameras to set up, adding them to your Lorex app can enhance your security coverage. Here’s how you can add additional cameras:
Tap on the “+” Button
From the app’s home screen, tap on the “+” button located in the bottom right-hand corner to add a new camera.
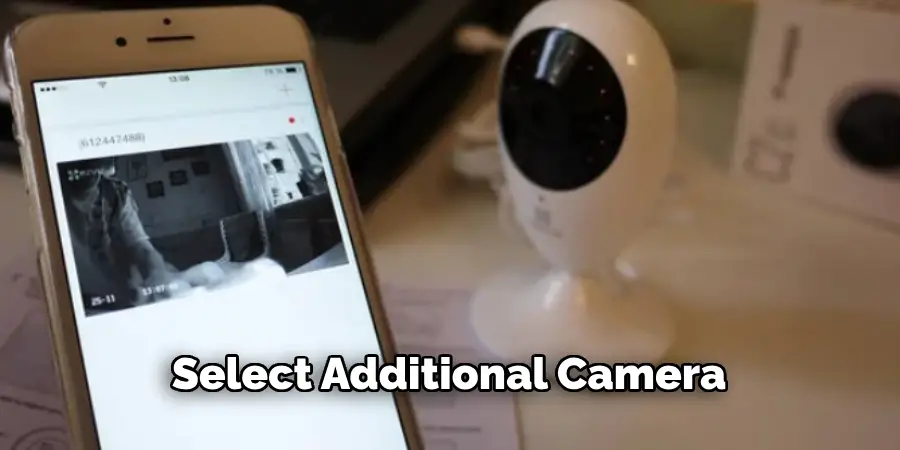
Select Additional Camera Model
Choose the model of the additional camera you wish to add from the list provided. Refer to your camera’s manual if you are unsure of the model.
Connect to Wi-Fi
Follow the on-screen instructions to connect your new camera to the same Wi-Fi network you used for the initial camera setup. Ensure the camera is within the Wi-Fi range for a successful connection.
Name Your Camera
After connecting to the Wi-Fi, you will be prompted to name the new camera. Choose a unique name to differentiate it from the others, such as “Front Door,” “Backyard,” or “Garage.”
Configure Settings
Once the new camera is added, follow the previous steps to configure its settings to match your preferences. Customize options like motion detection, recording schedules, and notification settings for the new camera.
Adding more cameras to your Lorex app is a straightforward process that can significantly improve your surveillance capability by covering multiple areas around your property.
Step 7: Access Your Camera from Anywhere
One of the major benefits of using a Lorex security camera is the ability to access your camera feed remotely, giving you peace of mind by letting you monitor your property from anywhere in the world. Follow these instructions to access your camera remotely:
Ensure Your Camera is Online:
Before attempting to access your camera remotely, double-check that it is connected to your Wi-Fi network and functioning correctly. You can verify this by checking the live feed via the Lorex app while at home.
Enable Remote Viewing:
If not already enabled, you may need to configure your camera settings to allow remote viewing. This can usually be done within the app’s settings menu.
Open the Lorex App:
On your Android device, open the Lorex app. Make sure you are logged in with your account credentials.
Tap on Your Camera:
From the app’s home screen, locate and tap on the camera you wish to view.
Access Live View:
Tap the “Live View” button in the bottom left-hand corner of your screen. This will enable you to see the live feed from your camera.
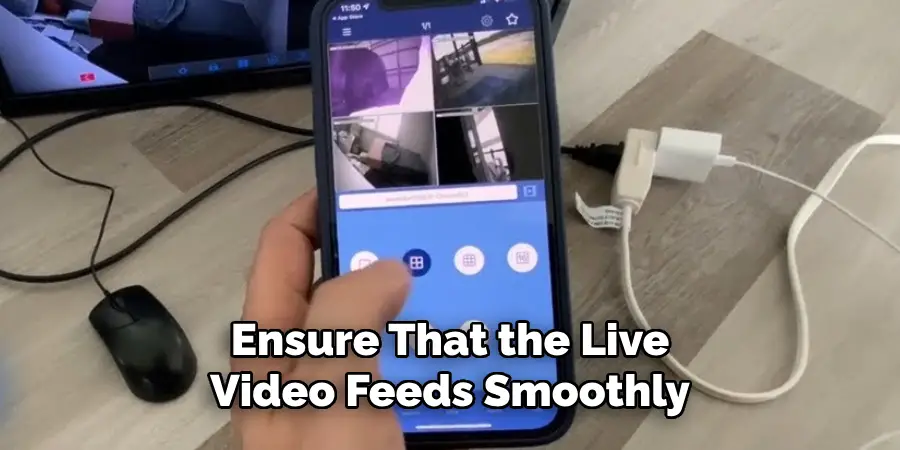
Verify Connection:
Ensure that the live video feeds smoothly without interruption. If you encounter any connectivity issues, make sure your device has internet access and that your home network is online.
By following these steps on how to set up lorex camera on android, you can effortlessly keep an eye on your premises, no matter where you are. This added convenience allows you to stay connected and maintain security at all times.
Frequently Asked Questions:
Q1: Can I Access My Lorex Camera Feed on Multiple Android Devices?
A: Yes, as long as the devices are logged in with the same Lorex account credentials and connected to the internet, you can access your camera feed from multiple devices.
Q2: Can I Add Multiple Cameras to the Lorex App?
A: Yes, you can add multiple cameras to the Lorex app by following the same process of tapping on the “+” button and connecting your camera to your Wi-Fi network.
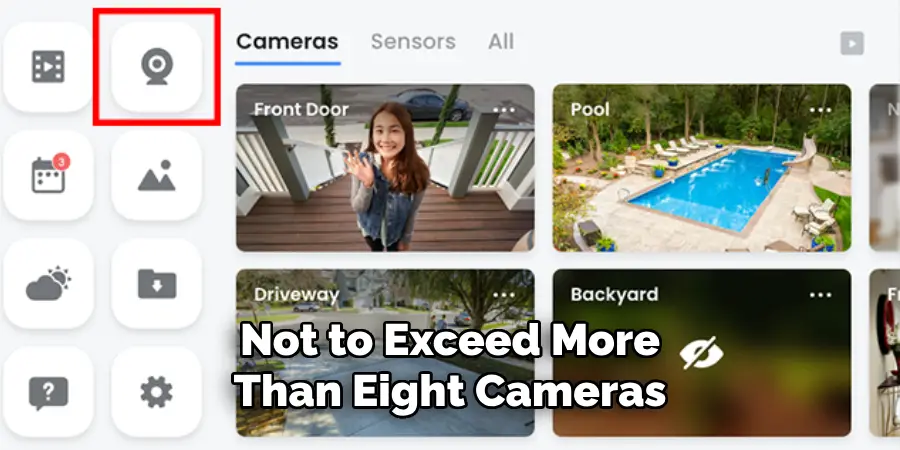
Q3: Is There a Limit to How Many Lorex Cameras I Can Connect to My Android Device?
A: No, there is no limit to how many Lorex cameras you can connect to your Android device. However, it is recommended not to exceed more than eight cameras for optimal performance.
Conclusion
Setting up a Lorex camera on your Android device is a simple process that anyone can do with these step-by-step guides on how to set up lorex camera on android. With the right equipment and a reliable internet connection, you can easily monitor and protect your home or business from anywhere using the convenience of your Android device. Keep in mind that if you encounter any difficulties or have questions during the setup process, you can always refer to Lorex’s customer support for assistance.
So don’t wait any longer, get your Lorex camera set up on your Android and enjoy peace of mind knowing that your property is secure at all times. So go ahead and set up your Lorex camera today to begin experiencing all the benefits it has to offer!