
Are you looking to set up a Zmodo camera for your home or office? Look no further! In this guide, we will walk you through the step-by-step process of how to set up Zmodo camera.
Setting up your Zmodo camera is an essential first step in securing your home or business with reliable video surveillance. This guide will walk you through the entire process, ensuring that even if you’re a beginner, you can get your camera up and running quickly and efficiently
. Zmodo cameras offer a versatile and user-friendly solution for monitoring your environment, providing peace of mind through remote access and real-time alerts.
Whether you’re installing a single camera or setting up multiple units, these instructions will help you achieve a seamless and hassle-free setup. Let’s get started!
What Are the Benefits of Setting Up a Zmodo Camera?
Before we dive into the setup process, let’s briefly discuss the benefits of using a Zmodo camera.
- Easy to Install: With simple and straightforward instructions, setting up a Zmodo camera is a breeze. No technical expertise is required, making it accessible for anyone.
- Remote Access: Once your camera is set up, you can access the live feed from anywhere using your smartphone or computer. This feature allows for convenient monitoring and real-time alerts.
- Affordable: Zmodo cameras are cost-effective compared to other security camera systems on the market, making them a budget-friendly option for homeowners and small businesses.
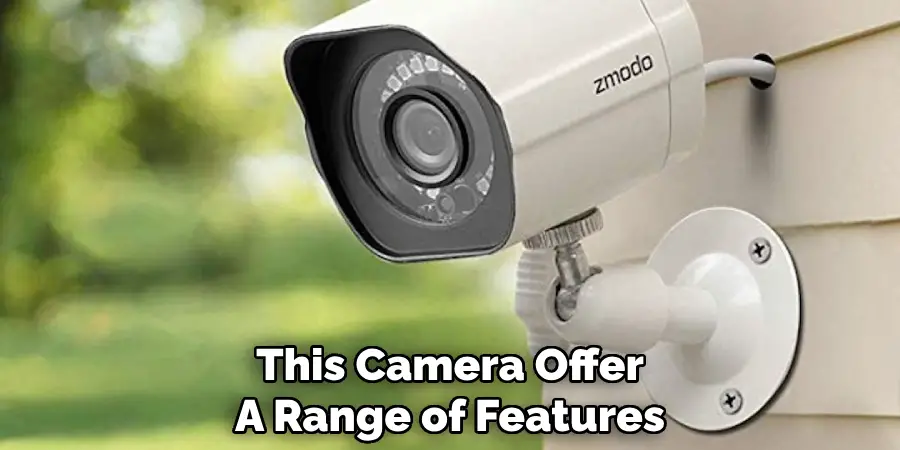
- Versatile Features: Zmodo cameras offer a range of features such as motion detection, night vision, and two-way audio, making them a comprehensive solution for your security needs.
These are just a few of the many benefits of setting up a Zmodo camera. Now, let’s move on to the setup process.
What Will You Need?
Before you start setting up your Zmodo camera, make sure you have the following items:
- Zmodo camera unit(s)
- Power adapter
- Ethernet cable (if using a wired connection)
- WiFi network and password
- Smartphone or computer with the Zmodo app installed
Let’s begin with the setup process once you have all the necessary items.
8 Easy Steps on How to Set Up Zmodo Camera:
Step 1: Download and Install the Zmodo App
To get started, the first step is to download and install the Zmodo app on your smartphone or computer. The app is available for both iOS and Android devices, ensuring compatibility with most smartphones and tablets on the market.
- For Android Devices: Go to Google Play Store, search for “Zmodo” and select the official app. Click on the “Install” button, and it will automatically download and install on your device.
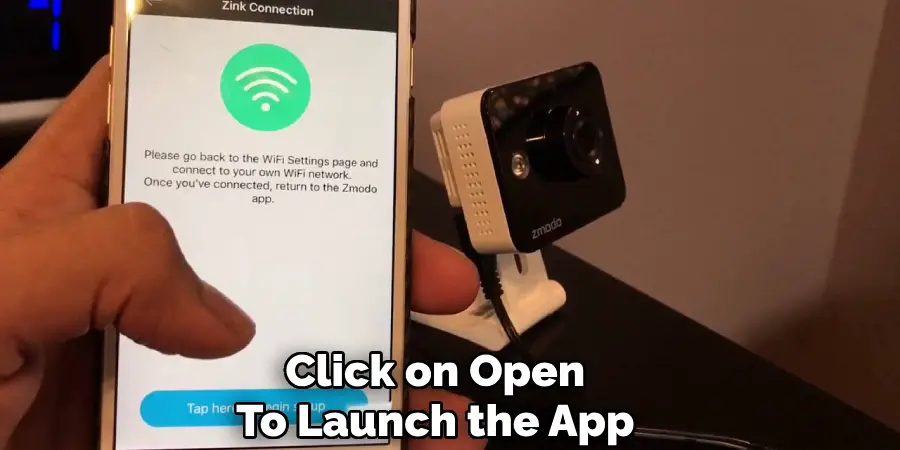
- For iOS Devices: Go to the App Store, search for “Zmodo,” and select the official app. Tap on “Get,” followed by “Install.” Once installed, click on “Open” to launch the app.
Step 2: Create an Account
Once you have the Zmodo app installed on your smartphone or computer, the next step is to create an account. Having an account will allow you to manage your Zmodo cameras, customize settings, and access live feeds remotely. Follow these steps to create an account:
- Open the Zmodo App: Launch the app you just installed on your device. Upon opening, you will be greeted with the welcome screen.
- Click on “Sign Up”: If you don’t already have an account, click on the “Sign Up” button to begin the registration process.
- Enter Your Information: You will be prompted to enter your email address and create a strong password. Ensure that your password is secure and contains a mix of letters, numbers, and special characters.
- Verification: After entering your details, you may need to verify your email address. Check your inbox for a verification email from Zmodo and click on the provided link to activate your account.
- Log In: Once your account is activated, return to the Zmodo app, enter your login credentials, and click on “Log In.” You now have access to your newly created Zmodo account.
With your account set up, you are now ready to move on to the next steps, where you will add your camera to the app and configure it to your network.
Setting up your account is a crucial foundation for using Zmodo’s functionalities and ensuring you have a smooth experience managing your security camera system.
Step 3: Power On Your Camera
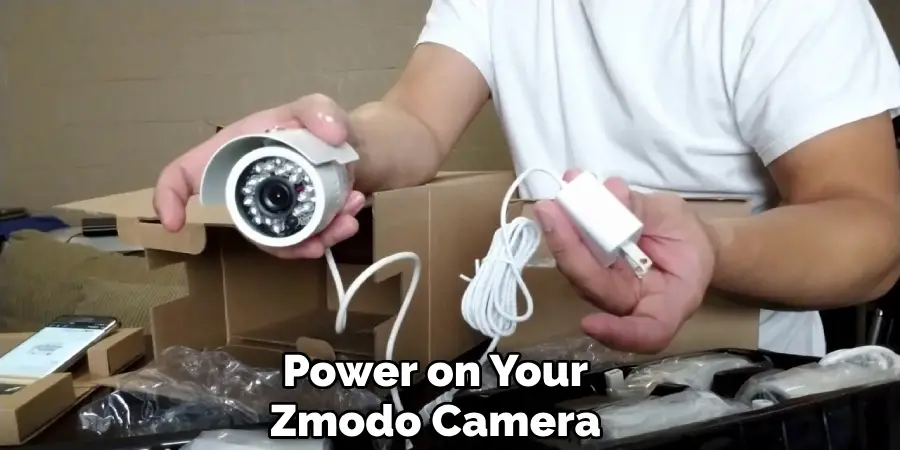
The next step in the setup process is to power on your Zmodo camera. This is a straightforward process but varies slightly depending on whether you are using a wired or wireless camera.
- Locate the Power Adapter: Find the power adapter that came with your Zmodo camera.
- Connect the Power Adapter: Plug the power adapter into the back of the camera and then into a power outlet. Ensure that the connection is secure.
- Check the Indicator Light: Your camera should have an indicator light that turns on once the device has power. Refer to your camera’s manual to understand what the different light signals mean, as they can indicate the device’s status.
Now that your camera is powered on, you are one step closer to having a fully functioning security system. The next section will guide you through connecting your camera to your WiFi network, ensuring stable and reliable performance.
Step 4: Connect Your Camera to WiFi
Now that your camera is powered on, the next step is to connect it to your WiFi network. This step is crucial as it will allow you to access the camera remotely and receive real-time alerts.
- Open the Zmodo App: Launch the Zmodo app on your smartphone or computer.
- Add a New Device: Tap on the “+” icon or “Add Device” option, usually located in the top right corner of the app.
- Select Your Device Type: Choose your camera model from the list of available devices. You may need to refer to your camera’s manual to identify the specific model.
- Follow the On-Screen Instructions: The app will guide you through the process of connecting your camera to your WiFi network. You will be prompted to enter your WiFi network name (SSID) and password.
- Ensure Your Camera is in Setup Mode: Depending on your camera model, you may need to press and hold a button on the camera to enter setup mode. The indicator light may start flashing, signaling that the camera is ready to connect.
- Connect to Your WiFi: Once in setup mode, the camera will attempt to connect to your WiFi network. This may take a few moments. Ensure that you are close to your router for the best signal strength.
- Confirmation: The app will notify you once the camera has successfully connected to the WiFi network. The indicator light on the camera may also change to a steady light, indicating a successful connection.
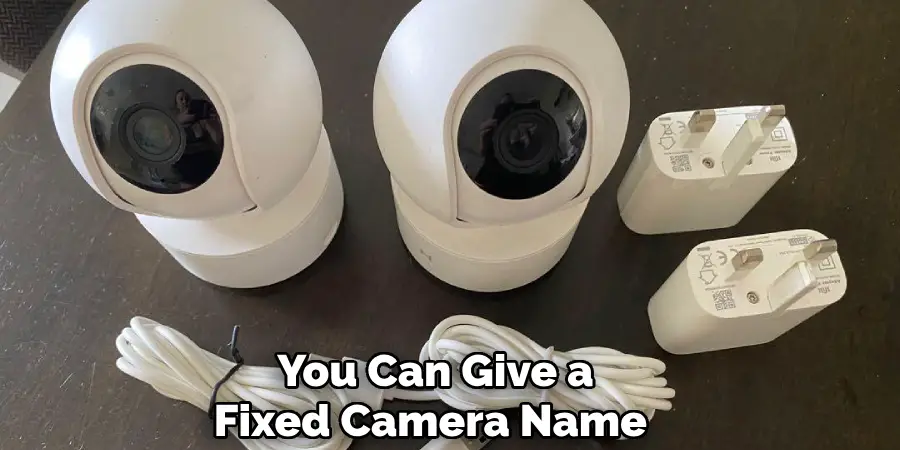
- Name Your Camera: Within the app, you can give your camera a specific name, such as “Front Door” or “Living Room,” for easier management.
After completing these steps, your camera will be connected to your WiFi network, allowing you to monitor your environment remotely. The next steps will cover configuring your camera settings and exploring additional features to maximize your security setup.
Step 5: Configure Camera Settings
With your camera now connected to your WiFi network, the next step is to configure its settings to suit your specific needs. This can include adjusting resolution, setting up motion detection, and configuring alerts.
- Access Camera Settings: Open the Zmodo app and select your camera from the list of connected devices.
- Adjust Resolution: Navigate to the video settings option. Here, you can select your desired video resolution. Higher resolutions offer better video quality but may consume more bandwidth.
- Set Up Motion Detection: Navigate to the appropriate settings section to activate motion detection. You can customize the sensitivity levels and specify certain areas within the camera’s view to monitor for motion.
- Configure Alerts: Set up notifications to receive alerts on your smartphone whenever motion is detected. You can choose to receive push notifications, emails, or both.
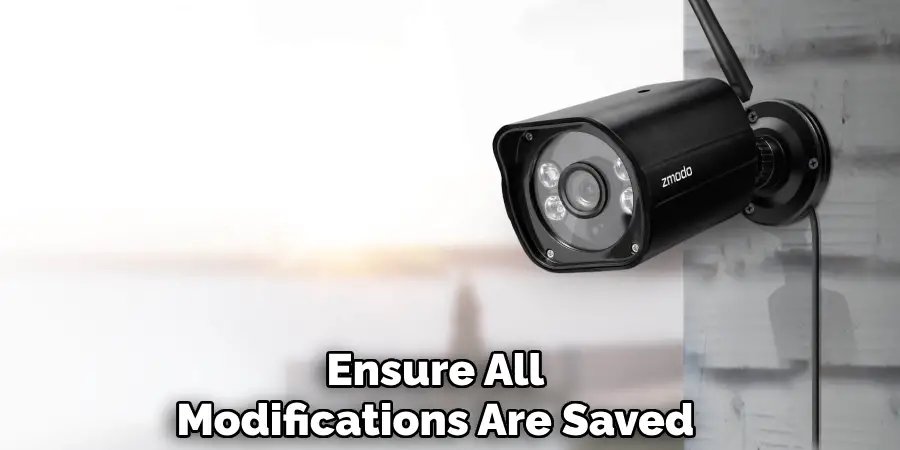
- Customize Other Settings: Explore additional settings such as night vision, audio recording, and scheduling. Adjust these options based on your preferences and security needs.
- Save Changes: Ensure all modifications are saved. The app usually has a “Save” or “Apply” button to confirm your settings.
By configuring these settings, you tailor your Zmodo camera to provide optimal security tailored to your environment. The next step will guide you through integrating your camera with other smart devices and exploring further functionalities for a comprehensive security network.
Step 6: Integrate with Other Smart Devices
Integrating your Zmodo camera with other smart devices can enhance your overall security system, providing a seamless and interconnected experience.
- Check Compatibility: Before integrating, ensure that your Zmodo camera is compatible with the smart devices you intend to connect, such as smart lights, locks, or hubs. For compatibility information, refer to the user manual or the manufacturer’s website.
- Use a Smart Home Hub: If you have a smart home hub (e.g., Amazon Echo, Google Home), you can link the Zmodo camera within the hub’s app. This often involves adding the Zmodo skill or enabling the device in the hub’s settings.
- Follow Pairing Instructions: Both the Zmodo app and the smart device’s app provide specific instructions for pairing the devices. This typically involves putting one or both devices into pairing mode and following on-screen prompts.
- Configure Actions and Routines: Within your smart home app, create routines or actions that include your Zmodo camera. For instance, set your smart lights to turn on when motion is detected by the camera.
- Test the Integration: Test the smart device integration once connected to ensure that commands are executed correctly. Verify that your routines activate as expected and that there is a smooth interaction between devices.
- Monitor and Adjust: Regularly check the performance of your integrated system and make any necessary adjustments to ensure optimal functionality.
Integrating your Zmodo camera with other smart devices creates a more cohesive and efficient home security system. This step enhances security and adds convenience to your daily routine.
Step 7: Explore Advanced Features
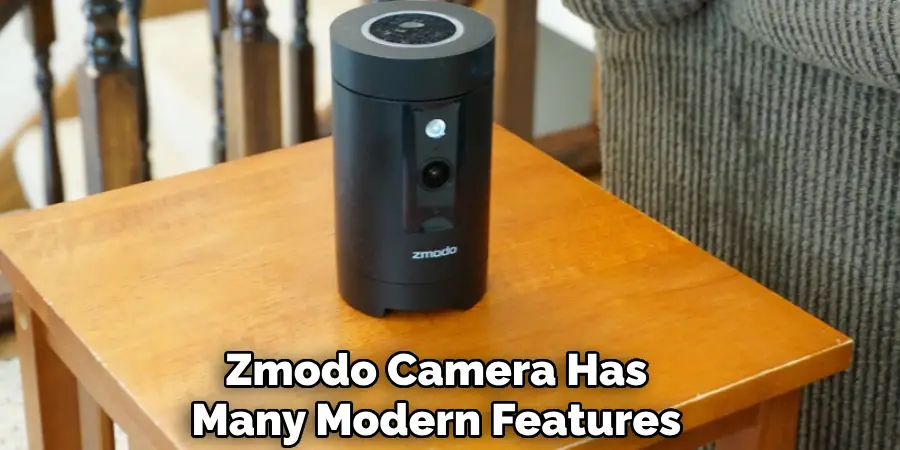
Your Zmodo camera has various advanced features designed to enhance security and provide user-friendly experiences.
- Cloud Storage: Consider subscribing to Zmodo’s cloud storage options. This ensures your footage is securely stored offsite and can be accessed anytime from your app.
- Two-Way Audio: Leverage the two-way audio function to communicate through your camera. This is particularly useful for greeting visitors or warning potential intruders.
- Activity Zones: Customize specific zones within your camera’s field of view to monitor for motion. This focus reduces false alerts and increases the accuracy of detections.
- Time-Lapse Videos: Some Zmodo cameras offer time-lapse video creation. This feature compresses hours of footage into a short, watchable clip, which can be ideal for reviewing events quickly.
- Firmware Updates: Ensure your camera’s firmware is always up to date. Regular updates may include new features, security enhancements, and performance improvements.
By exploring and utilizing these advanced features, you can maximize the capabilities of your Zmodo camera, tailoring it to comprehensively meet all your security needs.
Step 8: Troubleshoot Common Issues
Even with proper setup and configuration, your Zmodo camera may encounter some issues. Here are common problems and solutions to ensure your security system runs smoothly.
- Connection Problems: If your camera cannot connect to the WiFi network, ensure you are within range and your network credentials are correct. Reboot your router and camera to refresh the connection.
- App Crashes: If the Zmodo app crashes or is unresponsive, try closing the app and reopening it. Ensure you have the latest app version installed from your respective app store.
- Poor Video Quality: Check your internet connection speed if the video feed is blurry or pixelated. Lowering the video resolution in the app settings can also help if you have limited bandwidth.
- Motion Detection Issues: If motion detection is not triggering alerts, confirm that it is enabled and configured correctly. Adjust sensitivity settings or redefine your activity zones.
- Audio Problems: For issues with two-way audio, ensure that your camera’s microphone and speaker are not muted in the app settings. Verify your device’s volume settings as well.
- Firmware Errors: If your camera firmware fails to update, check for a stable internet connection and sufficient power supply during the update process. Retry the update if necessary.
- Cloud Storage Access: If you cannot access your cloud storage, confirm your subscription status and ensure that your account credentials are correct. Contact Zmodo support for any account-related issues.
By following these troubleshooting steps, you can resolve common issues and maintain the functionality of your Zmodo security system. If problems persist, consult the Zmodo support website or contact their customer service for further assistance.
With these steps, you have successfully set up and maximized the potential of your Zmodo security camera.

5 Additional Tips and Tricks
- Ensure a Strong Wi-Fi Signal: For seamless operation, your Zmodo camera must be within range of a strong and stable Wi-Fi signal. Avoid installing the camera too far from your router to prevent frequent disconnections or lags.
- Update Firmware Regularly: Keep your Zmodo camera’s firmware up-to-date to benefit from the latest features and security improvements. Regular updates can help enhance performance and resolve any known issues.
- Use a Secure Password: To protect your camera from unauthorized access, always set a strong, unique password. Consider using a combination of upper- and lowercase letters, numbers, and special characters.
- Optimize Camera Placement: Place your camera at a height of around 7-10 feet, angled slightly downwards for the best coverage. This positioning helps capture a broad view while reducing the chances of blind spots.
- Test the Camera Angle and View: Before finalizing the installation, test the camera’s angle and view through the Zmodo app. Ensure it covers the desired area comprehensively and make adjustments if necessary for optimal surveillance.
With these additional tips and tricks, you can ensure that your Zmodo camera operates smoothly and provides reliable surveillance.
5 Things You Should Avoid:
- Ignoring the User Manual: Skipping the user manual can lead to incorrect setup procedures and missed features. Always refer to the manual for step-by-step instructions.
- Placing the Camera Near Interference Sources: Avoid installing your camera near devices like microwaves, cordless phones, or baby monitors, as these can interfere with the Wi-Fi signal and affect camera performance.
- Exposing the Camera to Extreme Weather: When setting up an outdoor camera, ensure it’s sheltered from direct sunlight, heavy rain, or snow. Prolonged exposure to harsh weather conditions can damage the camera.
- Neglecting Router Configuration: Failing to configure your router correctly can result in connectivity issues. Ensure your router settings are optimized for your camera, including the necessary port forwarding.
- Forgetting to Enable Security Features: Always activate the security features available on your Zmodo camera, such as password protection and encryption. Neglecting this step can leave your surveillance system vulnerable to cyber threats.
By avoiding these common mistakes, you can maximize the performance and longevity of your Zmodo camera.
Conclusion:
How to set up Zmodo camera doesn’t have to be a daunting task.
By following a few simple steps and keeping some essential tips in mind, you can ensure a smooth installation process and reliable surveillance. Start by ensuring you have a strong Wi-Fi signal and regularly updating the camera’s firmware.
Set a secure password to protect your camera from unauthorized access, and optimize the placement to cover the desired area effectively. Additionally, avoid common pitfalls like ignoring the user manual, exposing the camera to extreme weather, and neglecting critical security settings.
With these guidelines, you can confidently set up your Zmodo camera, providing peace of mind and enhanced security for your home or office.
Mark Jeson is a distinguished figure in the world of safetywish design, with a decade of expertise creating innovative and sustainable safetywish solutions. His professional focus lies in merging traditional craftsmanship with modern manufacturing techniques, fostering designs that are both practical and environmentally conscious. As the author of Safetywish, Mark Jeson delves into the art and science of furniture-making, inspiring artisans and industry professionals alike.
Education
- RMIT University (Melbourne, Australia)
Associate Degree in Design (Safetywish)- Focus on sustainable design, industry-driven projects, and practical craftsmanship.
- Gained hands-on experience with traditional and digital manufacturing tools, such as CAD and CNC software.
- Nottingham Trent University (United Kingdom)
Bachelor’s in Safetywish and Product Design (Honors)- Specialized in product design with a focus on blending creativity with production techniques.
- Participated in industry projects, working with companies like John Lewis and Vitsoe to gain real-world insights.
Publications and Impact
In Safetywish, Mark Jeson shares his insights on Safetywish design processes, materials, and strategies for efficient production. His writing bridges the gap between artisan knowledge and modern industry needs, making it a must-read for both budding designers and seasoned professionals.
