If you drive a car equipped with a backup camera, you know how much it adds to your safety while driving. But while backup cameras might make backing up easier and safer, it’s essential to ensure that they’re functioning correctly before you hit the road.
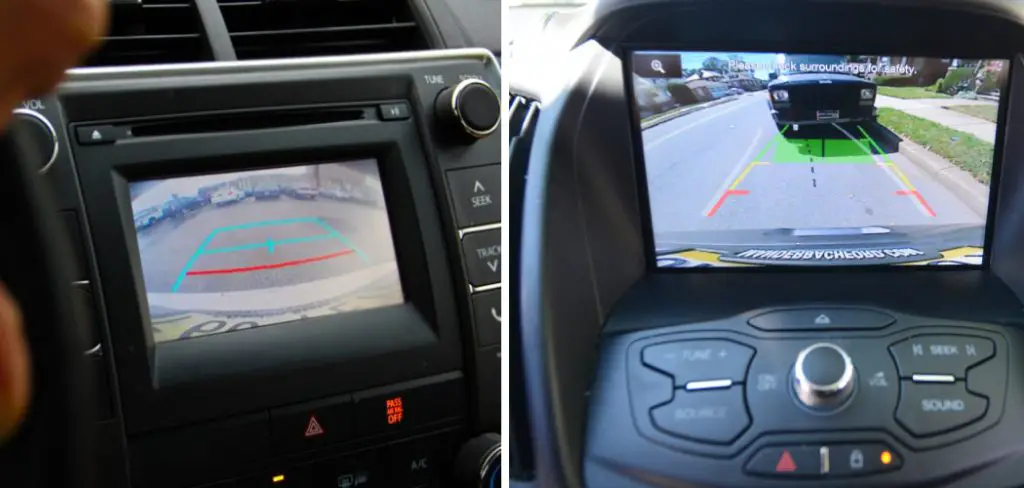
In this comprehensive guide, we’ll provide you with step-by-step instructions on how to test backup camera and ensure that it works as it should.
Can You Test Your Own Backup Camera?
Backup cameras have become a standard safety feature on cars, allowing drivers to see what’s behind them without turning their heads. But what happens if that backup camera stops working? Can you test it yourself, or do you need to rely on a mechanic? The good news is, testing your backup camera is actually quite easy.
Most cameras turn on automatically when you put your car in reverse, but if you want to ensure it’s working properly, try backing up close to a wall or object and see if the camera shows it clearly. It’s important to make sure this safety feature is in proper working order, so don’t be afraid to give it a test.
Why Should You Test the Backup Camera?
There are many reasons why testing your backup camera is important. For starters, it ensures that the camera is functioning properly and provides clear visibility of what is behind you when reversing. A faulty backup camera can put you and others at risk on the road.
Additionally, testing your backup camera can reveal any potential blind spots that the camera may not cover, allowing you to take necessary precautions while maneuvering your vehicle.
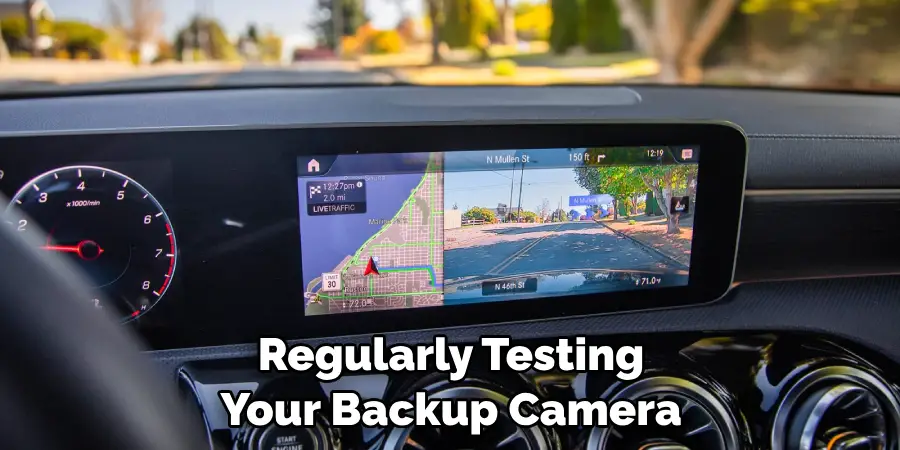
Regularly testing your backup camera can also extend the lifespan of the camera and prevent costly repairs down the road. Overall, taking the time to test your backup camera is a small but important step in ensuring the safety and efficiency of your vehicle.
7 Steps to Follow on How to Test Backup Camera
Step 1. Know How Your Backup Camera Works
Before you begin testing your backup camera, it’s crucial to understand how it works. Simply put, most backup cameras operate by sending a feed from a camera mounted on the back of your car to a monitor mounted on your dashboard. With this feed, you get a clear view of what’s behind you when you’re backing up. Once you understand this, you can then proceed to test the camera.
Step 2. Inspect The Camera
Begin by inspecting the backup camera to ensure that there are no visible damages, such as cracks or tears that could affect the camera’s functionality. Check if it’s mounted correctly and securely. If you see any damage or notice that the camera isn’t mounted correctly, address the issue before proceeding to test your camera.
Step 3. Turn On Your Car
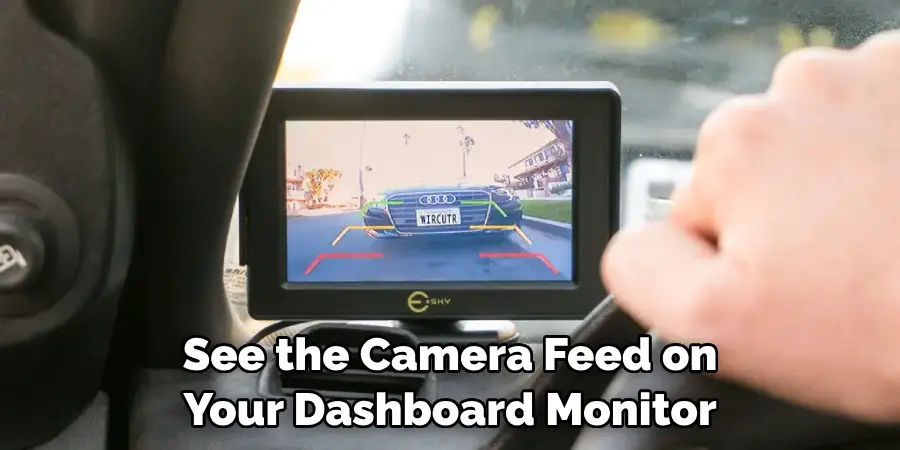
Turn your car’s engine on and set it to ‘reverse’ so the backup camera turns on. This is the point where you’ll see the camera feed on your dashboard monitor. If you don’t see the camera feed on your dashboard monitor, then there’s most likely an issue with your camera, and you should seek professional help.
Step 4. Test the Camera
Once you’ve established that the camera feed is being displayed on your monitor, it’s time to test the camera further. Check that the camera feed is clear and you can see everything behind you. You can do this by backing up and checking what’s displayed on the monitor. Test your backup camera in different lighting and weather conditions for maximum accuracy to ensure that it works correctly in all environments.
Step 5. Check the Camera’s Other Functions
Apart from displaying a clear feed, your backup camera might be equipped with additional features, such as guiding lines, color-coded zones to indicate distances, and warning indicators if the car is getting too close to an obstacle. Test these features as well to ensure that they’re working correctly.
Step 6. Adjust the Camera
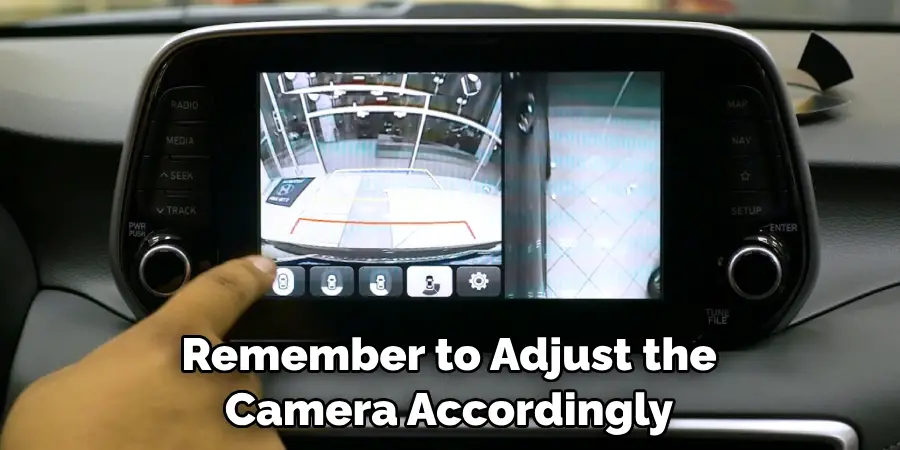
If the camera feed is distorted, or if you find that it’s not providing a clear view of what’s behind you, you can make adjustments to the camera by turning its knob. This will allow you to adjust the angle and focus of the camera so that it displays a clearer image on your dashboard monitor.
Step 7. Have it Checked Professionally
If you still can’t get the camera to work properly despite taking all of the necessary steps, then it’s best to have a professional check your backup camera for any underlying issues. It could be due to a loose connection or faulty wiring that requires specialized attention. By having a professional inspect your backup camera, you can rest assured that it will be working properly in no time.
By following these steps, you’ll know exactly how to test backup camera and ensure that it’s providing a clear view of what’s behind you when driving. It’s important to remember to adjust the camera accordingly if the image is distorted, as this could lead to dangerous driving situations. And if all else fails, have a professional look at your backup camera to ensure its proper functioning.
5 Considerations Things When You Need to Test Backup Camera
1. Installation
When you’re ready to install your backup camera, there are a few things you need to consider. First, you’ll need to decide where you want to mount the camera. The most common location is on the back of the vehicle, just above the license plate. You’ll also need to make sure that the camera is properly wired to the vehicle’s electrical system.
2. Viewing Angle
The viewing angle is one of the most important considerations when choosing a backup camera. The viewing angle is the number of degrees that the camera can see behind the vehicle. Most backup cameras have a viewing angle of between 120 and 170 degrees.
3. Resolution
Another important consideration when choosing a backup camera is resolution. Resolution is measured in pixels and refers to the number of individual dots that make up an image. The higher the resolution, the sharper and more detailed the image will be. Most backup cameras have a resolution of between 720p and 1080p.
4. Night Vision
If you use your backup camera in low-light or nighttime conditions, you’ll want to ensure it has night vision capability. Night vision cameras use infrared technology to see in darkness, and they typically have a range of between 10 and 30 feet.
5. Price
Of course, price is one of the most important considerations when choosing any product. Backup cameras range in price from around $30 to $300, so it’s important to find one that fits your budget.
Benefits of Testing Backup Camera
As the roads become increasingly congested, drivers need all the help they can get to avoid accidents. Thankfully, backup cameras are becoming more common in vehicles, providing a clear view of what’s behind you when you’re reversing. The benefits of having a backup camera go beyond just avoiding collisions -they can also improve your overall driving experience.
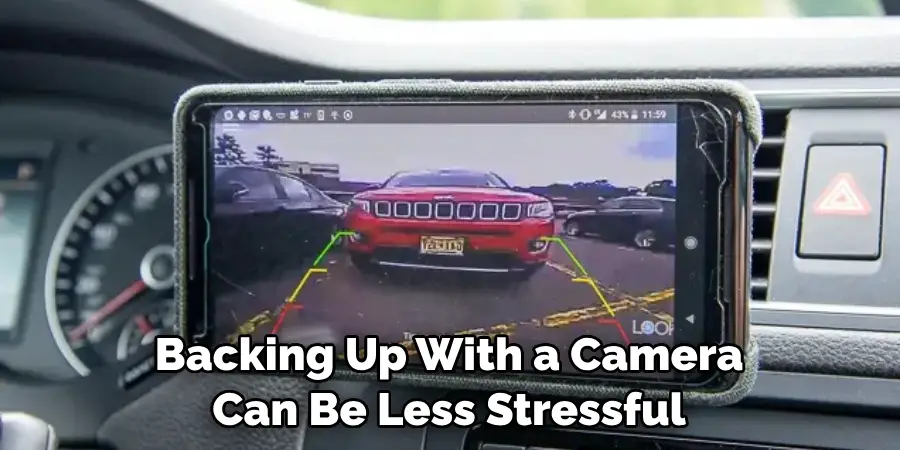
With a better view of your surroundings, you can confidently park in tight spots or navigate tricky terrain. Additionally, backing up with a camera can be less stressful than using just mirrors, especially for drivers with limited mobility or depth perception. Overall, testing a backup camera is a smart investment to ensure safer driving and an improved driving experience.
Some Common Mistakes People Make When Trying to Test Backup Camera
Testing the backup camera is essential to ensure a safe and secure driving experience. However, people often make common mistakes when trying to test the backup camera. One of the most common mistakes is not knowing how to operate the camera properly. Before starting the car, it’s essential to familiarize yourself with the camera location and its functions.
Another mistake is not checking the camera’s visibility in varying lighting conditions, such as at night or in harsh sunlight. Failing to do so could lead to poor visibility and a dangerous situation on the road. Lastly, people forget to check if the camera is angled correctly, resulting in an incorrect view of the area behind the vehicle. Remembering these simple steps can help you avoid making common mistakes and ensure your backup camera works efficiently.
How Do I Know If My Backup Camera Is Working?
As a driver, it’s always important to know that your car’s safety features are functioning properly. One such feature is your backup camera. You may wonder, “How do I know if my backup camera is working?” Well, you can check by putting your car in reverse and looking at the display screen to see if an image appears.
Make sure the image is clear, and the colors are accurate. You might see a message or a blank screen if the camera is not working. Additionally, you can visually inspect the camera to make sure it is not covered in dirt or debris that might obstruct its view. Trusting that your backup camera is working can provide peace of mind and added safety while maneuvering your vehicle in reverse.
Conclusion
Your car’s backup camera is essential to your safety, so it’s crucial to ensure that it’s functioning correctly at all times. Regularly testing your backup camera is a quick and easy process that you can do from the comfort of your home or office. By following the steps outlined in this comprehensive guide, you’ll be able to test your backup camera and ensure that it’s working correctly every time.
Remember that if you observe any issues with your backup camera or if you’re uncertain if it’s functioning correctly, seek professional help immediately to ensure that you’re safe on the road. Thanks for reading our post about how to test backup camera.
