
Carbon monoxide (CO) is a colorless, odorless gas that can be extremely dangerous if inhaled in large quantities. It is essential to have a reliable carbon monoxide alarm in your home to detect any potential leaks and ensure the safety of your household. The First Alert Carbon Monoxide Alarm is a highly recommended device for this purpose.
In this guide on how to test first alert carbon monoxide alarm, we will walk you through the steps on how to properly test your First Alert Carbon Monoxide Alarm to ensure it is functioning correctly and providing the protection you need.
What is a Carbon Monoxide Alarm?
A carbon monoxide alarm is a small device that detects the presence of CO in the air and alerts you with an audible alarm. It works similarly to a smoke detector but specifically for carbon monoxide gas. The First Alert Carbon Monoxide Alarm uses electrochemical sensors to detect even low levels of CO, providing an early warning before it reaches dangerous levels.
You should install at least one carbon monoxide alarm on each level of your home, including the basement and sleeping areas. It is crucial to test these alarms regularly to ensure they are working correctly and providing the protection you need.
It is also essential to have a functioning carbon monoxide alarm because CO-poisoning symptoms can be mistaken for the flu or other common illnesses. Without an alarm, you may not realize there is a leak until it’s too late.
Why is Testing Your Carbon Monoxide Alarm Important?
Testing your carbon monoxide alarm regularly is crucial because it ensures that the device is functioning correctly and can accurately detect any potential leaks. If there is a malfunction or issue with the alarm, it may not provide proper protection in case of a real emergency. Regular testing also gives you peace of mind knowing your home and family are safe from the dangers of CO.
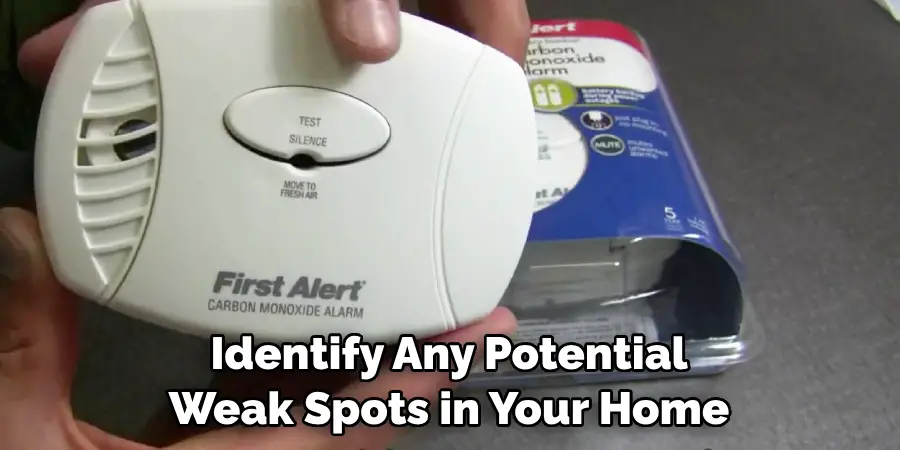
Additionally, testing your carbon monoxide alarm can also help identify any potential weak spots in your home where CO may be entering. By conducting a test, you can pinpoint any areas that need attention or maintenance to prevent future leaks.
You should also test your carbon monoxide alarm after any significant changes in your home, such as renovations or installation of new appliances that may emit CO. This ensures that the device is still properly calibrated and can detect any potential leaks from these additions.
Needed Materials
First Alert Carbon Monoxide Alarm:
Before conducting a test, make sure you have the First Alert Carbon Monoxide Alarm installed in your home. If you do not have one, it is highly recommended that you purchase and install one for the safety of your household.
Test Button:
The First Alert Carbon Monoxide Alarm comes with a test button that allows you to simulate an alarm and check if the device is working correctly.
8 Step-by-step Guides on How to Test First Alert Carbon Monoxide Alarm
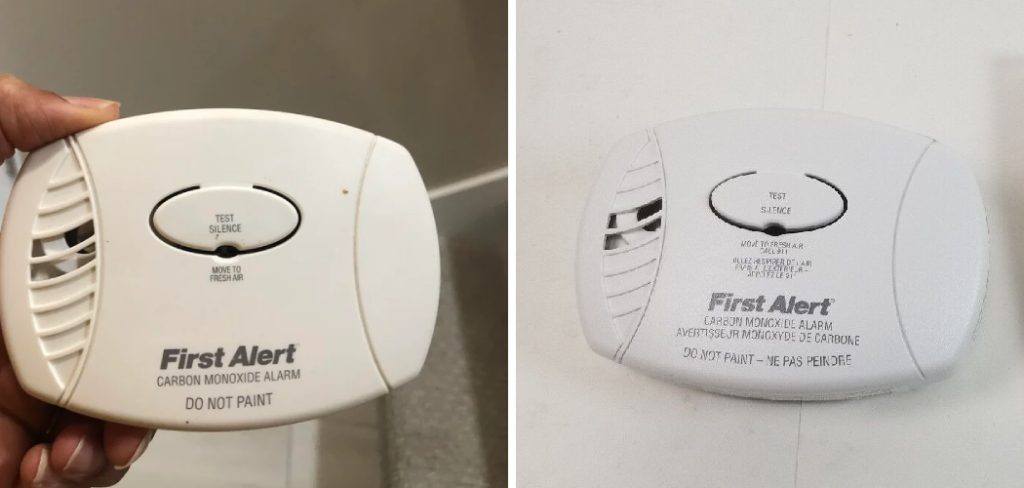
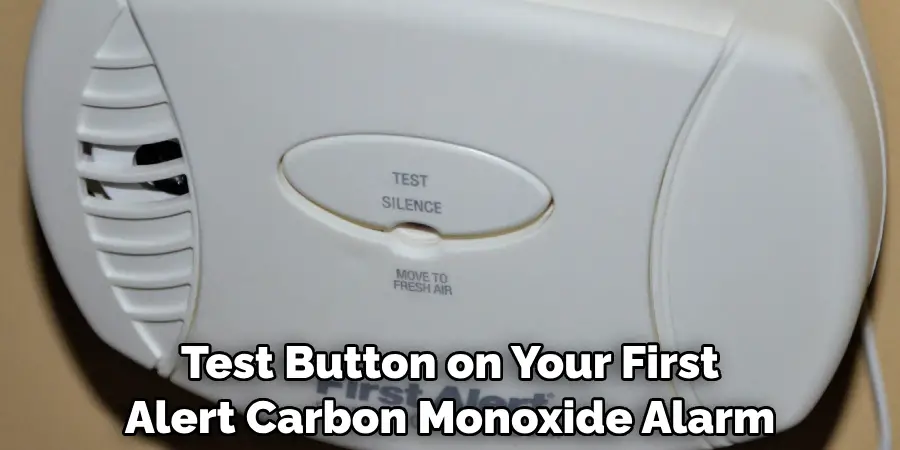
Step 1: Find the Test Button
Locate the test button on your First Alert Carbon Monoxide Alarm. It is usually situated on the front of the device and is clearly labeled as “Test” or has a similar marking. The button is designed to be easily accessible, so you can regularly test the alarm without difficulty.
If you are unsure where to find the test button, refer to the user manual that came with your alarm, as it will provide detailed instructions and a diagram of the device. Ensuring you have identified the correct button is the first and crucial step in testing the alarm effectively.
Step 2: Prepare the Alarm
Before pressing the test button, make sure to alert everyone in your household that you will be conducting a test. This prevents any unnecessary panic or confusion when the alarm goes off.
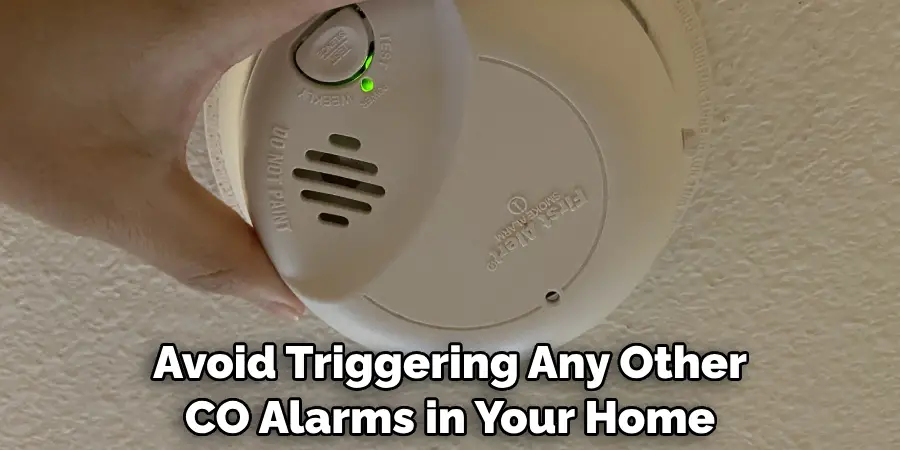
You should also check if anyone has any medical conditions that may be triggered by the loud alarm and make necessary accommodations, such as having them step outside during the test. It is also essential to make sure that any pets are safely secured during the test. You may also want to open a few windows in the area where the alarm is located for better ventilation and to avoid triggering any other CO alarms in your home.
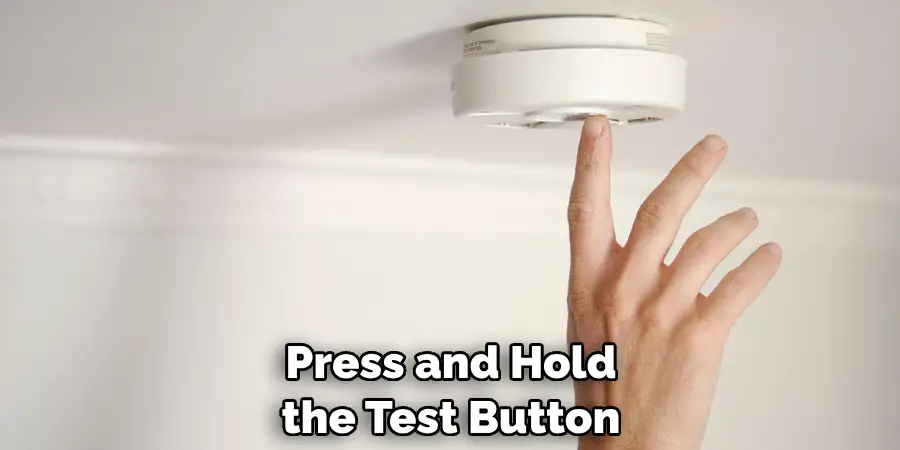
Step 3: Press and Hold the Test Button
Press and hold the test button for a few seconds until you hear a loud, continuous alarm. This sound mimics an actual CO alarm, allowing you to test the device’s functionality. Hold down the button for at least 5 seconds before releasing it. The alarm should continue to sound until you release the button.
If it stops before you let go of the button, there may be an issue with the device that needs to be addressed. It is recommended to try the test a few times before assuming there is an issue. You may also refer to the user manual for troubleshooting instructions.
Step 4: Check the Alarm’s Display
After releasing the test button, check if the alarm’s display shows any error codes or issues. If everything is working correctly, the display should show a “0” or no reading at all. If it displays an error code, refer to the user manual for more information on what it means and how to address it.
If the display continues to show an error code even after multiple tests, contact First Alert customer service for assistance. You should also take note of any error codes for future reference. The alarm may also have a memory feature that stores previous error codes, and you can access them through the display.
Step 5: Listen for the Alarm’s Sound
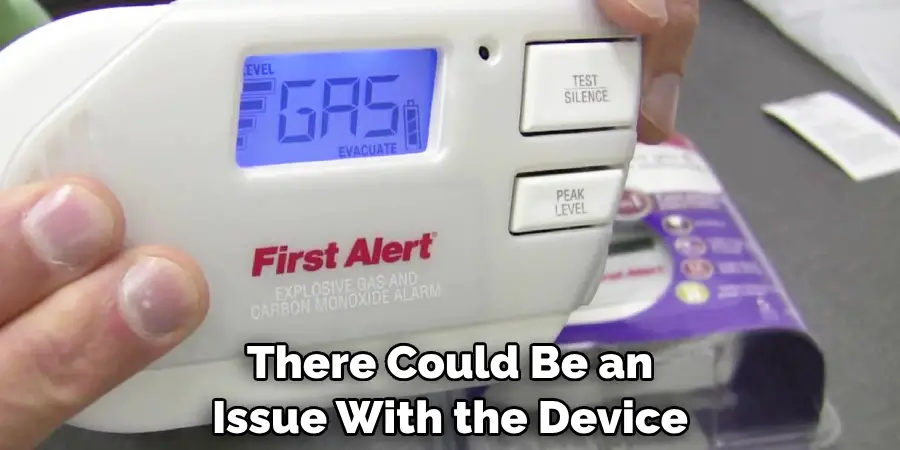
Once you press and hold the test button, pay close attention to the alarm’s sound. The First Alert, Carbon Monoxide Alarm, is designed to emit a loud, continuous siren that is easily distinguishable from other household alarms, such as smoke detectors. The sound should be loud enough to alert everyone in your home, even those who may be sleeping.
If the alarm is faint or does not produce the expected sound, there could be an issue with the device that needs further investigation. In such cases, refer to the user manual for troubleshooting tips or consider replacing the alarm if it is not functioning correctly.
Step 6: Test Different Levels of CO
The First Alert Carbon Monoxide Alarm is designed to detect different levels of CO and produce various alarm sounds for each level. After conducting the initial test, you can try exposing the device to low levels of CO by placing it near a gas stove or furnace that is in use.
The alarm should produce a different sound than the one during the test button simulation. You can also try exposing it to higher levels of CO by using a portable generator outdoors or any other potential source within safe limits. This allows you to see if the alarm responds correctly to different levels of exposure.
Step 7: Reset Your Alarm
Once you have completed testing your First Alert Carbon Monoxide Alarm, it is important to reset the device to ensure it is ready for future use. To reset the alarm, press and hold the test button again for a few seconds until the display clears any error codes or readings. Some models may have a dedicated reset button, so refer to your user manual for specific instructions on how to reset your alarm. After performing the reset, the alarm should return to its normal monitoring state.
If the alarm does not reset or continues to show error codes, consult the troubleshooting section of the user manual or contact First Alert customer service for further assistance. Resetting the alarm properly ensures that it is in optimal condition to detect any potential carbon monoxide threats in the future.
Step 8: Test Periodically
To ensure your First Alert Carbon Monoxide Alarm is functioning correctly, it is essential to test it periodically. The manufacturer recommends testing the device at least once a week using the steps mentioned above. You may also consider testing it more frequently if the alarm has been exposed to high levels of CO or after a power outage. Regular testing ensures that your alarm is always ready to detect any potential threats and keep you and your family safe.
The test button on your First Alert Carbon Monoxide Alarm is an essential tool for ensuring the device’s functionality. By following these steps and regularly testing your alarm, you can have peace of mind knowing that you are well-protected against the dangers of carbon monoxide. Remember to always consult the user manual or contact customer service if you encounter any issues with your alarm. Stay safe!
Following these steps on how to test first alert carbon monoxide alarm is a crucial part of properly testing your First Alert Carbon Monoxide Alarm. It is also important to note that testing only checks the functionality of the device, and it should not be used as a replacement for regular maintenance or professional inspection. To ensure your alarm is always in good working condition, it is recommended to have it professionally inspected at least once a year.
Interpreting Test Results
After conducting the tests on your First Alert Carbon Monoxide Alarm, it’s crucial to accurately interpret the results to ensure your home’s safety. Here’s a guide to help you understand what the different readings and sounds mean:
Normal Operation
If your alarm displays a “0” or no reading at all after testing, this indicates that the device is functioning correctly and no carbon monoxide has been detected in the immediate environment. You should continue to test your alarm periodically to maintain this status.
Error Codes
If the alarm displays an error code, this indicates a potential issue with the device. Common error codes may include low battery warnings, sensor malfunction alerts, or maintenance reminders. Refer to your user manual for specific error code meanings and troubleshooting steps. Addressing these issues promptly ensures your alarm remains in optimal working condition.
Alarm Sounds
The First Alert Carbon Monoxide Alarm emits different sounds for varying levels of CO detected:
- A continuous loud siren during the test indicates the device is working properly.
- A series of beeps may signal low levels of CO.
- A rapid series of beeps indicates high levels of CO, necessitating immediate action.
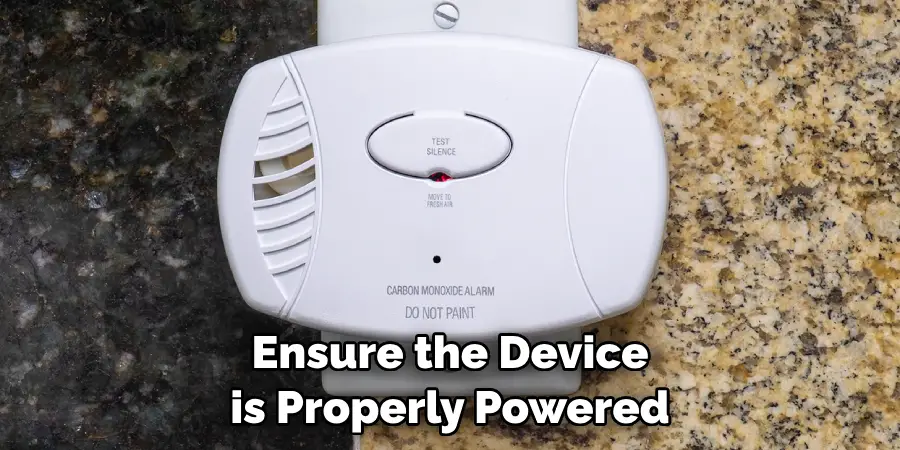
No Sound or Faint Sound
If the alarm does not produce any sound or emits a faint sound during testing, it could indicate a malfunction. Ensure the device is properly powered and recheck its placement. If the issue persists, refer to the troubleshooting section of the user manual or contact customer service for assistance. Replacing the alarm might be necessary if it fails to function correctly.
Understanding these test results and acting accordingly ensures that your First Alert Carbon Monoxide Alarm can effectively protect you and your family from the dangers of carbon monoxide. Regular maintenance and periodic testing are key to keeping your home safe.
Routine Maintenance and Care
Proper routine maintenance and care of your First Alert Carbon Monoxide Alarm are essential to ensure its long-term effectiveness. Here are some key steps to help you maintain your device:
Cleaning the Alarm
Dust and debris can affect the performance of your carbon monoxide alarm. Gently clean the exterior of the device using a soft, dry cloth. Avoid using cleaning solvents or water, as these can damage the sensor. Keeping the alarm clean helps ensure accurate CO detection.
Battery Replacement
If your alarm is battery-powered, replace the batteries at least once a year or when the device indicates a low battery. Use only the recommended battery type specified in the user manual. Regular battery replacement ensures the alarm remains powered and ready to detect any CO presence.
Sensor Check
The sensor in your carbon monoxide alarm is a critical component that requires periodic checks. If your model has a built-in sensor test function, use it according to the instructions in the user manual. This helps verify the sensor’s accuracy and reliability in detecting CO.
Professional Inspections
In addition to your routine checks and maintenance, it’s advisable to have your carbon monoxide alarm professionally inspected at least once a year. A professional can identify any potential issues and ensure that your alarm is in optimal working condition.
Replacing the Alarm
Carbon monoxide alarms have a limited lifespan, typically between 5 to 10 years. Check the manufacturing date of your device and follow the recommended replacement schedule provided by the manufacturer. Replacing the alarm when needed ensures continued protection against carbon monoxide.
Documentation
Keep a maintenance log that includes the dates of tests, battery replacements, sensor checks, and professional inspections. This record can be valuable for tracking the maintenance history and knowing when the next maintenance activity is due.
By following these routine maintenance and care steps, you can ensure that your First Alert Carbon Monoxide Alarm remains effective in safeguarding your home against carbon monoxide threats. Regular maintenance not only extends the lifespan of the device but also provides peace of mind, knowing that your alarm is in good working condition.
Frequently Asked Questions
Q: How Often Should I Test My First Alert Carbon Monoxide Alarm?
A: It is recommended that you test your alarm at least once a week. Consider testing it more frequently if the device has been exposed to high levels of CO or after a power outage. The test button is also an essential tool to ensure the device’s functionality during regular maintenance. You can also refer to your user manual for specific testing recommendations.
Q: Can I Use the Test Button as a Replacement for Maintenance or Professional Inspection?
A: No, the test button should not be used as a replacement for regular maintenance or professional inspection. It only checks the functionality of the device and does not detect potential issues such as sensor malfunctions or low battery levels. To ensure your alarm is always in good working condition, it is recommended to have it professionally inspected at least once a year.
Q: What Should I Do If My Alarm Displays an Error Code?
A: Refer to your user manual for specific error code meanings and troubleshooting steps. Addressing these issues promptly ensures your alarm remains in optimal working condition. If you continue to encounter error codes, contact First Alert customer service for further assistance.
Q: How Do I Properly Reset My First Alert Carbon Monoxide Alarm?
A: To reset your alarm, press and hold the test button until it beeps four times. Consult your user manual for specific instructions on how to reset your particular model. If the alarm does not reset or continues to show error codes, refer to the troubleshooting section of the user manual or contact customer service for assistance. Properly resetting the alarm ensures that it is in optimal condition to detect any potential carbon monoxide threats in the future.
Conclusion
Ensuring the safety and wellbeing of your household begins with the proper installation, maintenance, and regular testing of your First Alert Carbon Monoxide Alarm. By diligently following the outlined procedures on how to test first alert carbon monoxide alarm for weekly tests, routine maintenance, and periodic professional inspections, you can confidently protect your family from the silent threat of carbon monoxide.
Keep in mind that each step, from cleaning and battery replacement to professional inspections and timely replacements, contributes significantly to the optimal performance of your alarm. With these best practices, you can maintain a safe living environment and gain peace of mind knowing that your carbon monoxide alarm is functioning effectively to keep your home secure.