Ensuring the proper functionality of your First Alert smoke alarm is crucial for the safety of your home and loved ones. Regular testing can help identify any issues before they become serious concerns, providing peace of mind and enhancing your overall safety strategy.

This guide on how to test first alert smoke alarm will walk you through the steps necessary to test your First Alert smoke alarm effectively, ensuring that it is operational and ready to alert you in case of a fire emergency.
What is a First Alert Smoke Alarm?
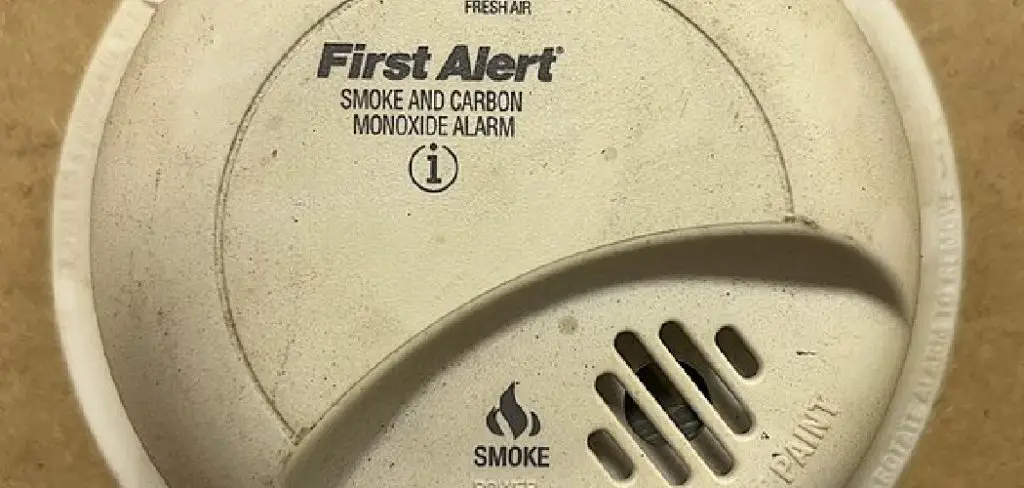
A First Alert smoke alarm is a device that detects the presence of smoke in your home. It is designed to emit a loud, audible alarm to alert you and your family of potential fire hazards. These alarms are an essential part of any home’s safety system and should be regularly tested to ensure their proper functioning.
You can find First Alert smoke alarms in various shapes and sizes, from traditional battery-powered units to hard-wired systems that are connected to your home’s electrical system. Some models also come with additional features such as carbon monoxide detection or wireless interconnectivity for larger homes.
Why is Testing Your First Alert Smoke Alarm Important?
Testing your First Alert smoke alarm regularly is crucial for maintaining the safety of your home and family. These alarms are designed to detect even small amounts of smoke, providing early warnings that can save lives in case of a fire emergency.
However, over time, dust and other debris can accumulate in the sensors of your smoke alarm, compromising its effectiveness. Regular testing helps identify any issues with your alarm’s functionality and allows you to address them promptly, ensuring that it is always ready to alert you in case of a fire.
How Often Should You Test Your First Alert Smoke Alarm?
The National Fire Protection Association (NFPA) recommends testing your smoke alarm at least once a month. Additionally, you should also replace the batteries in your smoke alarm every six months or as directed by the manufacturer.
It is also essential to test your smoke alarm after any power outages or if it has been accidentally triggered by cooking or other activities.
8 Step-by-step Guides on How to Test First Alert Smoke Alarm
Step 1: Locate the Test Button
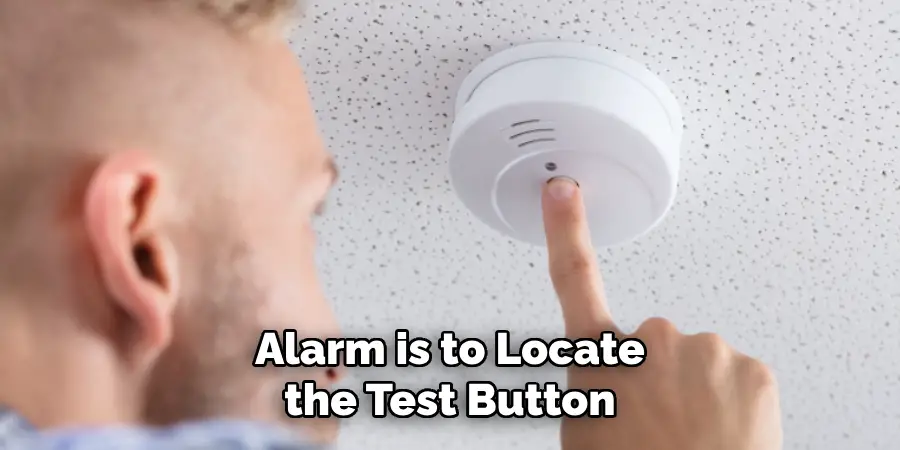
The first step in testing your First Alert smoke alarm is to locate the test button. This button is typically found on the front face of the alarm. It is often circular and labeled with the word “Test” to make it easily identifiable. Depending on your model, the test button might be a different color or texture from the rest of the unit.

Make sure you can easily reach the alarm, either by standing beneath it or using a step stool, ensuring that you don’t need to stretch or risk your safety while performing the test.
Step 2: Notify Others in the House
Before you proceed with testing your First Alert smoke alarm, it is important to notify others in the house. Inform everyone that you will be conducting a test so they are aware that any alarm sounds are part of a planned activity and not an actual emergency. This is crucial, especially in households with young children, elderly family members, or pets, as the alarm can be loud and startling.
Proper communication helps prevent unnecessary panic and ensures everyone knows the test is routine maintenance. Also, make sure to close any doors to avoid disturbing neighbors if you live in an apartment or condo.
Step 3: Press and Hold the Test Button
Once you have notified others in the house, it’s time to press and hold the test button. The duration of time you should hold the button varies depending on your model. Some alarms may require only a few seconds, while others might need up to 10-15 seconds.
Hold the button until you hear a loud, continuous alarm sound, indicating that the smoke alarm is functioning correctly. If there is no sound or if you hear a weak beep, it may indicate an issue with your alarm that requires further inspection or battery replacement.
Step 4: Release the Test Button
After holding down the test button for the required amount of time, release it. This will stop the alarm sound, and your smoke alarm should return to its normal standby mode.
If the alarm continues to beep or make any other unusual sounds after releasing the test button, it may indicate an issue that requires further inspection or replacement.
Step 5: Test Using Smoke
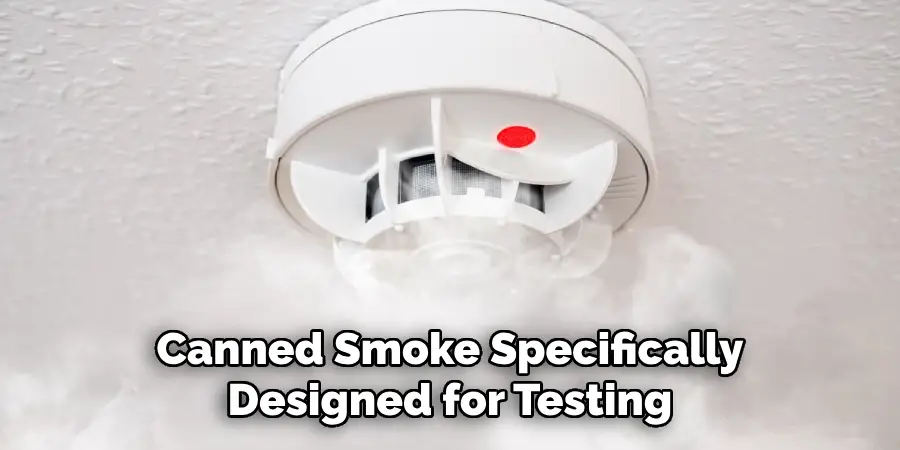
While pressing the test button is a quick and easy way to ensure your First Alert smoke alarm can produce a loud, audible sound, it does not guarantee that it will detect actual smoke. To test its functionality fully, you can use canned smoke specifically designed for testing smoke alarms.

Follow the instructions on the canned smoke product carefully, as improper use may damage your alarm’s sensors. Once you have sprayed the canned smoke toward your alarm (but not directly at it), wait for a few seconds to see if the alarm sounds. If it does not, it may indicate an issue with your alarm that requires further inspection or replacement.
Step 6: Check the Alarm’s Indicator Lights
Some First Alert smoke alarms come equipped with indicator lights that can provide additional information about the functionality of your alarm. These lights typically indicate battery status, power source, and sensor functioning.
After performing a test using the test button or canned smoke, check these indicator lights for any potential issues. Consult your user manual for specific instructions on interpreting the indicator light signals.
Step 7: Address Any Issues
If you encounter any issues during the testing process, such as no sound while pressing the test button or weak beeping after releasing it, consult your user manual for troubleshooting tips. You may need to replace the batteries or clean the sensors to ensure proper functionality.
In case of severe issues, such as continuous beeping sound, even after replacing the batteries or cleaning the sensors, it is recommended that First Alert customer support be contacted for further assistance.
Step 8: Schedule Regular Testing
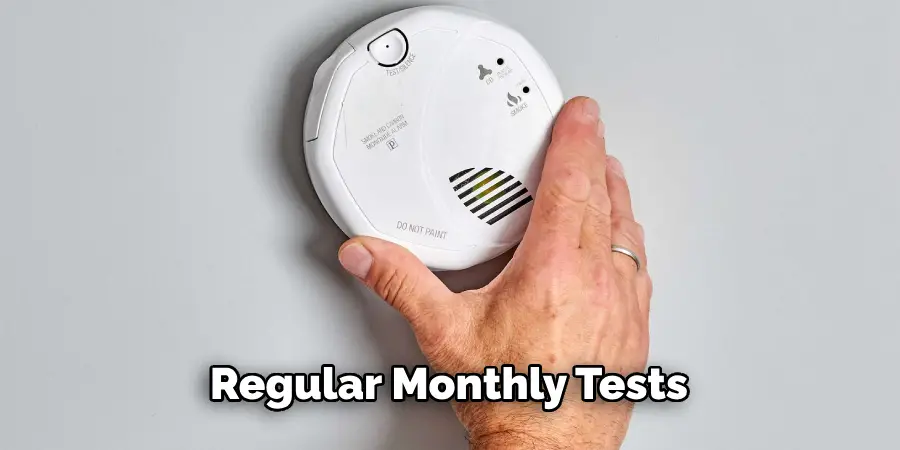
Once you have successfully tested your First Alert smoke alarm and confirmed its proper functioning, make sure to schedule regular monthly tests as recommended by the NFPA. Mark it on your calendar or set a reminder on your phone to ensure that you don’t forget this crucial safety measure.

Regular testing will not only help maintain your alarm’s effectiveness but also give you peace of mind, knowing that your home and family are protected in case of a fire emergency.
Following these simple steps on how to test first alert smoke alarm can help ensure that your First Alert smoke alarm is always ready to alert you in case of a fire. Remember to also follow the manufacturer’s instructions and recommended maintenance schedule for optimal performance. With regular testing and maintenance, you can rest easy knowing that your home is equipped with a reliable and functional smoke alarm.
Additional Tips for Fire Safety:
- In addition to testing your smoke alarm regularly, it is also crucial to have a fire escape plan in place and practice it with your family. This will help you and your loved ones know what to do in case of an actual fire emergency.
- Make sure to install enough smoke alarms throughout your home, ideally one on every level and in each bedroom. This will ensure that you are alerted quickly, no matter where the fire starts.
- Regularly replace batteries in your smoke alarm according to the manufacturer’s recommendations, typically every 6 months. It is also important to replace the entire unit every 10 years or as recommended by the manufacturer.
- Keep flammable items away from heat sources and never leave cooking unattended. Most house fires start in the kitchen, so it is important to take extra precautions in this area.
- Install a fire extinguisher in your home and make sure everyone knows how to use it. Keep it easily accessible and check its pressure gauge regularly to ensure that it is ready for use.
- Educate children about the dangers of fire and teach them basic fire safety practices such as “Stop, Drop, and Roll” and how to call 911 in case of an emergency.

By following these tips and regularly testing your First Alert smoke alarm, you can help ensure the safety of your home and loved ones. Remember, fire prevention is crucial, but being prepared for emergencies is just as important. Stay safe!
Frequently Asked Questions
Q1: How Often Should I Test My First Alert Smoke Alarm?
A1: It is recommended to test your smoke alarm at least once a month, following the manufacturer’s instructions. This will help ensure that it is functioning properly and read alert you in case of a fire emergency.
Q2: Can I Use a Candle or Incense to Test My Smoke Alarm?
A2: No, it is not recommended to use an open flame or any type of burning object to test your smoke alarm. This can potentially damage the sensors and affect their functionality. It is best to use the designated test button or canned smoke for testing purposes.
Conclusion
Testing your First Alert smoke alarm regularly is crucial for ensuring the safety of your home and family. By following these simple steps on how to test first alert smoke alarm, you can easily test your smoke alarm and address any issues that may arise. Remember to also follow additional fire safety tips for optimal protection against potential hazards.
So, it is important to take the time and effort to regularly test your smoke alarm and maintain its proper functioning for the safety of your home and loved ones. Don’t wait until it’s too late – ensure your smoke alarms are always ready to alert you in case of a fire emergency.
Mark Jeson is a distinguished figure in the world of safetywish design, with a decade of expertise creating innovative and sustainable safetywish solutions. His professional focus lies in merging traditional craftsmanship with modern manufacturing techniques, fostering designs that are both practical and environmentally conscious. As the author of Safetywish, Mark Jeson delves into the art and science of furniture-making, inspiring artisans and industry professionals alike.
Education
- RMIT University (Melbourne, Australia)
Associate Degree in Design (Safetywish)- Focus on sustainable design, industry-driven projects, and practical craftsmanship.
- Gained hands-on experience with traditional and digital manufacturing tools, such as CAD and CNC software.
- Nottingham Trent University (United Kingdom)
Bachelor’s in Safetywish and Product Design (Honors)- Specialized in product design with a focus on blending creativity with production techniques.
- Participated in industry projects, working with companies like John Lewis and Vitsoe to gain real-world insights.
Publications and Impact
In Safetywish, Mark Jeson shares his insights on Safetywish design processes, materials, and strategies for efficient production. His writing bridges the gap between artisan knowledge and modern industry needs, making it a must-read for both budding designers and seasoned professionals.
