
Are you tired of walking to your destination? Want an easier mode of transportation? Look no further than Bird scooters. They are easy to rent, eco-friendly, and can save you time. But what happens when you come across a locked Bird scooter? Don’t worry; in this guide, we will show you how to unlock a Bird scooter so you can be on your way in no time.
Unlocking a Bird scooter is a straightforward process that allows you to quickly get on your way and easily zip around town. Whether you’re a new user or a seasoned rider, following the proper steps ensures a smooth and efficient start to your journey.
This guide will take you through the essential steps to unlock a Bird scooter, from downloading the app to starting your ride. Let’s get started and explore the simplicity and convenience of modern urban transportation with Bird.
What Will You Need?
Before you can unlock a Bird scooter, you will need a few things to ensure a successful rental experience.
- A smartphone with the Bird app downloaded and installed
- A valid payment method linked to your Bird account
- Location services turned on for the app
That’s it! With these items in hand, you’re ready to roll.
10 Easy Steps on How to Unlock a Bird Scooter
Step 1: Download and Open the App
To begin, download the Bird app from either the Apple App Store or Google Play Store. Once downloaded, open the app and create an account if you don’t already have one. You can sign up using your email or phone number.
Step 2: Enable Location Services
Make sure your location services are enabled for the Bird app. This is a crucial step as the app needs to know your current location to show you available scooters nearby. To enable location services on your smartphone, go to your phone’s settings, find the location or privacy section, and toggle the location services setting to the “on” position. On most devices, you must also grant the Bird app-specific permission to access your location.
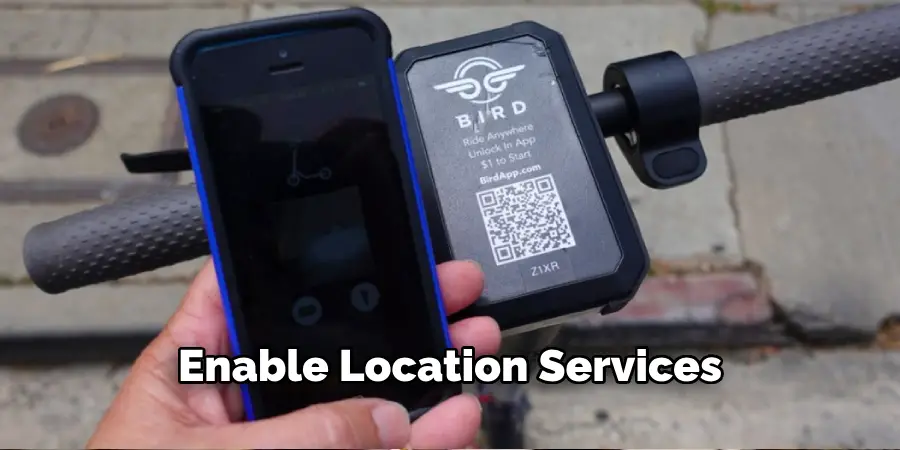
This can usually be managed in the app permissions section of your phone settings. Once location services are enabled, return to the Bird app to continue the process. With location services activated, the app will display a map indicating the locations of the nearest available Bird scooters, making it easy to find one near you.
Step 3: Find a Scooter
With the Bird app open and location services enabled, you will now see a map displaying the locations of available Bird scooters near you. Look for the scooter icons on the map and choose one that is nearby and convenient for you to pick up. You can tap on a scooter icon to see more details about that particular scooter, including its battery level. Once you have selected a scooter, walk to its location.
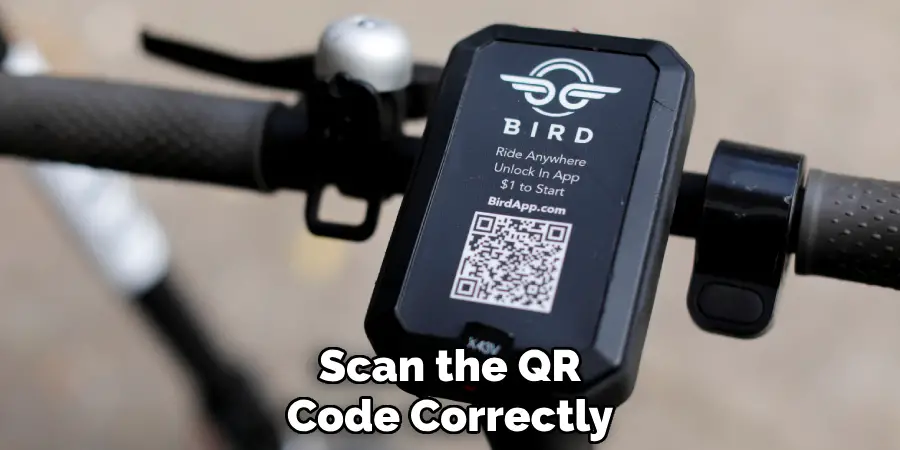
Step 4: Scan the QR Code
Once you reach the scooter, you must unlock it by scanning the QR code on the handlebar or stem. Open the Bird app, and you will see an option to “Scan QR Code.” Use your phone’s camera to scan the code. Ensure that you align the code within the camera frame for accurate scanning. If the QR code is damaged or not scanning properly, you can manually enter the scooter’s ID number located below the QR code.
Step 5: Start Your Ride
After successfully scanning the QR code or entering the scooter ID, the app will unlock the scooter, and you will hear a beep indicating that the scooter is ready to use. You’re now ready to start your ride. Place one foot on the scooter’s deck and use the other foot to push off the ground a few times to get some momentum. Once you’re moving, press down on the throttle with your thumb to accelerate. Make sure to follow all local traffic rules and wear a helmet for safety.
Step 6: Follow Safety Guidelines
While riding, adhering to safety guidelines is crucial to ensure a safe journey for you and others around you. Always wear a helmet to protect yourself from injuries. Follow all traffic laws, including stopping at red lights, yielding to pedestrians, and riding in bike lanes where available.
Avoid using your phone or wearing headphones while riding, as these can distract you from the road. Be mindful of your surroundings, including cars, pedestrians, and other obstacles. If riding at night, make sure your scooter’s lights are on to increase visibility.

Step 7: Park Responsibly
When you’ve reached your destination and are ready to end your ride, find a suitable place to park the scooter. Bird scooters should be parked in designated areas if available or in a location that does not obstruct footpaths, driveways, or building entrances. Avoid parking on private property, and make sure the scooter is upright and stable to prevent it from falling over. Responsible parking ensures that the scooters remain accessible and do not cause inconvenience or hazards to others.
Step 8: End Your Ride
After finding an appropriate parking spot, open the Bird app and tap on the “End Ride” button. The app will prompt you to take a photo of the parked scooter to verify that it is parked correctly. Ensure the entire scooter is visible in the photo and that it is in an appropriate location. After submitting the photo, your ride will be officially ended, and you will receive a ride summary and receipt via the app. Confirm that the scooter is locked and check for any personal belongings before walking away.
Step 9: Rate Your Ride
Bird values user feedback to continually improve its service. After you end your ride, the app will prompt you to rate your experience. You can provide a star rating and any comments about the scooter’s condition, ease of use, or any issues you encountered during your ride. This feedback is valuable and helps improve everyone’s overall user experience.
Step 10: Plan Your Next Ride
Now that you’ve successfully completed your Bird scooter ride, planning your next journey is easy. Whether you’re commuting to work, running errands, or exploring the city, Bird scooters offer a convenient and eco-friendly transportation option. Simply open the Bird app whenever you need a ride and repeat the steps outlined in this guide to unlock and enjoy another trip.
Following these ten steps, you can confidently and responsibly use Bird scooters for all your travel needs.
5 Additional Tips and Tricks
- Ensure App is Updated: Always check that you have the latest version of the Bird app installed on your smartphone. App updates often fix bugs and improve unlocking, ensuring a smoother experience.
- Enable Bluetooth and Location Services: Ensure your device activates both Bluetooth and location services (GPS). These settings are essential for the app to communicate with the scooter and identify its precise location.
- Scan the QR Code Correctly: Hold your phone steady and ensure the QR code is well-lit so the camera can scan it correctly. If the QR code is damaged or unreadable, manually enter the code located on the scooter.
- Check Scooter’s Condition: Before unlocking, visually inspect the scooter to ensure it is in good working condition. Look for any obvious damage that might impede your ride, such as flat tires or a missing brake.
- Restart the App: If you encounter any issues while trying to unlock the scooter, try closing and restarting the Bird app. Sometimes, refreshing the app can resolve minor technical issues that disrupt the unlocking process.
5 Things You Should Avoid
- Ignoring Safety Checks: Never skip the initial safety check before unlocking a scooter. Ignoring this step increases the risk of injury from using a faulty scooter.
- Using a Low-Battery Smartphone: Avoid attempting to unlock a scooter with a smartphone with a low battery. If your device dies during the process, you might be left stranded without a ride.
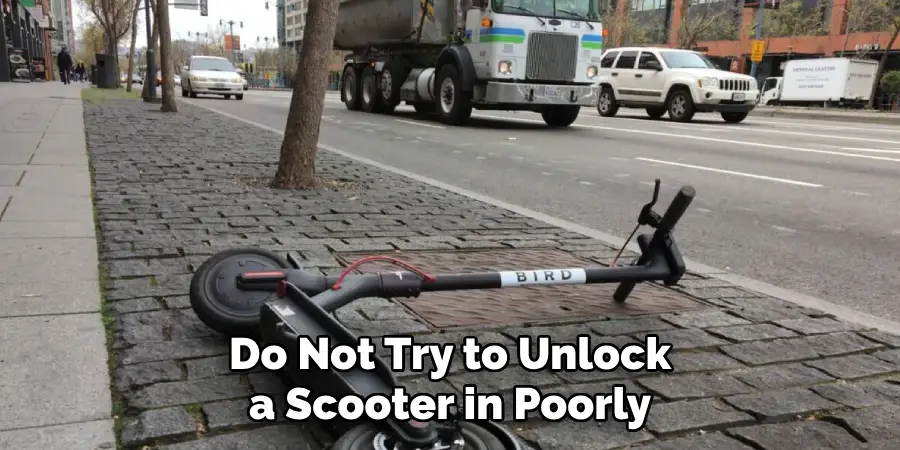
- Unlocking in Poor Lighting Conditions: Do not try to unlock a scooter in poorly lit areas. Inadequate lighting can hamper the QR code scanning process and make it difficult to inspect the scooter’s condition.
- Overlooking Local Traffic Laws: When using the Bird app to unlock a scooter, avoid ignoring local traffic laws and regulations. Non-compliance with these rules can result in fines or accidents.
- Using Unauthorized Apps or Methods: Do not use third-party apps or unauthorized methods to unlock a Bird scooter. These can lead to technical issues, potential security risks, and even illegality.
By avoiding these common mistakes, you can have a safe and hassle-free experience while using the Bird app to unlock scooters.
Conclusion
How to unlock a bird scooter is a straightforward process, but it requires attention to detail to ensure safety and efficiency. You can prevent most technical issues associated with unlocking by keeping your app updated, enabling necessary device settings, and correctly scanning the QR code.
Additionally, performing a thorough safety check on the scooter and restarting the app if problems arise are key steps to a seamless unlocking experience. Avoid common pitfalls such as ignoring local traffic laws or attempting to unlock in poor lighting conditions to make your ride safe and enjoyable.
By following these tips and avoiding the mistakes outlined below, you can enjoy a smooth and hassle-free experience with Bird scooters.