
Are you having trouble unlocking the door of your Whirlpool Duet Washer? Don’t worry, you’re not alone.

How to unlock door Whirlpool Duet Washer can sometimes be necessary when the appliance malfunctions, during power outages, or if the cycle is interrupted. Understanding how to properly unlock the door without causing damage or voiding any warranty is essential for safely accessing the laundry inside. This guide will walk you through the steps to unlock the door manually, ensuring you can address any issues promptly and continue your laundry tasks with minimal disruption.
Whether you’re facing a technical glitch or a simple oversight, knowing how to unlock your Whirlpool Duet washer door will save time and prevent unnecessary complications. Let’s get started!
What Will You Need?
Before we dive into the steps for unlocking your Whirlpool Duet Washer door, make sure you have the following items handy:
- A flathead screwdriver
- A towel or cloth
- A flashlight (optional)
Some of these items may seem unusual, but they will be helpful during the process. The flathead screwdriver is handy for manually releasing the latch and opening the door from the inside. A towel or cloth can protect your hands and prevent scratches or damage to the washer’s surface. A flashlight can come in handy if you’re working in low-light conditions.
10 Easy Steps on How to Unlock Door Whirlpool Duet Washer
Step 1. Turn Off the Washer:
To begin unlocking your Whirlpool Duet Washer door, you must first ensure that the washer is entirely powered off. Turning off the washer is crucial as it prevents the appliance from initiating any unwanted cycles while working on it and safeguards you from any electrical hazards. Start by pressing the power button on the washer to turn it off.
If your model has a switch, turn it to the “off” position. If the machine is still plugged in, try to unplug it from the electrical outlet to ensure no power is running to the washer. Taking these precautions will provide a safe working environment and help prevent any accidental resetting or triggering of machine functions as you proceed with the unlocking process.
Step 2. Wait for a Few Minutes:
After turning off and unplugging your washer, you must wait about 1 to 2 minutes. This waiting period allows any residual charge in the washer’s electrical system to dissipate, which can sometimes naturally cause the door to unlock by itself. You can gather your tools and prepare for the next steps during this time. Patience is critical during this waiting period; it ensures the washer is safe to handle and may even solve the issue without further action.
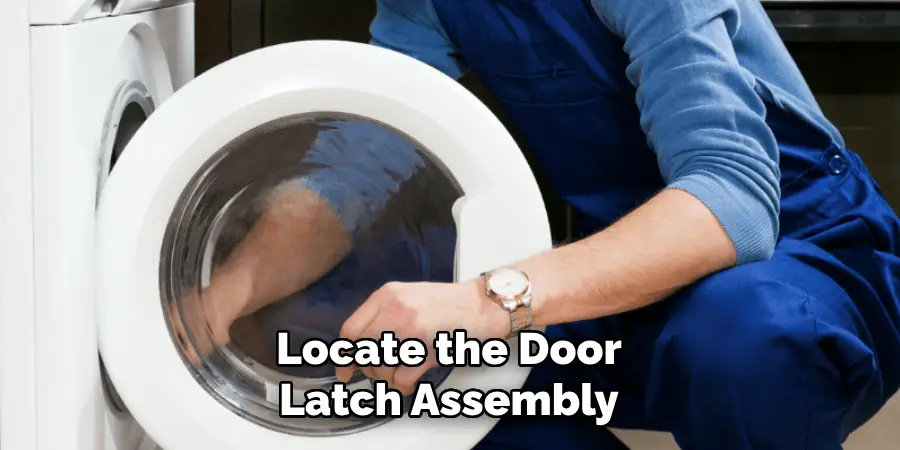
Step 3. Locate the Door Latch Assembly:
With the washer powered off and any residual charge dissipated, the next step is to locate the door latch assembly. Open the door seal gently and carefully using the flathead screwdriver to release the latch, which is typically located on the inside rim of the door opening. Work cautiously to avoid damaging the seal or other components of the washer. Identifying the door latch assembly correctly will help engage or disengage the locking mechanism without applying any unnecessary force. This is an essential part of the process to ensure that the door can be manually unlocked without causing harm to the door mechanism.
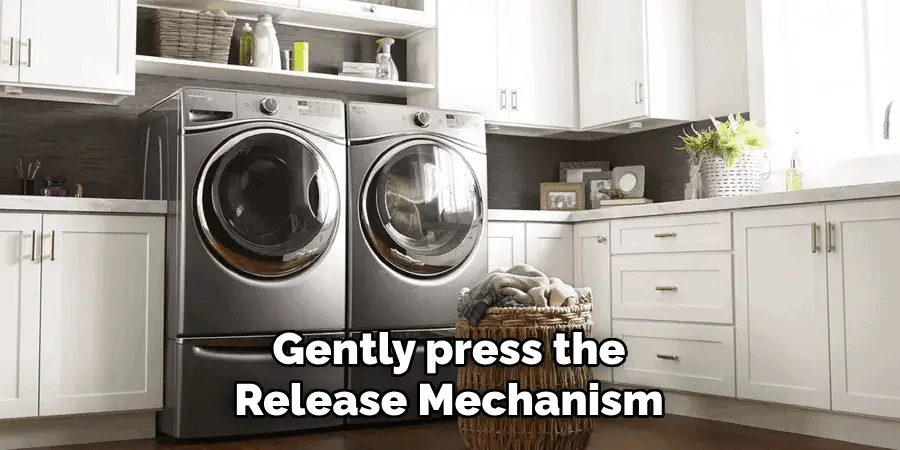
Step 4. Gently press the Release Mechanism:
Once you have identified the door latch assembly, look for the release mechanism, typically a small lever or button inside the assembly. Using the flathead screwdriver, gently press or slide the release mechanism to unlock the door. Be cautious and apply gentle pressure to avoid damaging the locking components. This step requires a delicate touch, as the internal parts can be fragile. When done correctly, you should hear a slight click indicating that the latch has been disengaged, allowing you to open the washer door. If you encounter resistance, double-check that you are engaging the correct part of the latch mechanism and ensure that all previous steps have been followed accurately.
Step 5. Pull the Door Gently:
After successfully disengaging the latch mechanism, it’s time to open the washer door. Carefully grasp the door handle and gently pull the door towards you. Avoid using excessive force, as the components may still be sensitive, and forcing the door could lead to damage. The door should open smoothly if the release mechanism is activated correctly. If the door does not open, double-check the steps to ensure that the mechanism was correctly released. This gentle approach not only safeguards the integrity of your washer’s door but also confirms that the unlocking sequence has been correctly executed. If all steps have been followed and the door remains locked, consider seeking professional assistance to prevent further issues.
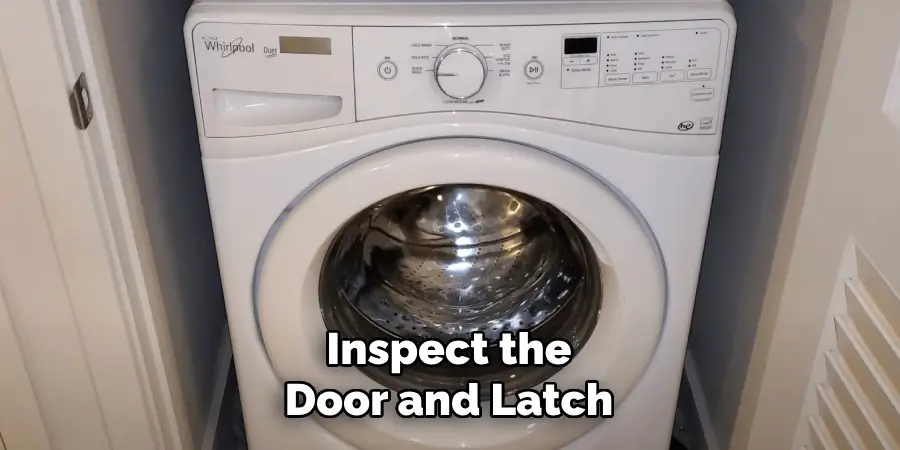
Step 6. Inspect the Door and Latch:
Once the door is open, take a moment to inspect the door latch and the surrounding area for any visible signs of wear or damage. Look for rust, broken components, or anything that seems out of place. This is also a good time to ensure that no remaining clothes or objects could impede the door’s proper closing in the future. Addressing any minor issues you encounter during this inspection phase can help prevent further complications. Notice significant damage to the latch or any critical components. It may be wise to contact a professional repair service to resolve the problem before continuing to use the washer. This proactive step helps maintain the washer’s functionality and prolongs its lifespan.
Step 7. Clean the Door Seal:
With the door open and the latch checked, cleaning the door seal itself is an opportune moment. Use a towel or cloth to wipe around the rubber seal and its grooves, removing any lint, detergent residue, or debris that may have accumulated. This helps maintain a good seal when the door is closed and prevents leaks or odors from developing. Regular cleaning of the door seal ensures optimal washer performance and contributes to hygiene by reducing the likelihood of mold or mildew growth. Keeping the door seal clean is a simple yet effective step in preserving the longevity and efficiency of your appliance.
Step 8. Reassemble and Test:
After completing the inspection and cleaning steps, reassemble any parts you may have removed during the process. Ensure the door latch assembly is securely fastened, and all components are correctly aligned. Once reassembled, plug the washer back into the electrical outlet and power it on. Conduct a test run by selecting a short wash cycle without clothes to ensure the door locks and unlocks smoothly during operation. Pay attention to any unusual sounds or malfunctions that may suggest door or latch mechanism issues. Testing the washer after reassembly ensures the unlocking process is successful and confirms that your appliance is functioning correctly. If any problems arise during the test, consulting a professional to address any underlying issues may be necessary.
Step 9. Monitor for Recurring Issues:
After completing a test run and ensuring your washer is functioning correctly, monitor its performance over subsequent wash cycles. Pay attention to irregularities, such as the door failing to lock or unlock, unusual noises, or error messages on the display panel. Watch for signs of wear or damage that might have been previously missed. Consistent monitoring allows you to catch issues early on before they become more significant. If recurring problems with the door latch or other components become evident, schedule regular maintenance checks or consult with a professional service to prevent further complications and maintain the appliance’s longevity.
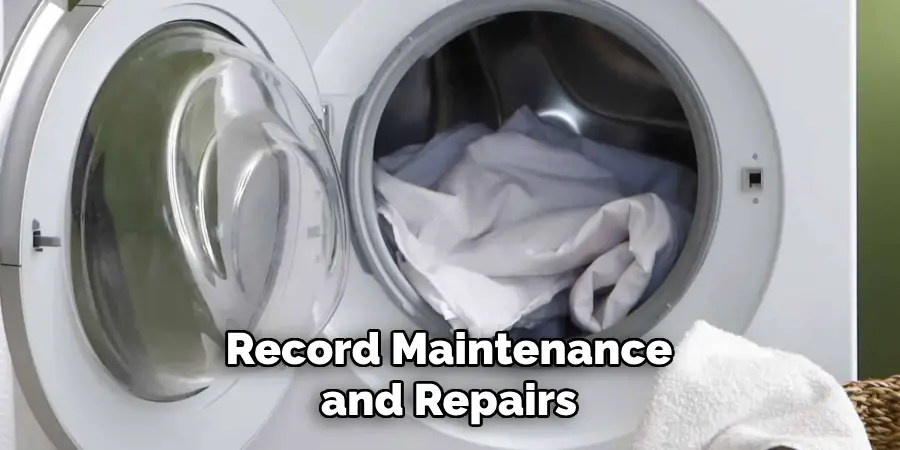
Step 10. Record Maintenance and Repairs:
It’s essential to keep a detailed log of maintenance or repairs performed on your washer. Documenting each incident or service allows you to track the appliance’s health over time and identify recurring issues. Include information such as the service date, a description of the problem, the steps taken to resolve it, and any parts replaced. Keeping this record can be especially useful when consulting with professional repair services, as it provides a clear history of the washer’s performance and any ongoing problems. It also helps understand the lifespan of various components, enabling you to make informed decisions about future repairs or appliance replacement.
By following these steps and proactively maintaining your washer’s door latch, you can ensure its optimal performance and prolong its lifespan.
Conclusion
How to unlock door Whirlpool Duet Washer may seem daunting at first, but by methodically following the outlined steps, you can efficiently and safely resolve the issue.
The process involves a careful step-by-step approach: identifying and disengaging the latch mechanism, inspecting for any signs of damage, and ensuring that the washer’s components are clean and properly reassembled. Regular maintenance and monitoring are essential to prevent recurring issues and extend the appliance’s lifespan. By attentively recording any maintenance or repairs, you build a helpful history that aids in troubleshooting potential future problems.
Collectively, these precautions contribute to the reliable operation of your washer, allowing you to maintain its functionality and efficiency with confidence.