
Are you tired of fumbling with your garage door remote or constantly losing it? A garage door keypad might be the solution for you.
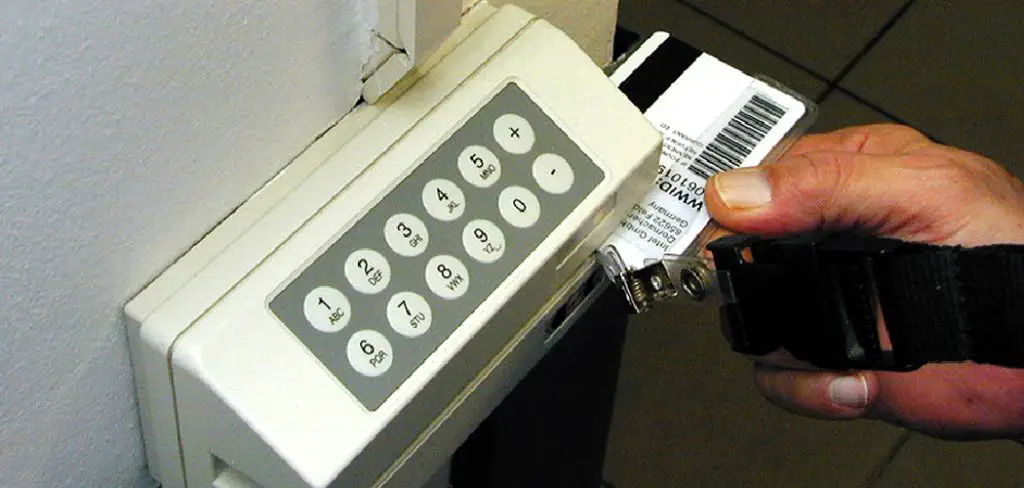
How to use a garage door keypad can add convenience and security to your daily routine. These keypads allow you to open and close your garage door without needing a physical remote or key. Typically installed on the outside frame of your garage, they provide easy access to your garage simply by entering a personal identification number (PIN). Whether you’re returning from a jogging session or need to provide temporary access to a friend, mastering the use of a garage door keypad is essential.
This guide will walk you through the steps necessary to efficiently set up, program, and use your garage door keypad, ensuring seamless access to your home at all times.
What Will You Need?
Before getting started, make sure you have the following items on hand:
- A functioning garage door with a compatible keypad system
- A ladder (if needed to access the keypad)
- A user manual or instructions for your specific garage door opener and keypad model
Once you have all the necessary items, you can begin setting up and programming your garage door keypad.
10 Easy Steps on How to Use a Garage Door Keypad
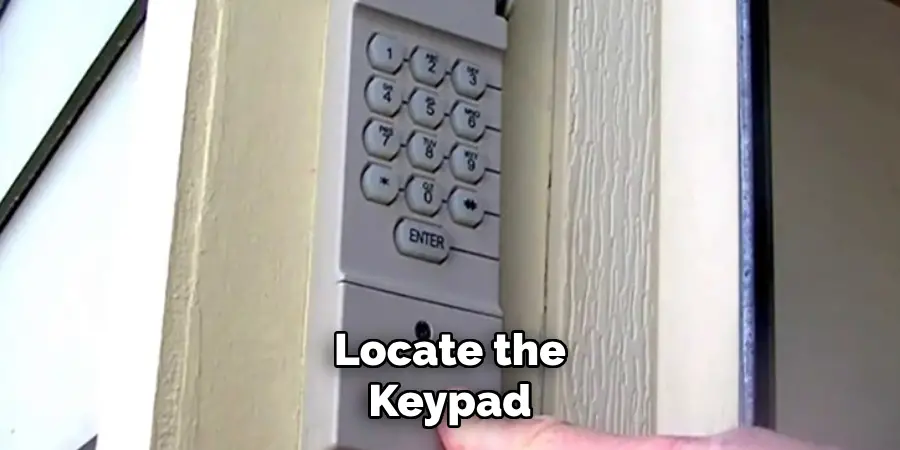
Step 1: Locate the Keypad
To begin using your garage door keypad, the first step is to locate the device on the exterior of your garage. Keypads are typically mounted conveniently near the garage door, often on the wall beside it. It is essential that you can easily reach the keypad without obstructing the pathway into the garage. Use a ladder with caution to ensure safe access to the keypad, especially if it is mounted at a higher position.
Before you proceed to the following steps, take a moment to inspect the keypad to ensure it is securely attached and the buttons are visible and in working order. If this is your first time setting up the keypad, refer to the user manual for guidance on any specific model-related instructions or safety precautions that need to be taken prior to programming the keypad.
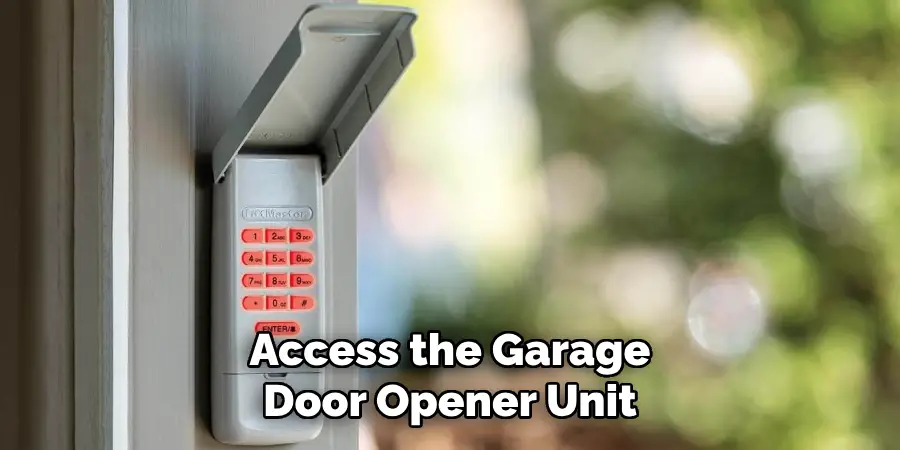
Step 2: Access the Garage Door Opener Unit
To program the keypad, you must access the garage door opener unit inside your garage. This unit is typically mounted on the ceiling and connects the garage door to the opener mechanism. You may need to use a ladder to reach it safely. Once you have access, identify the “Learn” or “Program” button on the unit. This button is crucial as it allows the garage door opener to recognize and sync with the keypad.
Note that the location and appearance of this button can vary based on the manufacturer and model, so refer to your user manual if you need help locating it. Do not press the button just yet; ensure you understand the following steps before activating the programming mode.
Step 3: Activate the Programming Mode
Now that you have identified the “Learn” or “Program” button on your garage door opener unit, it’s time to proceed with activating the programming mode. Press and hold this button until the indicator light on the unit turns on or starts blinking. This action indicates that the unit is in programming mode, ready to communicate with the keypad.
You typically have about 30 seconds to complete the synchronization process before the unit exits programming mode, so be prepared to move quickly. Once in programming mode, move promptly to your garage door keypad to proceed with the setup. Refer to your user manual if you encounter any difficulty as some units may have different indicators or require additional steps.
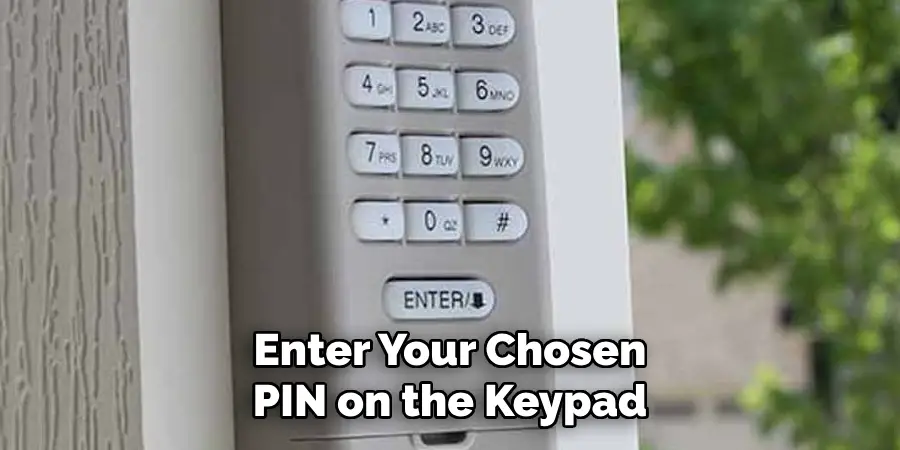
Step 4: Enter Your Chosen PIN on the Keypad
With the garage door opener unit in programming mode, promptly go to your garage door keypad. Enter a four-digit personal identification number (PIN) of your choice on the keypad. This PIN will be your secure code to open and close the garage door. After entering the PIN, press the “Enter” or specified button on the keypad, which may be labeled differently depending on your keypad model.
The garage door opener unit should acknowledge the successful programming by illuminating a light or making a beeping sound. If this does not occur, consult your user manual, recheck the programming steps, and attempt the synchronization process again. Test your chosen PIN after successful setup to ensure smooth and secure garage access.
Step 5: Confirm That the Programming is Successful
After entering your chosen PIN and the garage door opener unit recognizes it, confirming that the programming is successful is crucial. Test the system by entering the same PIN on the keypad to verify that the garage door opens or closes as intended. Observe the garage door’s response—smooth operation with prompt door movement indicates a successful setup. If the door doesn’t respond correctly or the light on the opener unit remains inactive, consult your user manual for troubleshooting advice. Ensure the keypad buttons are functioning correctly and attempt re-programming if necessary.
Step 6: Test the Keypad Range
With the programming confirmed, the next step is to test the range of your garage door keypad. Stand at various distances and angles from the keypad location to ensure the keypad consistently sends the signal to the garage door opener unit. The keypad should operate effectively from a reasonable distance, typically within 20 to 30 feet from the garage door. If you notice any signal issues or delays, check the surroundings for possible obstructions or interference that could impact the signal.
Consistent performance across different positions will ensure you can reliably open and close the garage door from the outside, further enhancing the utility and convenience of your keypad system. If necessary, adjust the keypad positioning for optimal access and operation.
Step 7: Secure the Keypad
After ensuring that your keypad functions well from various distances, it’s important to secure it to prevent unauthorized access. Choose a location for the keypad that is not easily visible to passersby, yet still convenient for your use. Consider surroundings, such as fences or shrubs, that can partially obscure the keypad without impairing functionality. Additionally, it’s advisable to change your PIN periodically to maintain security. If your garage door opener supports it, enable any additional security features, such as rolling codes, to further protect against unauthorized use.
Step 8: Maintain Your Keypad and Garage Door System
Regular maintenance of your garage door keypad and opener unit ensures long-term functionality and security. Periodically clean the keypad buttons to prevent dust and debris from obstructing their operation. Inspect the batteries and replace them as needed to maintain a strong signal. Additionally, check the garage door mechanism for any signs of wear, such as squeaks or slow responses, and lubricate moving parts as the manufacturer recommends. Regular keypad and garage door opener system tests should be conducted to confirm consistent performance. Keeping your system well-maintained extends its life and minimizes the risk of security breaches.

Step 9: Troubleshoot Common Issues
Even with proper setup and maintenance, you may need help with your garage door keypad and opener system. Common problems include unresponsive keys, intermittent signals, or the garage door failing to open or close consistently. Start by checking the battery life of your keypad—often, replacing low batteries resolves communication issues.
Ensure no obstructions or damage to the keypad and garage door opener components. If the keypad is still unresponsive, resetting it by disconnecting from the power supply for a few minutes may help. Refer to troubleshooting sections in your user manual for specific guidance pertinent to your model. For more complicated issues, such as electrical faults, it’s recommended to consult a professional technician to ensure safe and effective repairs.
Step 10: Familiarize Yourself with Backup Options
In the event of a power outage or system failure, it’s crucial to have backup solutions for accessing your garage. Most modern garage door openers come with a manual release mechanism, typically a red cord hanging from the trolley system, allowing you to disengage the garage door from the opener and operate it manually. Familiarize yourself with this feature and ensure it is functioning correctly.
Additionally, some garage door systems offer battery backup options, which can provide temporary power to operate the door during outages. Consider investing in a backup power system if your area is prone to frequent power interruptions. Always ensure your backup solutions are operational, and review the procedures with all household members to ensure they know how to access the garage in an emergency.
By following these ten steps, you can successfully program and set up your garage door keypad for convenient, secure access to your garage.
Conclusion
In conclusion, how to use a garage door keypad enhances the convenience and security of your access system.
You ensure reliable operation and long-term functionality by diligently following the programming steps, testing the system’s range, and regularly maintaining the unit. Placing your keypad in a secure but accessible location helps prevent unauthorized use, and changing your PIN regularly bolsters security. Understanding how to troubleshoot common issues and familiarizing yourself with backup options guarantees that you remain in control, even during unexpected power outages.
Ultimately, investing time in setting up and maintaining your garage door keypad will provide peace of mind and contribute to the seamless management of your home access system.