
Are you tired of feeling unsafe in your own home? Do you want to protect yourself and your loved ones while you are away? If so, Brinks Home Security may be your perfect solution. Brinks has become a trusted name in the home security industry with advanced technology and top-notch customer service.
Brinks Home Security offers comprehensive security solutions to help protect your home and loved ones. With advanced technology and user-friendly features, ensuring your home’s safety has never been more accessible.

This guide will walk you through the essential steps on how to use brinks home security. Whether you’re a new user or looking to optimize your existing setup, this introduction will provide you with the foundational knowledge needed to maximize your security system’s benefits.
What Will You Need?
Before diving into the setup process, having all the necessary equipment and information is essential. Here are some things you’ll need to get started:
- Basic Home Information: Before purchasing a Brinks Home Security system, prepare basic home information such as floor plans, entrances, windows, and other access points.
- Internet Connection: Most Brinks security systems require a stable internet connection. Make sure your home has a reliable WiFi or ethernet connection before proceeding with the installation.
- Smartphone or Tablet: Most of Brinks’ security systems are designed to be controlled through a smartphone or tablet app. Make sure you have access to one before beginning the setup process.
- Security System Equipment: Different equipment may be required depending on the type of system you choose. It’s essential to have all the necessary components ready before starting the installation.
You can begin setting up your Brinks Home Security system with these basic requirements.
10 Easy Steps on How to Use Brinks Home Security
Step 1: Unbox Your Equipment
Start by carefully unboxing all of the components included in your Brinks Home Security system package. Make sure you have all the items listed in the package contents. This typically includes the control panel, sensors, cameras, and other devices specific to your chosen setup.
Lay everything out organized to ensure you can easily access each item during the installation process. Take a moment to review the quick start guide and any instruction manuals included with the equipment, as these will provide valuable insights into each component’s role and how they connect.
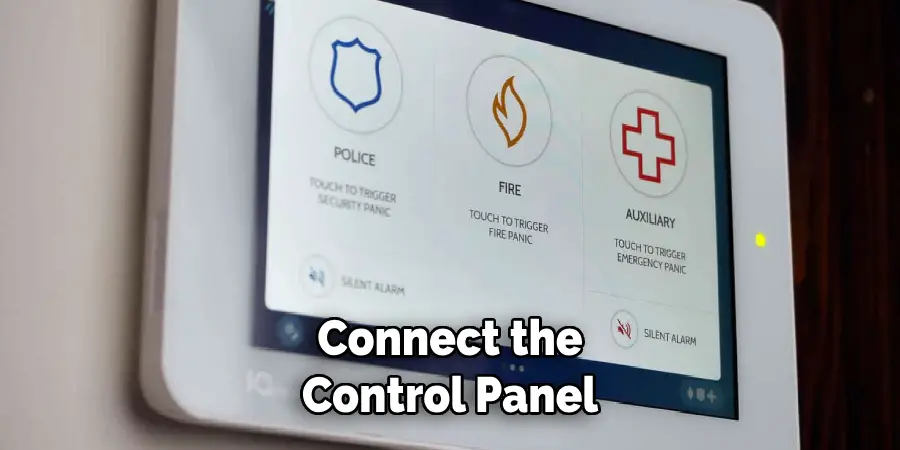
Step 2: Connect the Control Panel
The control panel is the heart of your Brinks Home Security system and is essential for managing and monitoring your security setup. To begin, place the control panel in a central location in your home, preferably near an entrance and close to an electrical outlet. Plug the control panel into the power source and turn it on. Follow the on-screen prompts to connect the control panel to your home’s WiFi network. This connection enables remote monitoring and control through the Brinks Home Security app.
Step 3: Install Door and Window Sensors
Door and window sensors are crucial for detecting unauthorized entry points in your home. To install these sensors, start by cleaning the surfaces where the sensors will be placed to ensure proper adhesion. Position the sensors on your doors and windows, ensuring each sensor and magnet align correctly. The sensors typically come with adhesive backing, but screws are also included for a more secure installation if needed. Once installed, test each sensor to confirm they are functioning correctly and are actively communicating with the control panel.
Step 4: Set Up Motion Detectors
Motion detectors add an extra layer of security by detecting movement within your home when the system is armed. Place the motion detectors in strategic locations, such as hallways, living rooms, or any area where an intruder might pass. Ensure that the sensors are mounted at the recommended height, usually around 6 to 7 feet above the ground, and away from heat sources or direct sunlight to avoid false alarms. After mounting, test the motion detectors to ensure they accurately detect motion and communicate with the control panel.
Step 5: Install Security Cameras
Security cameras increase your home’s surveillance capabilities, allowing you to monitor both interior and exterior areas. Choose optimal locations for your cameras, such as near entrances, driveways, and common areas within your home. Ensure the cameras are positioned to cover the desired field of view and are not obstructed by objects.
Most Brinks security cameras can be mounted using screws or adhesive strips. Once installed, connect the cameras to your WiFi network and sync them with the control panel through the Brinks Home Security app. Adjust the camera settings via the app to customize alerts and recording preferences.

Step 6: Configure the Alarm System
With the core devices installed, it’s time to configure the alarm system to suit your preferences. Access the Brinks Home Security app on your smartphone or tablet and navigate to the alarm settings. Here, you can customize the alarm tones, volume levels, and notification preferences based on what works best for your household.
Establish schedules for automatically arming and disarming the system, such as at night or when you leave for work. Familiarize yourself with the app’s features, including how to arm and disarm the system remotely and how to set up emergency contacts who will be notified in case of an alert. Testing the alarm system is crucial to ensure it responds correctly to sensor alerts and receives all notifications as expected.
Step 7: Set Up Environmental Sensors
Environmental sensors, such as smoke detectors, carbon monoxide detectors, and flood sensors, provide essential safety monitoring for your home. To install these sensors, identify appropriate locations based on the manufacturer’s guidelines; for example, smoke detectors should be placed on ceilings or high on walls, carbon monoxide detectors should be near sleeping areas, and flood sensors should be near potential sources of water leaks.
Install each sensor using either the included adhesive or screws, and then sync them with your control panel via the Brinks Home Security app. Test each sensor to ensure they are fully operational and capable of alerting you to any environmental hazards.
Step 8: Program Smart Home Devices
Integrating smart home devices with your Brinks Home Security system enhances convenience and automation. Identify the smart devices you wish to connect, such as smart locks, lights, or thermostats. Follow the instructions provided with each smart device to link them with your Brinks Home Security control panel.
This typically involves following a pairing process through the Brinks Home Security app or the device’s own app. Once connected, you can automate routines such as locking doors or adjusting the thermostat when the system is armed or disarmed. Customize this automation in the app to suit your daily schedule and preferences, taking full advantage of the interconnected smart home ecosystem.
Step 9: Educate Household Members
Ensuring that all household members are familiar with the Brinks Home Security system is key to maintaining its effectiveness. Hold a brief training session to explain the location and function of each component, how to arm and disarm the system, and what to do in the event of an alarm.
Demonstrate how to use the Brinks Home Security app, including how to receive and respond to notifications. Make sure everyone understands the emergency procedures and the importance of keeping the system operational at all times.
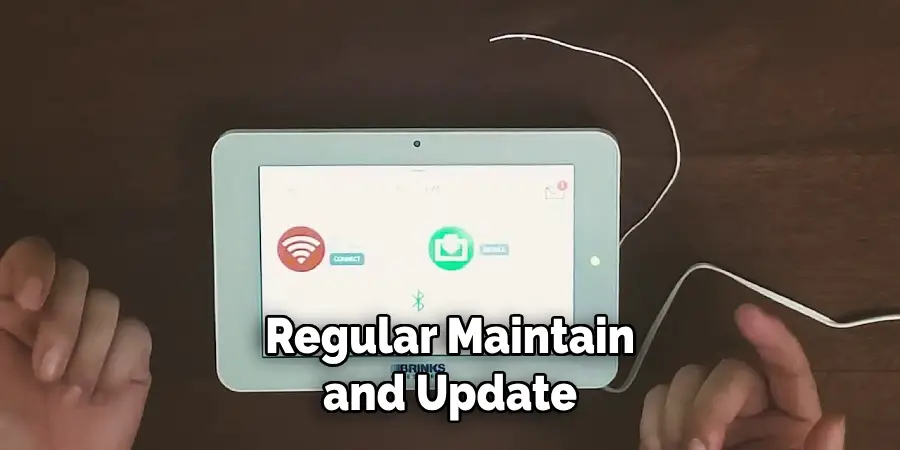
Step 10: Perform Regular Maintenance and Updates
Regular maintenance and updates are vital for ensuring the long-term reliability of your Brinks Home Security system. Schedule periodic checks of all sensors, cameras, and smart devices to confirm they are functioning correctly and that their batteries are charged. Clean the sensors and cameras to remove dust and debris that could obstruct their operation.
Keep your system’s firmware updated by checking for software updates through the Brinks Home Security app. These updates often include important security patches and feature enhancements. Review and test the system’s performance after each update to identify any issues early on.
By following these steps, you can successfully set up and maintain a comprehensive home security system with Brinks Home Security.
5 Things You Should Avoid
- Ignoring System Updates: Failing to update your Brinks Home Security system can leave it vulnerable to new threats and bugs. Ensure that both your hardware and software are up to date to maintain optimal security and functionality.
- Sharing User Codes Recklessly: Avoid sharing your system’s user codes with too many people. Each person who has access to your home security system’s code increases the risk of unauthorized entry.
- Neglecting Battery Replacement: Don’t forget to regularly replace the batteries in your sensors and control panel. Neglecting battery maintenance can result in a loss of protection if your system fails due to a power outage.
- Overloading Your System with Sensors: While installing as many sensors as possible may be tempting, overloading your system can lead to reduced efficiency and false alarms. Stick to strategically placed sensors to best cover vulnerable areas.
- Disabling Alarms Unnecessarily: Avoid disabling alarms, even when performing home maintenance or cleaning. Instead, use bypass functions when necessary and remember to reactivate the alarms promptly to ensure continuous coverage.
By being mindful of these common pitfalls, you can ensure your Brinks Home Security system operates effectively and consistently and keeps your home safe.

Conclusion
In conclusion, how to use Brinks Home Security involves careful planning, setup, and ongoing maintenance. Begin by customizing the system’s settings to align with your household preferences and schedule.
Ensure that all environmental and smart home devices are correctly installed and integrated, leveraging the comprehensive capabilities of the Brinks system for an enhanced, automated living experience. Education is crucial; all household members should be trained on using the system and understand the procedures during an emergency. Regular maintenance, including updating firmware and checking sensor functionality, is paramount in maintaining optimum performance and security.
By adhering to these guidelines and avoiding common pitfalls, you can ensure that your Brinks Home Security system remains a reliable home guardian and a significant contributor to your peace of mind.