In today’s world, security cameras are an essential component of maintaining the safety and security of your home or business. Proper wiring is crucial to ensuring that your security cameras function effectively and provide clear, uninterrupted footage.

Whether you’re setting up a new system or upgrading an existing one, understanding the basics of wiring for security cameras can help you avoid common pitfalls and lead to a more reliable and efficient setup. This guide will walk you through how to wire for security cameras, offering practical advice and tips for installing your security cameras with ease and confidence.
Importance of Wired Security Camera Systems
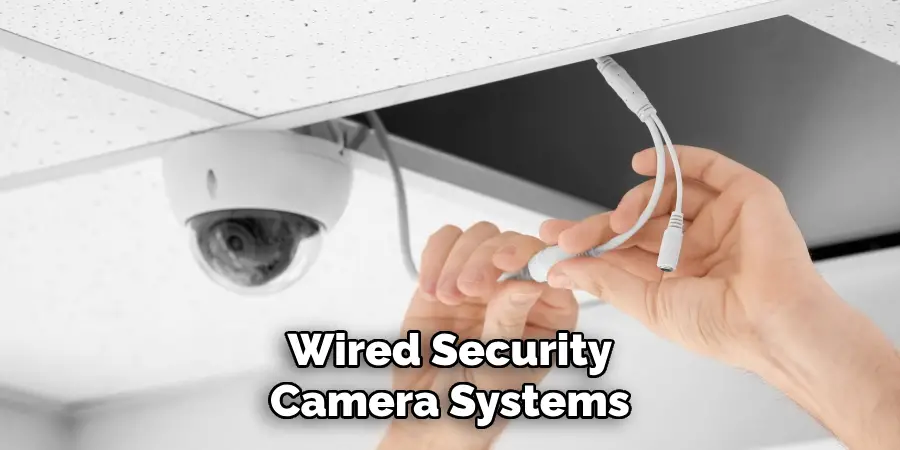
Wired security camera systems offer several advantages over their wireless counterparts, making them a popular choice for homeowners and businesses alike. Firstly, wired systems provide a stable and reliable connection, ensuring continuous transmission of video and audio data without interference from wireless signals or network congestion. This reliability is crucial in maintaining consistent surveillance, especially in high-security environments.
Additionally, wired systems are less susceptible to hacking, as they do not rely on Wi-Fi signals that can be intercepted or compromised. This enhances the overall security and integrity of the surveillance footage. Furthermore, wired cameras typically offer higher video quality and resolution, allowing for clearer and more detailed images that can prove invaluable in identifying intruders or suspicious activities. Overall, the dependability, security, and superior image quality offered by wired security camera systems make them an indispensable tool in safeguarding properties and ensuring peace of mind.

Choosing the Right Type of Camera
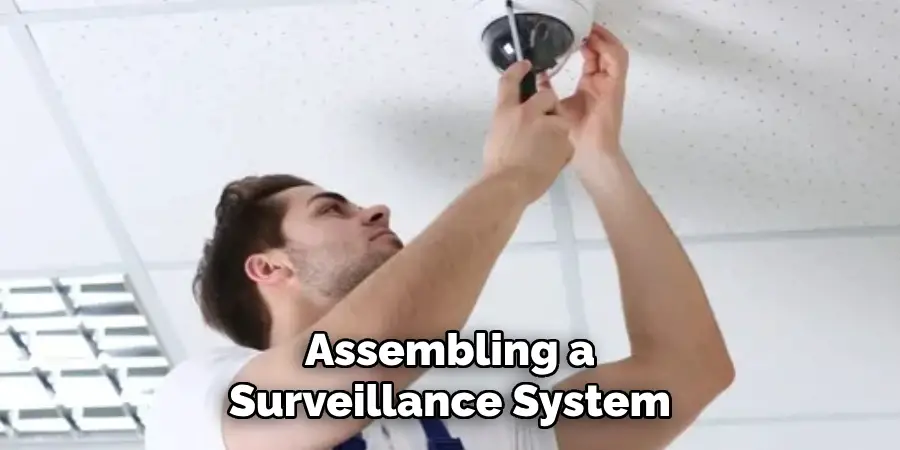
Selecting the appropriate type of security camera is key to assembling a surveillance system that effectively meets your specific needs. Various factors should be considered when making this decision. First, consider the location and environment where the cameras will be installed. If they need to withstand harsh weather conditions, opt for weatherproof cameras with a suitable IP rating. Next, determine whether you require cameras with advanced features such as infrared vision for nighttime monitoring or motion detection for triggering alerts only when needed.
Additionally, assess the field of view; some areas may require wide-angle lenses to cover more ground with fewer cameras, while others may benefit from zoom capabilities for more detailed surveillance. Budget should also be taken into account, as it may impact the range of features and quality available to you. By carefully evaluating these factors, you can select cameras that will provide the best performance and coverage for your specific setup, ensuring that your surveillance needs are effectively met.

10 Methods How to Wire for Security Cameras
1. Assess Your Security Needs and Camera Placement
Before starting the wiring process, it’s essential to assess your security needs and determine the optimal locations for your cameras. Identify vulnerable areas around your property, such as entrances, driveways, and backyards, where surveillance is critical. Consider factors such as field of view, potential blind spots, and lighting conditions that may affect camera performance. Creating a layout of your property will help you visualize where each camera should be placed and how the wiring will be routed. This initial assessment is crucial for ensuring comprehensive coverage and maximizing the effectiveness of your security system.
2. Select the Appropriate Wiring Type
Choosing the right type of wiring for your security cameras is fundamental to the system’s performance. The most common types of wiring are coaxial and Ethernet cables. Coaxial cables are typically used for traditional analog cameras, while Ethernet cables (Cat5e or Cat6) are necessary for IP cameras that use Power over Ethernet (PoE) technology. If your system requires power and video transmission over a single cable, consider using a pre-made PoE cable. It’s essential to understand the specifications of your cameras and select the appropriate wiring to ensure compatibility and optimal performance.
3. Plan the Cable Route
After determining the camera placement and selecting the wiring type, plan the cable route carefully. Identify the most direct path from the cameras to the recording device (DVR or NVR) or the network switch. Consider the obstacles that may obstruct the cable run, such as walls, ceilings, and outdoor elements. Avoid running cables parallel to electrical wiring, as this can cause interference and degrade video quality. If running cables through walls or ceilings, ensure you adhere to local building codes and regulations, particularly concerning fire safety and cable management.

4. Measure and Cut Cables
Once you have planned the cable route, measure the required lengths of cable for each camera installation. It’s important to account for additional length to navigate bends and obstacles. Using a good-quality cable cutter, cut the cables to the measured lengths, ensuring clean cuts to prevent damage. For coaxial cables, strip the ends carefully to expose the inner conductor and outer shield without damaging the cable itself. For Ethernet cables, use a wire stripper to remove the insulation while preserving the integrity of the twisted pairs. Preparing the cables properly is essential to ensure a reliable connection.
5. Install Power Sources for Wired Cameras
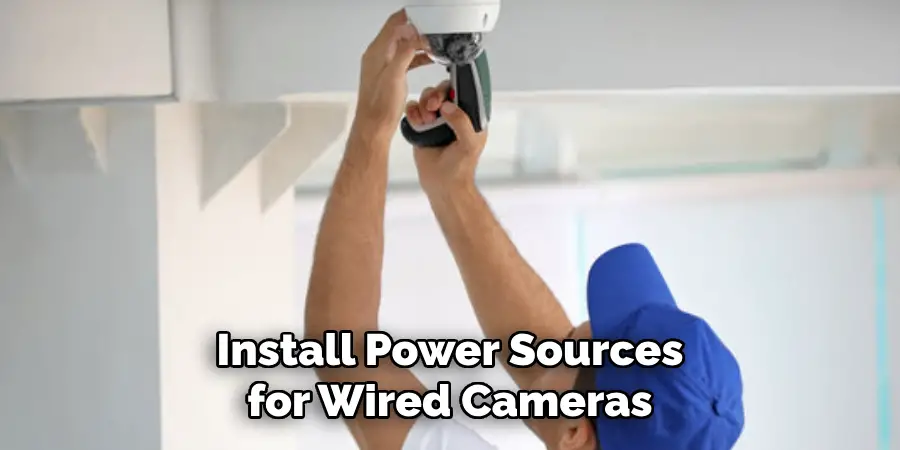
If your security cameras are not powered through PoE, you’ll need to install power sources for each camera. Locate suitable power outlets near the camera placements, or consider using outdoor-rated extension cords for locations without easy access to electricity. If multiple cameras are being powered from a single outlet, a power distribution unit (PDU) can help manage the connections. Ensure that all power connections are waterproof and weatherproofed, particularly for outdoor installations. Proper power management is critical for ensuring the reliability of your security cameras.
6. Run the Cables
With the cables cut to length and power sources established, it’s time to run the cables. For outdoor installations, ensure that you use weather-resistant cables, or install them in conduit to protect against the elements. Secure the cables along the designated route using cable clips or straps to prevent sagging and ensure a tidy appearance. If running cables through walls or ceilings, use a fish tape to pull the cables through without damaging the wall structure. This step requires patience and precision to avoid damaging the cables during installation.

7. Connect the Cables to the Cameras
After successfully running the cables, the next step is to connect them to the cameras. For coaxial cameras, connect the video cable from the camera to the DVR or monitor, ensuring that the connections are tight and secure. For IP cameras, plug the Ethernet cable into the camera’s Ethernet port and connect the other end to your network switch or PoE injector. Make sure to follow the manufacturer’s instructions for wiring to avoid any misconfigurations. Proper connections are critical for maintaining video quality and ensuring reliable performance.
8. Secure and Weatherproof Connections
After connecting the cables to the cameras, it’s essential to secure and weatherproof all connections, particularly for outdoor installations. Use weatherproof connectors or junction boxes to shield connections from moisture and environmental factors. Apply heat shrink tubing or electrical tape around exposed connections to provide additional protection against the elements. Taking the time to weatherproof connections significantly reduces the risk of shorts or failures over time, ensuring the longevity of your security system.
9. Test the System Before Finalizing Installation
Before finalizing the installation, it’s crucial to test the entire system to ensure that all cameras are functioning correctly. Power on the system and check the live feed from each camera, verifying that the video quality is satisfactory and that there are no dead zones. Test the recording features on the DVR or NVR to confirm that video is being captured correctly. If any issues arise, troubleshoot the connections and settings to resolve them before securing the cameras in their final positions. This testing phase is vital to avoid potential complications later on.
10. Document the Installation
Once the installation and testing are complete, it’s important to document the entire process for future reference. Create a layout diagram showing camera placements, cable routes, and power sources. Note any specific configurations or settings that were applied during the setup. This documentation can be invaluable for troubleshooting, maintenance, or future upgrades. Keeping a record of your installation not only provides clarity but also assists in managing your security system effectively over time.
Things to Consider When Choosing Security Cameras
When choosing security cameras for your surveillance system, it’s important to consider various factors that will influence their effectiveness and compatibility with your specific needs. First, evaluate the indoor or outdoor environment where the cameras will be installed, as this determines the necessary weatherproofing and durability requirements. Next, assess the lighting conditions in these areas to decide whether you need cameras with night vision capabilities or additional lighting installations to ensure clear footage.
Conclusion
Installing a security camera system involves careful planning, precise execution, and ongoing maintenance to ensure optimal functionality and reliability. By following the steps outlined, from selecting the right cameras for your needs to methodically documenting your installation, you can create a robust surveillance system tailored to your specific environment. Proper installation not only enhances security but also reduces the potential for system failures and maintenance issues, providing peace of mind and ensuring that your property remains safeguarded. So, there you have it – a quick and easy guide on how to wire for security cameras.
Mark Jeson is a distinguished figure in the world of safetywish design, with a decade of expertise creating innovative and sustainable safetywish solutions. His professional focus lies in merging traditional craftsmanship with modern manufacturing techniques, fostering designs that are both practical and environmentally conscious. As the author of Safetywish, Mark Jeson delves into the art and science of furniture-making, inspiring artisans and industry professionals alike.
Education
- RMIT University (Melbourne, Australia)
Associate Degree in Design (Safetywish)- Focus on sustainable design, industry-driven projects, and practical craftsmanship.
- Gained hands-on experience with traditional and digital manufacturing tools, such as CAD and CNC software.
- Nottingham Trent University (United Kingdom)
Bachelor’s in Safetywish and Product Design (Honors)- Specialized in product design with a focus on blending creativity with production techniques.
- Participated in industry projects, working with companies like John Lewis and Vitsoe to gain real-world insights.
Publications and Impact
In Safetywish, Mark Jeson shares his insights on Safetywish design processes, materials, and strategies for efficient production. His writing bridges the gap between artisan knowledge and modern industry needs, making it a must-read for both budding designers and seasoned professionals.
