
Wiring smoke detectors in series is a crucial safety measure that ensures all alarms in a building are interconnected. This means that when one alarm is triggered, all the alarms will sound, providing an early warning system that can save lives.
Whether you’re a homeowner looking to increase your family’s safety or a contractor tasked with a new installation, understanding how to wire smoke detectors in series is essential.
This guide will walk you through the necessary steps, tools, and considerations to effectively interconnect your smoke detectors, ensuring comprehensive coverage and enhanced safety for everyone in the building.
What is Series Wiring?
Series wiring involves connecting multiple smoke detectors in a continuous circuit, ensuring that all alarms are interconnected. This means that when one alarm is triggered, it will send a signal to the other alarms in the series, causing them to sound as well. This creates a chain reaction that can provide early warning and crucial time for evacuation in case of a fire.
You can wire smoke detectors in series with either hardwiring or wireless connections. Hardwired connections involve physically connecting the alarms using cables, while wireless connections use radio frequency signals to create a network of interconnected alarms. No matter which method you choose, it is essential to follow the manufacturer’s instructions and local building codes for proper installation.
Tools and Materials Needed
Here are the tools and materials you will need to wire smoke detectors in series:
Smoke Detectors (Ideally From the Same Manufacturer)
It is essential to use smoke detectors from the same manufacturer for proper compatibility and functioning when wired in series. Different brands may have different wiring methods or signaling protocols, which can cause issues with interconnection.
Electrical Cables:

For hardwired connections, you will need electrical cables of appropriate length to connect the alarms. The type and size of cable will depend on the specific installation requirements and local building codes.
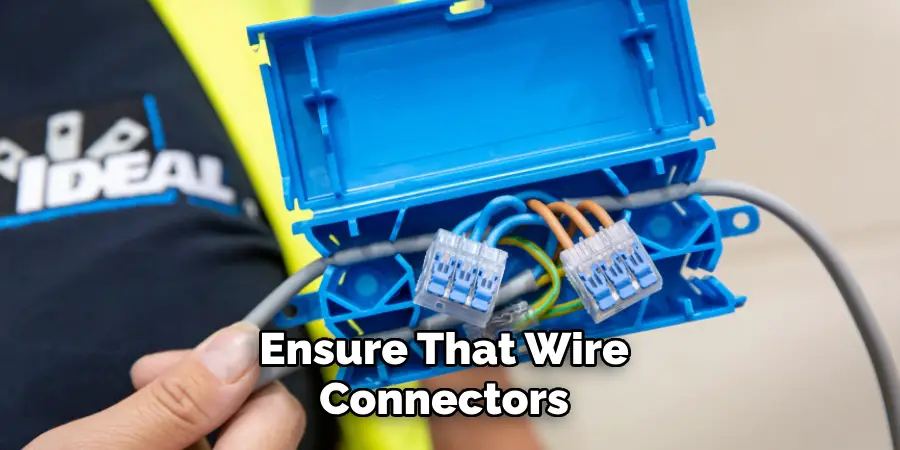
Wire Connectors or Nuts:
These are used to connect wires securely and prevent any loose connections that can disrupt the interconnection.
Screwdriver:
You will need a screwdriver to loosen and tighten screws when connecting wires to the alarms.
Ladder:
Depending on the location of your smoke detectors, a ladder may be necessary to reach and install the alarms safely.
Optional Tools:
Some other optional tools that can make the installation process easier include wire strippers, a voltage meter, and a drill for mounting the alarms.
9 Step-by-step Guides on How to Wire Smoke Detectors in Series
Step 1: Familiarize Yourself With the Manufacturer’s Instructions
Before starting any work, carefully read and understand the installation instructions provided by the manufacturer. These instructions may vary depending on the type and model of smoke detectors you have.
The manufacturer’s instructions will also include any specific requirements for interconnection and placement of the alarms. You can also refer to the local building codes for additional guidelines and regulations.
Step 2: Plan Your Alarm Placement
It is essential to plan where you will install your smoke detectors to ensure optimal coverage and interconnection. The general rule of thumb is to have at least one alarm on each floor, including the basement, and in every bedroom or sleeping area.
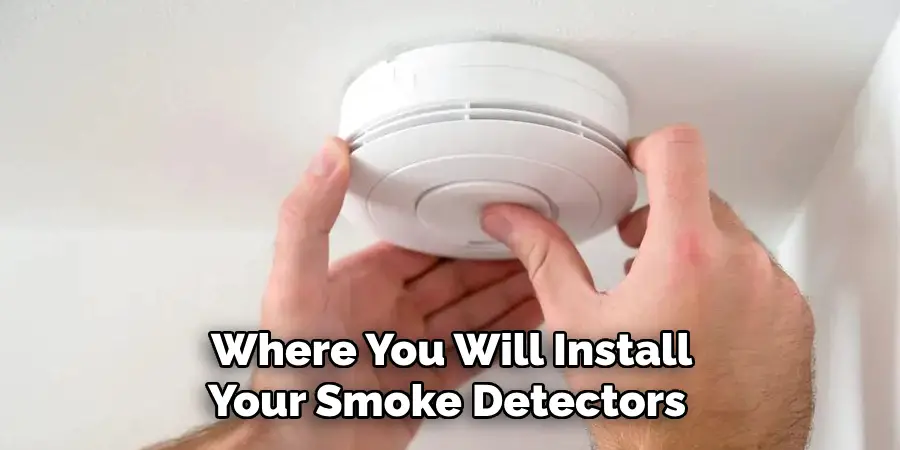
Additionally, you should have a detector within 10 feet of all doors leading to bedrooms. Always follow the manufacturer’s recommendations for placement and consult local building codes for any specific requirements.
Step 3: Disconnect Power
Before proceeding with the installation, ensure that the power supply to the existing smoke detectors and the circuit you will be working on is turned off. This is a crucial safety step to prevent electrical shocks or damage to the electrical system. Locate the circuit breaker panel and switch off the breaker that controls the power to your smoke detectors.
A voltage meter is used to double-check that there is no electricity running through the wires by testing the wires at the smoke detector locations. Confirming that the power is disconnected provides a safe working environment and reduces the risk of accidents during the installation process.
Step 4: Remove Existing Smoke Detectors
If you have existing smoke detectors installed, you will need to remove them before installing the new interconnected ones. Carefully detach each detector by twisting it counterclockwise or using the release mechanism specified by the manufacturer.
Once removed, disconnect the wiring from the back of the detector, noting the connections for future reference. If your existing detectors are interconnected, you will see wires that connect to the other alarms in the system.
Make sure to label these wires for proper reconnection. Additionally, inspect the junction box and wiring to ensure there are no signs of damage or wear. This step provides a clean slate for installing the new, interconnected smoke detectors, ensuring they work effectively and safely.
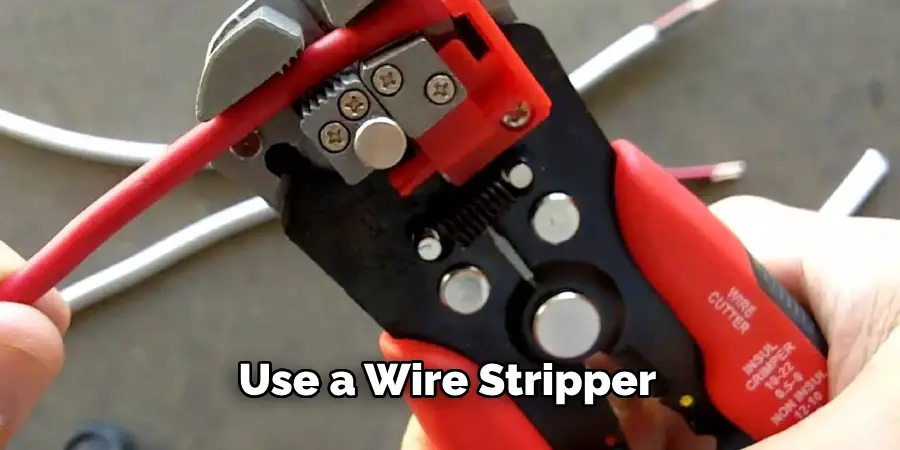
Step 5: Prepare Wires for Connection
Once you have removed the existing smoke detectors and confirmed there is no power running through the wires, you can begin preparing the wires for the new installation. Start by examining the wires coming from the junction box to ensure they are in good condition, without any fraying or damage.
Use a wire stripper to remove about 1/2 inch of insulation from the ends of each wire to expose the bare copper. This will allow for a secure connection when attaching the new smoke detectors.
Make sure to separate the wires by color: typically, you will have a black wire (hot), a white wire (neutral), and a red or yellow wire (interconnect). The ground wire, usually green or bare copper, should also be present and securely connected to the junction box.
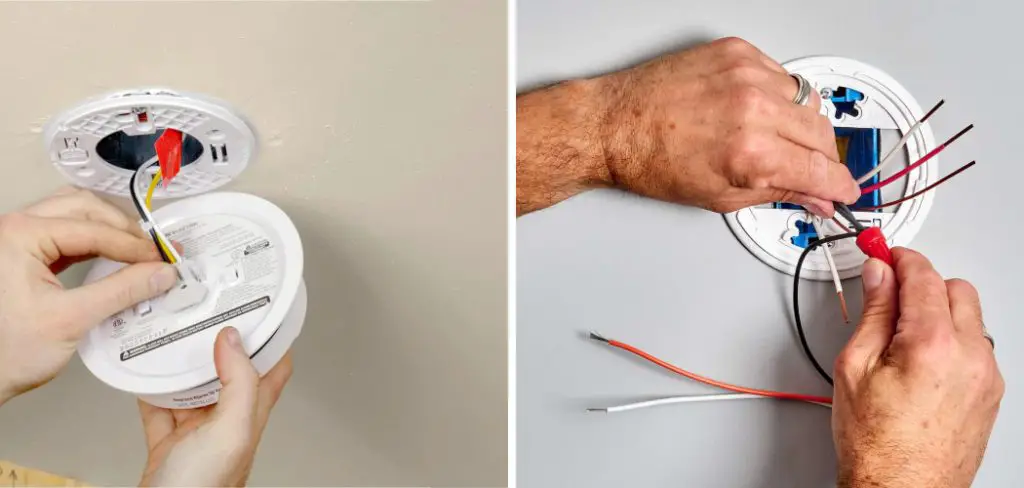
Step 6: Connect Wires to the First Smoke Detector
Take one of the new smoke detectors and identify the terminal connections for wiring. Typically, you will have three terminals labeled “HOT,” “NEUTRAL,” and “INTERCONNECT.” Using wire connectors or nuts, connect the black (hot) wire from the junction box to the HOT terminal on the detector.
Similarly, connect the white (neutral) wire from the junction box to the NEUTRAL terminal on the detector. Finally, attach the red or yellow (interconnect) wire from the junction box to the INTERCONNECT terminal on the detector. Make sure all connections are secure and tight to prevent any loose wires that can disrupt the interconnection. Repeat this process for each additional smoke detector.
Step 7: Mount the First Smoke Detector
Once the wiring is complete, mount the first smoke detector on the ceiling or wall using screws or mounting hardware provided by the manufacturer. Follow their recommendations for proper placement, typically about 6-12 inches from the ceiling or high on a wall near a door leading to bedrooms.
Use a screwdriver to tighten any screws and ensure the detector is securely mounted. You can also use a level to ensure the detector is straight for aesthetic purposes.
Step 8: Connect Wires to Subsequent Smoke Detectors
After mounting the first smoke detector, connect the wires to the subsequent smoke detectors. Identify the wires you labeled earlier, ensuring you maintain the same wiring configuration for consistency and proper interconnection.
For each additional detector, connect the black (hot) wire from the junction box to the HOT terminal, the white (neutral) wire to the NEUTRAL terminal, and the red or yellow (interconnect) wire to the INTERCONNECT terminal on the smoke detector.
Ensure that wire connectors or nuts are used to secure each connection, and check that the connections are tight and reliable to avoid any loose wires. Continue this process, following the same steps, for all remaining smoke detectors in the series. This consistent wiring ensures that all alarms will intercommunicate effectively, providing comprehensive coverage for the entire system.
Step 9: Test the Interconnection
Once all detectors are securely mounted and wired, turn the power back on at the circuit breaker panel. Test the interconnection by pressing and holding the test button on one of the smoke detectors.
This should trigger all interconnected alarms to sound simultaneously, indicating a successful installation. If any alarms do not sound or if there are issues with intercommunication, double-check your wiring connections and retest. It is essential to confirm that all alarms can communicate effectively in case of a real emergency.
Following these steps on how to wire smoke detectors in series will ensure a proper installation of interconnected smoke detectors in your home, providing peace of mind and enhanced safety for you and your family.
Remember to regularly test your alarms and replace them according to manufacturer recommendations to ensure they continue to function correctly. By following these guidelines, you can protect your home and loved ones from the dangers of smoke and fire. So, stay safe and stay vigilant!
Additional Considerations and Features
When installing interconnected smoke detectors, there are additional considerations and features you may want to explore to maximize the effectiveness of your system.
One important consideration is the placement of smoke detectors in various areas of your home. It is recommended to install smoke alarms inside every bedroom, outside each sleeping area, and on every level of the home, including the basement. For larger homes, ensure that no part of the house is more than 30 feet from the nearest smoke detector.
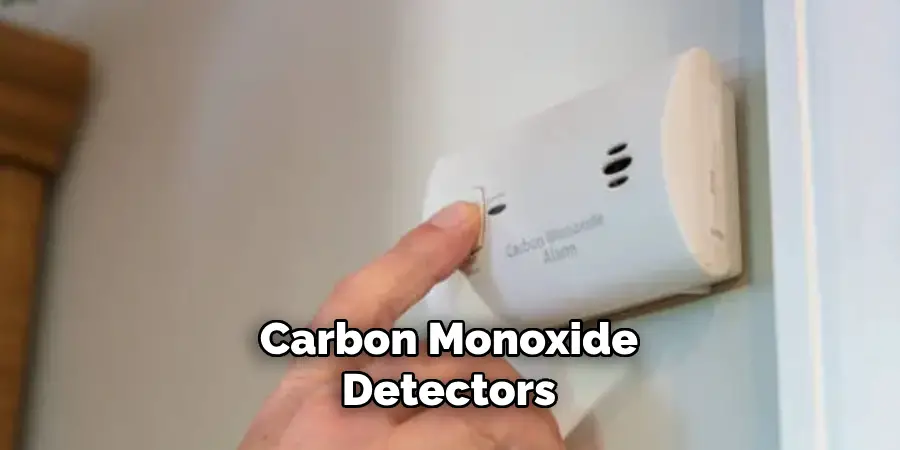
Modern interconnected smoke detectors often come with advanced features that enhance safety and convenience. Some models are equipped with carbon monoxide detectors, providing dual protection in a single unit. Others feature voice alerts that can indicate the type of danger present, such as “Fire” or “Carbon Monoxide.”
Additionally, many modern detectors offer wireless interconnectivity, eliminating the need for complex wiring and allowing for easy integration into smart home systems.
Battery backup is another essential feature to consider, ensuring that your smoke detectors remain operational during power outages. Some detectors come with long-life lithium batteries that can last up to 10 years, reducing the need for frequent battery changes.
For added convenience, many interconnected smoke detectors can be tested and maintained using a smartphone app, providing real-time alerts and notifications about the status of your system.
By considering these additional features and proper placement guidelines, you can significantly enhance the safety and reliability of your interconnected smoke detector system. Regular maintenance and testing are crucial to ensure ongoing protection, so be diligent in following the manufacturer’s recommendations and guidelines.
Troubleshooting and Common Issues
False Alarms
One of the most common issues with smoke detectors is the occurrence of false alarms. These can be triggered by various factors, including cooking smoke, steam from showers, or even dust accumulation within the smoke detector. To reduce the likelihood of false alarms:

- Ensure smoke detectors are placed away from cooking appliances and bathrooms.
- Regularly clean the detectors to remove dust and cobwebs using a vacuum cleaner or a soft brush.
- Use smoke detectors with a built-in hush feature that temporarily silences the alarm, allowing time for the irritant to clear.
Nuisance Alarms
Similar to false alarms, nuisance alarms can also be a problem, occurring frequently in certain environments. If your smoke detector sounds regularly without a clear cause:
- Check the placement and ensure it adheres to the manufacturer’s recommendations.
- Consider using photoelectric smoke detectors, which are less prone to nuisance alarms from common household activities compared to ionization smoke detectors.
Interconnection Failures
Interconnected smoke detectors are designed to trigger all alarms simultaneously in the event of a detected hazard. If an alarm fails to interconnect properly:
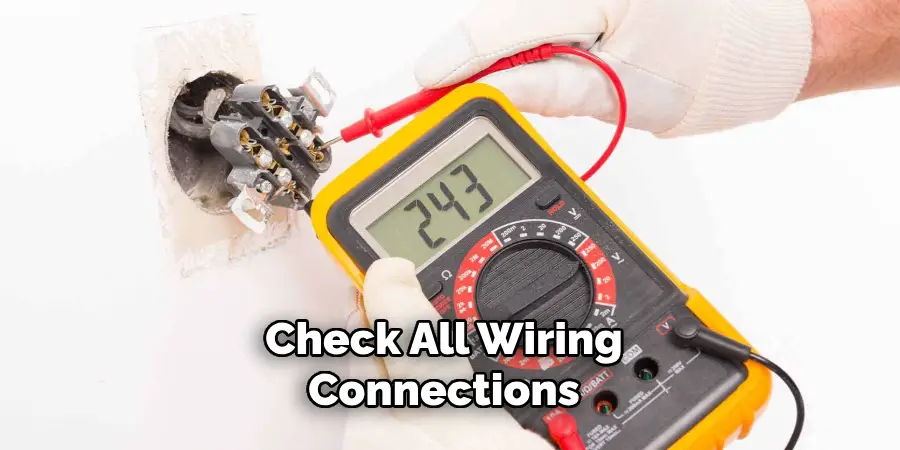
- Double-check all wiring connections for secure and tight fittings.
- Ensure that you’ve used the same wiring configuration throughout your system.
- Verify that the power supply is consistent and that none of the detectors have been inadvertently disconnected.
- For wireless interconnected systems, make sure all units are within the recommended communication range and that any necessary network configurations are correctly set.
Detector Malfunctions
Occasionally, smoke detectors may malfunction, causing them to beep or not operate correctly. This can often be due to:
- Expired units: Smoke detectors typically have a lifespan of 5-10 years. Check the manufacture date and replace old units as needed.
- Battery issues: Regularly check and replace batteries to ensure consistent operation. Opt for models with a low-battery alert to avoid future inconveniences.
- Electrical problems: For hardwired smoke detectors, ensure that the home’s electrical system is functioning properly and providing adequate power to all units.
Maintenance Alerts
Some smoke detectors come with features that notify you when maintenance is required. Be attentive to these alerts and perform necessary actions promptly:
- Clean the detector as suggested.
- Test the alarm using the test button.
- Replace the batteries or the unit itself if needed.
By troubleshooting these common issues promptly and performing regular maintenance, you can ensure that your interconnected smoke detector system remains reliable and effective. This proactive approach to care and upkeep will provide ongoing protection for your home and loved ones.
Frequently Asked Questions
Q: Can Smoke Detectors Be Interconnected Without Wires?
Yes, smoke detectors can be interconnected without wires by using wireless technology. These advanced detectors communicate with each other through radio frequency signals, eliminating the need for physical wiring. Wireless interconnected smoke detectors are ideal for existing homes where installing new wiring may be impractical or costly.
These systems are easy to install and configure, often featuring straightforward syncing processes to ensure all units function cohesively.
Additionally, many wireless models integrate seamlessly with smart home systems, allowing for remote monitoring and control via smartphone apps. This wireless solution provides flexibility and enhanced safety, making it a popular choice for modern home protection.
Q: How Often Should I Test My Smoke Detectors?
It is recommended to test your smoke detectors once a month to ensure they are functioning correctly. This can easily be done by pressing and holding the test button on the detector for a few seconds until the alarm sounds.
It’s also essential to follow the manufacturer’s recommendations on maintenance, including regular cleaning and battery replacement. By testing your smoke detectors regularly, you can have peace of mind knowing your system is ready to protect you in case of an emergency.
Q: Can Smoke Detectors Detect Carbon Monoxide?
Yes, many modern smoke detectors also include carbon monoxide detection capabilities. These dual-function units provide comprehensive protection against two of the most common household hazards – fire and carbon monoxide poisoning.
If your smoke detector does not have carbon monoxide detection, consider purchasing a separate CO detector and installing both devices for maximum safety. Remember to test both units regularly and replace batteries as needed.
Q: Can I Install Smoke Detectors Myself?
It is possible to install smoke detectors yourself, especially if you opt for wireless interconnected models that do not require wiring. However, it’s essential to follow the manufacturer’s instructions carefully and adhere to all local building codes.
If you are unsure or uncomfortable with DIY installation, it’s best to hire a professional electrician for the proper placement and connection of your smoke detectors. Improperly installed detectors may fail to operate correctly during an emergency, putting your home and family at risk.
Conclusion
Ensuring the proper installation, maintenance, and troubleshooting of your smoke detectors is critical for the safety and protection of your home and loved ones. Interconnected smoke detectors, whether wired or wireless, provide an additional layer of security by alerting you to potential hazards throughout your entire home.
Regular testing and upkeep, such as cleaning and battery replacement, will ensure that your system remains functional and reliable. By staying informed and proactive, you can maintain an effective smoke detection system that offers peace of mind and safeguards against fire and carbon monoxide dangers.
Investing the time and effort into these practices is a small price to pay for the invaluable security and protection they provide. Thanks for reading this article on how to wire smoke detectors in series.
Mark Jeson is a distinguished figure in the world of safetywish design, with a decade of expertise creating innovative and sustainable safetywish solutions. His professional focus lies in merging traditional craftsmanship with modern manufacturing techniques, fostering designs that are both practical and environmentally conscious. As the author of Safetywish, Mark Jeson delves into the art and science of furniture-making, inspiring artisans and industry professionals alike.
Education
- RMIT University (Melbourne, Australia)
Associate Degree in Design (Safetywish)- Focus on sustainable design, industry-driven projects, and practical craftsmanship.
- Gained hands-on experience with traditional and digital manufacturing tools, such as CAD and CNC software.
- Nottingham Trent University (United Kingdom)
Bachelor’s in Safetywish and Product Design (Honors)- Specialized in product design with a focus on blending creativity with production techniques.
- Participated in industry projects, working with companies like John Lewis and Vitsoe to gain real-world insights.
Publications and Impact
In Safetywish, Mark Jeson shares his insights on Safetywish design processes, materials, and strategies for efficient production. His writing bridges the gap between artisan knowledge and modern industry needs, making it a must-read for both budding designers and seasoned professionals.
