
Arming only one of your Blink cameras is a great way to keep your home safe and secure. By arming just one camera, you can monitor the area around it more closely than if all of them were armed at the same time. With this guide, you will learn how to arm only one Blink camera for maximum security without compromising on coverage or convenience. You’ll also discover some tips and tricks for making sure that your new setup works perfectly every time. So, keep reading to learn more.
What is Blink?
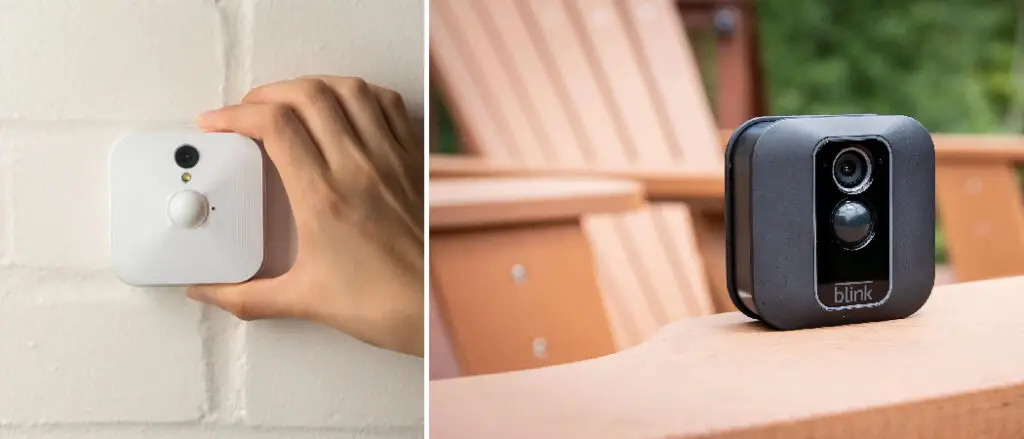
Blink is a popular brand of home security cameras that allows you to monitor and record your home from anywhere, using just your smartphone. It is known for its easy setup, affordable prices, and high-quality video footage.
You can connect multiple Blink cameras to one base station, which acts as a hub for all your cameras. This allows you to monitor different areas of your home simultaneously and receive alerts on your phone when motion is detected.
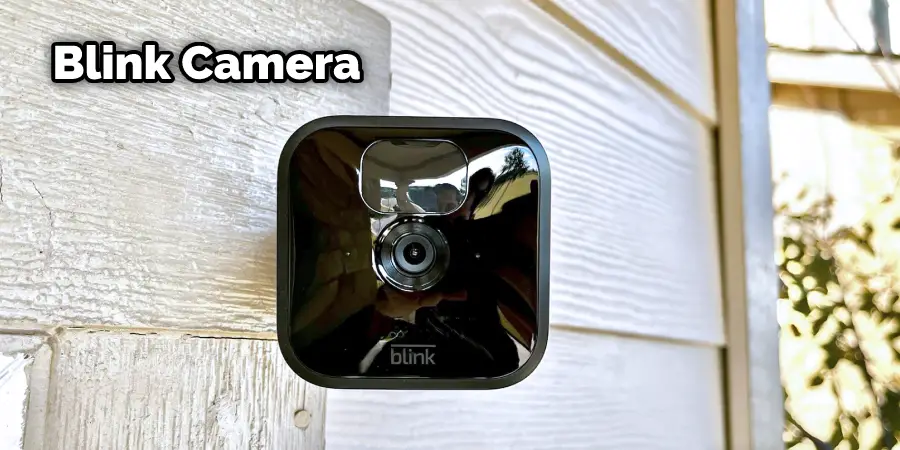
It’s important to note that Blink cameras are designed for indoor use only unless they are placed in a weatherproof case. They also require a Wi-Fi connection and must be within range of your home network.
Why Arm Only One Camera?
Arming all of your Blink cameras at the same time can be useful in certain situations, such as when leaving your home for an extended period of time. However, there may be times when you only need to monitor one specific area or camera.
For example, if you have a Blink camera facing your front porch, you may not want it armed all the time as it could constantly trigger false alerts from people passing by on the sidewalk. In this case, arming just that one camera can help reduce false alerts and save battery life.
You may also have a specific event or activity happening in one area of your home that you want to monitor closely, such as a party or construction work. By arming only one camera, you can capture high-quality footage and ensure the safety of that particular area without being overwhelmed by alerts from other cameras.
Blink Cameras and Their Features, Benefits, and Capabilities
Blink cameras are a popular choice for home security systems, and they are known for their ease of use, affordability, and wireless capabilities. Here are some of the features, benefits, and capabilities of Blink cameras:
- Wireless and battery-powered: Blink cameras are completely wireless and operate on batteries, so there are no wires to run or outlets to worry about. This makes them easy to install and move around as needed.
- HD video and night vision: Blink cameras record 1080p HD video and have infrared night vision, which ensures that footage is precise and detailed even in low-light conditions.
- Motion detection: Blink cameras use motion detection to trigger recording, which helps conserve battery life and storage space. Users can customize motion detection settings to adjust sensitivity, detection range, and more.
- Two-way audio: Blink cameras feature two-way audio, which allows users to communicate with people in the camera’s field of view. This can be useful for greeting visitors, scaring off intruders, or speaking with family members.
- Cloud and local storage: Blink cameras offer cloud and local storage options. Users can store footage on Blink’s cloud server or a local storage device, such as a USB drive or microSD card.
- Smart home integration: Blink cameras can be integrated with smart home devices and platforms, such as Alexa, Google Assistant, and IFTTT. This allows users to control their cameras using voice commands, automate recording based on certain conditions, and more.
Overall, Blink cameras are a versatile and affordable home security option offering various features and capabilities to fit various needs. Their ease of use and wireless design make them a popular choice for homeowners looking for a simple and effective way to monitor their homes.
How to Choose the Camera You Want to Arm
When using a Blink camera system, it is essential to be able to choose the camera you want to arm. There are several ways to identify and select the camera you want to arm:
Location:
One way to choose the camera you want to arm is by its location. Each Blink camera is assigned a location within the system, such as “Front Door” or “Backyard.” You can choose the camera you want to arm by selecting the appropriate location.
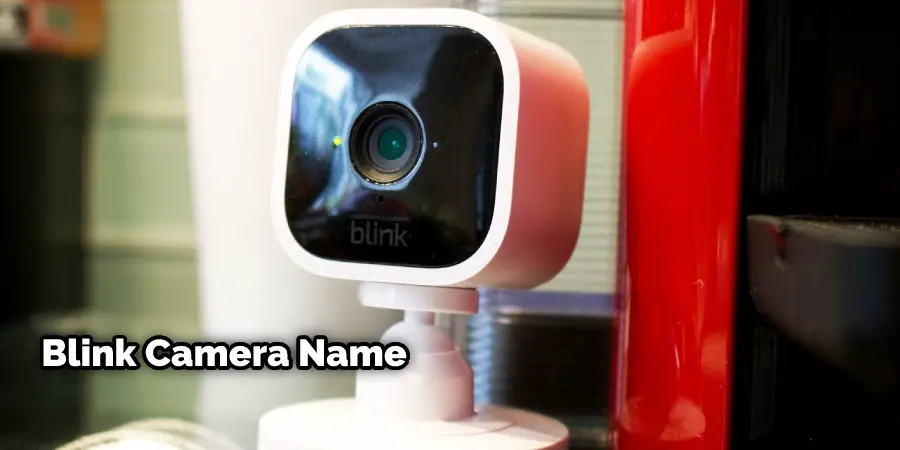
Camera Name:
Blink cameras can also be identified by the names you assign to them. When setting up your camera system, you can give each camera a unique name that reflects its location or purpose. For example, you might name a camera “Garage” or “Baby’s Room.” You can choose the camera you want to arm by selecting the appropriate camera name.
Serial Number:
Each Blink camera has a unique serial number that can be used to identify it. The serial number is printed on the camera itself and can also be found in the Blink app under Camera Settings. You can select the camera you want to arm by entering the serial number into the app.
When choosing the camera you want to arm, it is important to consider your specific needs and priorities. For example, you might want to arm the camera that covers your front door during the day when you are away from home but switch to the camera that covers your backyard at night when you go to bed. By understanding how to identify and select the appropriate camera, you can ensure that your Blink camera system is set up to meet your unique needs.
Step-By-Step Instructions on How to Arm a One Blink Camera
Here are the step-by-step instructions to arm a single Blink camera:
Open the Blink App:
Open the Blink app on your smartphone or tablet. If you haven’t already done so, log in to your account using your Blink username and password.
Select the Camera:
Select the camera you want to arm from the app’s home screen. You can do this by tapping on the camera name or location.
Choose the Mode:
Once you have selected the camera, you will see a screen that displays the current mode for that camera (such as Armed, Disarmed, or Schedule). Tap on the mode button to change the mode.

In the mode menu, tap on “Armed.” This will arm the selected camera and activate motion detection.
Adjust Settings (Optional):
If you want to adjust the settings for the camera, such as the motion detection sensitivity or clip length, you can do so by tapping on “Camera Settings” from the camera screen.
Check the Camera Status:
Once you have armed the camera, you can check its status from the camera screen. The camera will display a green circle with a checkmark if it is armed and functioning properly.
That’s it! Following these simple steps will arm a single Blink camera and activate motion detection. It is important to note that if you have multiple cameras in your Blink system, you will need to repeat these steps for each camera you want to arm.
How to Arm the Camera Using the Blink App, Alexa Voice Commands, or Ifttt Applets
Here are the step-by-step instructions for arming a Blink camera using the Blink app, Alexa voice commands, and IFTTT applets:
Arming with The Blink App:
Step 1: Open the Blink app on your smartphone or tablet.
Step 2: Tap on the camera you want to arm.
Step 3: Tap on the “Mode” button.
Step 4: Select “Armed” mode.
Step 5: The selected camera is now armed and will start recording when it detects motion.
Arming with Alexa’s Voice Commands:
Step 1: Open the Alexa app on your smartphone.
Step 2: Go to “Skills & Games” in the menu.
Step 3: Search for the “Blink SmartHome” skill and enable it.
Step 4: Link your Blink account to Alexa by signing in with your Blink credentials.
Step 5: Use voice commands to arm your Blink camera. For example, say, “Alexa, arm my bedroom camera.”
Arming with Ifttt Applets:
Step 1: Open the IFTTT app on your smartphone or tablet.
Step 2: Search for “Blink” and select it.
Step 3: Choose an applet that allows you to arm your camera. For example, you could choose an applet that arms your camera when you leave home.
Step 4: Follow the prompts to connect your Blink account and set up the applet.
Step 5: The applet will now automatically arm your Blink camera when the specified conditions are met.
Overall, arming a Blink camera can be done easily using the Blink app, Alexa voice commands, or IFTTT applets. Choose the method that works best for your needs and preferences.
Following these instructions how to arm only one blink camera will ensure that your Blink camera is properly armed and ready to keep your home safe and secure. Be sure to regularly check the status of your cameras and adjust settings as needed to optimize their performance.
How to Disarm the Camera After It Has Been Armed
Disarming a Blink camera is a simple process that can be done in several ways. Here are the step-by-step instructions for disarming a Blink camera using the Blink app, Alexa voice commands, and IFTTT applets:
Disarming with The Blink App:
Step 1: Open the Blink app on your smartphone or tablet.
Step 2: Tap on the camera you want to disarm.
Step 3: Tap on the “Mode” button.
Step 4: Select “Disarmed” mode.
Step 5: The selected camera is now disarmed and will no longer record when it detects motion.
Disarming with Alexa’s voice commands:
Step 1: Use voice commands to disarm your Blink camera. For example, say, “Alexa, disarm my bedroom camera.”
Step 2: Alexa will confirm that the camera has been disarmed.
- Disarming with IFTTT applets:
Step 1: Open the IFTTT app on your smartphone or tablet.
Step 2: Search for “Blink” and select it.
Step 3: Choose an applet that allows you to disarm your camera. For example, you could choose an applet that disarms your camera when you arrive home.
Step 4: Follow the prompts to connect your Blink account and set up the applet.
Step 5: The applet will now automatically disarm your Blink camera when the specified conditions are met.
Overall, disarming a Blink camera can be done easily using the Blink app, Alexa voice commands, or IFTTT applets. Choose the method that works best for your needs and preferences. It’s important to note that if you have multiple cameras in your Blink system, you will need to repeat these steps for each camera you want to disarm.
Troubleshooting
While arming and disarming a Blink camera is typically straightforward, users may occasionally encounter some common issues. Here are some of the most common issues and their potential solutions:
Camera Not Responding:
If the Blink camera is not responding when trying to arm or disarm it, try the following solutions:
- Ensure that the camera is connected to a working Wi-Fi network.
- Check the signal strength of the Wi-Fi network. If the signal is weak, try moving the camera closer to the router.
- Restart the camera by unplugging it from the power source and plugging it back in.
The Incorrect Camera Selected:
If you have multiple cameras in your Blink system, it is possible to accidentally select the wrong camera when trying to arm or disarm it. To ensure that the correct camera is selected, try the following solutions:
- Double-check the name of the camera you want to arm or disarm.
- Use the camera’s serial number to ensure that you are selecting the correct one.
- Use the Blink app to view the live feed from each camera to confirm which one you want to arm or disarm.
App Not Working:
If you are unable to arm or disarm the camera using the Blink app, try the following solutions:
- Ensure that you have the latest version of the app installed on your smartphone or tablet.
- Check that you are using the correct login credentials for your Blink account.
- Restart the Blink app by closing it and reopening it.
- Alexa’s voice commands not working:
If you are unable to arm or disarm the camera using Alexa voice commands, try the following solutions:
- Ensure that the Blink SmartHome skill is enabled in the Alexa app.
- Check that your Blink account is linked to Alexa.
- Try using different voice commands to arm or disarm the camera.
- IFTTT applets not working:
If the IFTTT applet is not arming or disarming the camera as expected, try the following solutions:
- Ensure that your Blink account is linked to IFTTT.
- Check that the applet is set up correctly and has the correct camera and conditions.
- Test the applet to ensure that it is working correctly.
Overall, if you encounter any issues when trying to arm or disarm a Blink camera, these solutions can help you troubleshoot and resolve the issue. If the issue persists, contact Blink customer support for further assistance.
Frequently Asked Questions:
Q: Can I Arm or Disarm Multiple Blink Cameras at Once?
A: Yes, you can arm or disarm multiple Blink cameras simultaneously by selecting them all in the Blink app or using Alexa voice commands for all cameras. It is not possible to arm or disarm multiple cameras using IFTTT applets at once.
Q: Can I Schedule Arming and Disarming for My Blink Cameras?
A: Yes, you can schedule when your Blink cameras are armed and disarmed using the “Schedule” feature in the Blink app. This allows you to automate these processes and have your camera automatically arm and disarm at specified times.
Q: How Do I Know if My Camera is Armed or Disarmed?
A: The status of your Blink camera can be seen in the Blink app. When a camera is armed, there will be a green “armed” icon next to it. When it’s disarmed, there will be a red “disarmed” icon. It’s also possible to check the status of your cameras by asking Alexa, “Is my camera armed?” or “Is my camera disarmed?”
Q: Can I Disarm My Blink Camera from a Remote Location?
A: Yes, you can disarm your Blink camera remotely using the Blink app on your smartphone or tablet. You can also use Alexa voice commands or IFTTT applets to disarm your camera from a remote location. However, the camera must have an active internet connection for these methods to work.
Conclusion
In conclusion, arming only one Blink Camera is a simple and effective way to increase home security. By setting up the camera in an area with a good view of your property and adjusting its settings to match your needs, you can monitor activity in and around your home 24/7. In addition, the two-way audio feature allows for easy communication with anyone on your property, and the motion detectors can be set to alert you of any suspicious activity. With only one camera, you can have peace of mind knowing that your home is safe. Thanks for reading this article about how to arm only one blink camera.