
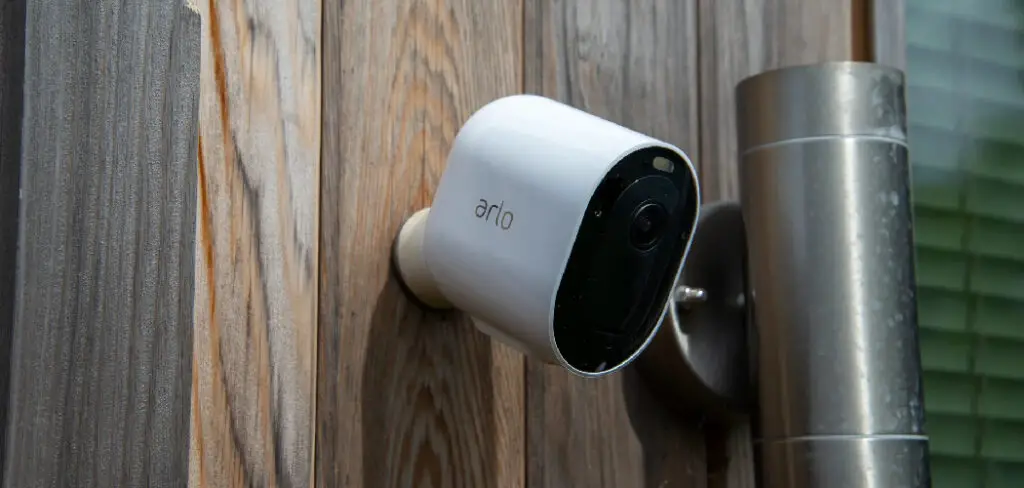
Arlo Pro is one of the most popular and high-quality security cameras on the market. However, many people want to know how to install Arlo pro outside, and this article will provide all of the information you need. Keep reading to learn more!
One of the reasons you may want to install Arlo Pro outside is to extend the camera’s range. If you have a large property, the Arlo Pro’s 100-foot range may not be enough to cover the entire area. Installing the camera outside can help you better view your property.
Another reason to install Arlo Pro outside is to protect it from the weather. Of course, the camera is weatherproof and can withstand rain and snow, but it’s always a good idea to protect your investment by installing it in a location that will be less likely to be affected by bad weather.
Why It’s Important to Install Arlo Pro Outside?
One of the main benefits of installing Arlo Pro outside is keeping an eye on your property even when you’re not home. Whether you’re looking to keep an eye on your kids playing in the backyard or want to make sure no one is trespassing on your property, having a security camera outside can be a huge asset. Additionally, installing Arlo Pro outdoors can also help you deter crime; if potential intruders know that a security camera monitors your home, they will likely choose another target.
Things You’ll Need
It is important to ensure there are no wires in the area you wish to install your Arlo Pro. These wires could be what criminals use when they want to steal your camera.
- Screwdriver/Screws
- Wrench/ Pliers (for tightening wire connections)
- Level (or plumb line)
- Drill bit, also called a hole saw or step drill, should measure at least 6 inches in diameter for this project. Companies like Makita and Milwaukee offer higher quality diameters than bits available at major retailers due to durability and how quickly drilling starts with their steps.)
- Metal plate screws for outdoor mounting of the base unit can also be picked up at any hardware store or nearby big-box retailer. The screws should be appropriate for the surface you’re attaching your Arlo to. For example, if you’re mounting on a metal or stucco roof, plastic anchors won’t hold well and may break over time.
A Stepwise Guide on How to Install Arlo Pro Outside
Step 1: Mark the Location
Before drilling holes on any surface, you must ensure that your drill bit is going in at a 90-degree angle. Mark the location where you want to install your screws.
Step 2: Drill Holes into Wall/Roof
Drill a hole into the chosen wall or roof location using drywall or wood bit.
Step 3: Install the Plate
Screw on the metal plate to secure it onto your chosen surface. Step 4: Drill Holes into Wall/Roof Using drywall or wood bit, drill a hole into the chosen wall or roof location. You may need to use shims to drill into concrete since it will be difficult to drill out. It is also important that you make sure that the hole you drill into the wall is deep enough for the screw to go through.
Step 4: Attach Camera Bracket
Slide your Arlo Pro camera on top of the screws, and tighten using the Allen wrench. Once tightened, use a level or plumb line to ensure that the camera is perfectly straight. It is also important to ensure that the Arlo Pro is tightly secured onto the wall or roof, so use your Allen wrench to tighten all screws.
Step 5: Secure the Wires
Run your power cord through the hole you drilled before, and pull them from inside your home. Once installed, check if your Arlo Pro is working properly by using a web browser to navigate http://myarlo.net/. Finally, plug both ends of the USB cord into their respective ports on the Arlo Pro and your router.
Step 6: Install the Battery Pack
Install the battery pack and plug it in. Make sure that the wires do not stick out of your hole and are instead sticking on the inside. Step 7: Test for Functionality Once you have installed all the components, test them to ensure they work properly. You can then mount or hide your Arlo Pro outside as your preference.
Step 7: Test for Functionality
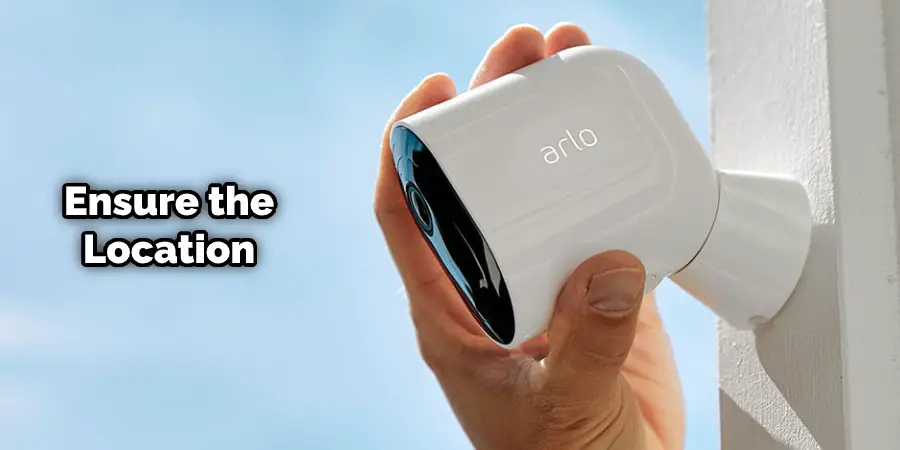
Once you have finished installing your Arlo Pro, it is important to test the camera before hiding or mounting it. Go to myarlo.net in your web browser and try if the camera is working from each location in your house where you want to monitor. To ensure proper installation of Arlo Pro outside, you will need to ensure that the camera is pointing in the right direction.
Step 8: Secure your Arlo Pro outside
Once you have confirmed that all of your components are working, it is important to configure how the Arlo Pro operates. For example, you can adjust how sensitive it is and how many notifications you receive. In addition, you may want to turn off the lights on the Arlo Pro.
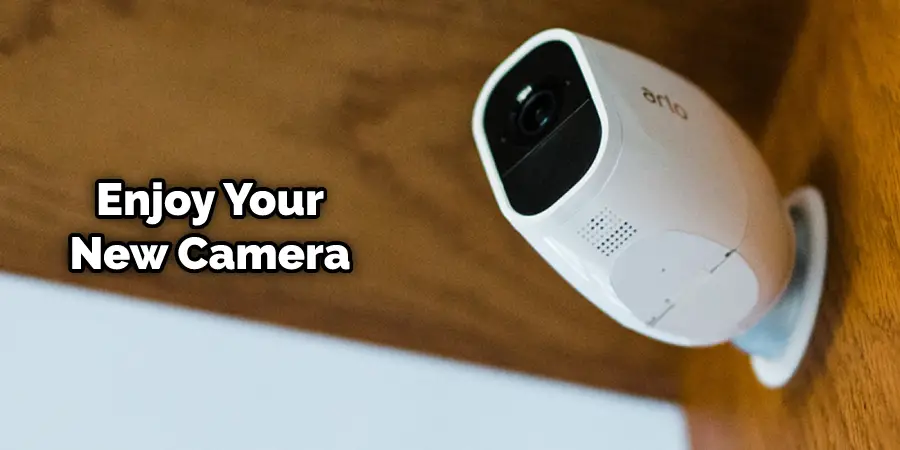
Step 9: Enjoy
You can test how your Arlo Pro operates with the different settings to ensure that you get the most out of your purchase. For example, you can check how many notifications you receive and how many seconds it takes before the camera starts recording. You can also turn off the LED lights on your Arlo Pro if you don’t want people to know that they are being monitored. Keep reading for more information about how to install Arlo pro outside.
Different Mounts You Can Use with the Arlo Pro Series
Arlo Magnetic Mounts
The Arlo Magnetic Mounts are a great way to outdoors install your Arlo Pro camera. They are weatherproof and come with a metal plate that you can screw onto the wall or roof. The magnets on the mount will hold the camera in place, so you don’t have to worry about it falling off.
Arlo Screw Mount
The Arlo Screw Mount is a great way to install your Arlo Pro camera outdoors. It comes with a metal plate that you can screw onto the wall or roof. In addition, the mount has a ball joint that will allow you to rotate the camera in any direction to get the perfect view.
Arlo Quad Pod Mount
The Arlo Quad Pod Mount is a great way to outdoors install your Arlo Pro cameras. The mount comes with a metal plate that you can screw onto the wall or roof. In addition, the mount has a ball joint that will allow you to rotate the camera in any direction to get the perfect view. The Quad Pod Mount also includes four adjustable legs, which will help keep your camera stable in windy conditions.
Arlo Gutter Mount
The Arlo Gutter Mount is a great way to install your Arlo Pro camera outdoors. The mount comes with a metal plate that you can screw onto the wall or roof. In addition, the mount has a ball joint that will allow you to rotate the camera in any direction to get the perfect view. The gutter mount also includes a clip, which will help keep your camera stable in windy conditions.
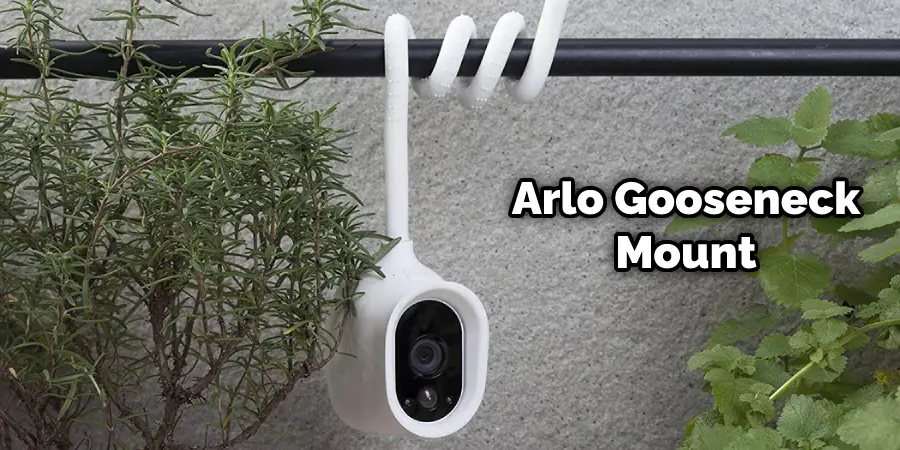
Arlo Gooseneck Mount
The Arlo Gooseneck Mount is a great way to outdoors install your Arlo Pro camera. The mount comes with a metal plate that you can screw onto the wall or roof. In addition, the mount has a ball joint that will allow you to rotate the camera in any direction to get the perfect view. The gooseneck mount also includes an adjustable arm, which will help keep your camera stable in windy conditions.
Arlo Wrap Mounts
The Arlo Wrap Mounts are a great way to install your Arlo Pro camera outdoors. The mount comes with a metal plate that you can screw onto the wall or roof. In addition, the mount has a ball joint that will allow you to rotate the camera in any direction to get the perfect view. The wrap mounts also include an adjustable strap, which will help keep your camera stable in windy conditions.
Arlo Adhesive Mounts
The Arlo Adhesive Mounts are a great way to install your Arlo Pro camera outdoors. The mounts come with a metal plate that you can screw onto the wall or roof. In addition, the mounts have a ball joint that will allow you to rotate the camera in any direction to get the perfect view. The adhesive mounts also include an adjustable strap, which will help keep your camera stable in windy conditions. If you want to know more about how to install Arlo pro outside, keep reading.
You may also read How to Connect Arlo Essential Camera to Wi-Fi
Frequently Asked Question
Can You Put an Arlo Camera Outside?
Yes, you can put an Arlo camera outside. You can use one of the mounts listed above to secure your camera. Make sure to adjust the settings to get the most out of your purchase.
Can Arlo Pro 2 Be Mounted Outside?
Yes, you can use one of the mounts listed above to secure your Arlo Pro 2 camera outside. However, make sure to adjust the settings to get the most out of your purchase.
Do Arlo Cameras Work in Cold Weather?
Yes, Arlo cameras work in cold weather. However, you may need to adjust the settings to get the most out of your purchase.
Are Arlo Pro Cameras Easy to Steal?
No, Arlo cameras are not easy to steal. However, the mounts listed above will help secure your camera, so it is not easy to steal.
Can I Leave My Arlo Pro Plugged In?
No, it would help if you did not leave your Arlo Pro plugged in. The camera will continue to record as long as it is plugged in, leading to battery depletion.
Conclusion
If you are looking for a security camera system that is easy to install and can be used indoors or outdoors, the Arlo Pro system is a great option. The cameras are weatherproof and come with rechargeable batteries to be used anywhere.
And best of all, the Arlo Pro system is affordable and can be set up in minutes. So if you’re looking for a reliable home security solution, consider the Arlo Pro system. Thanks for reading our post about how to install Arlo pro outside.
You may also read: How to Install Ring Contact Sensor on Door with Trim

1 thought on “How to Install Arlo Pro Outside”