
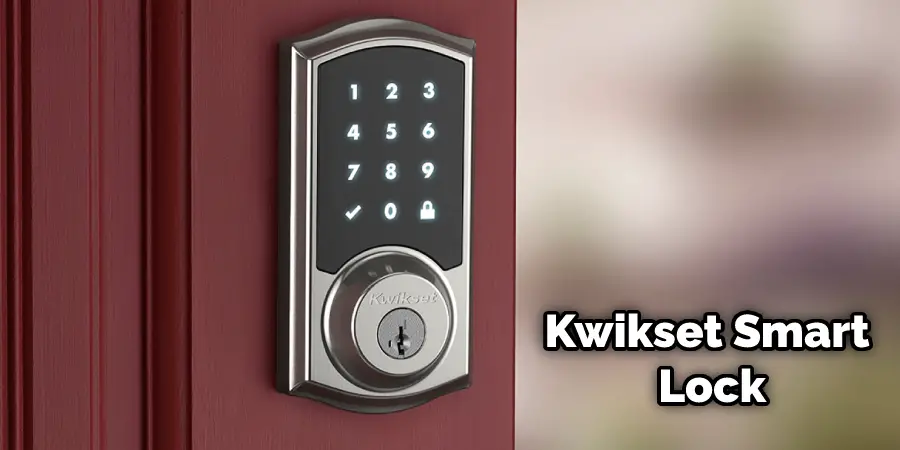
Are you looking for an easy and convenient way to keep your home safe and secure? Installing a Kwikset Smart Lock is the perfect solution. As one of the most popular smart lock brands on the market, Kwikset’s range of Bluetooth, keypads, and even traditional locks are designed to give users added control over their home security.

In this comprehensive guide, we’ll explore everything you need to know about installing a Kwikset Smart Lock in your house – from understanding what models are available to preparing for installation and troubleshooting potential problems. Read on to know more about how to install Kwikset smart lock and get ready to enjoy top-level convenience!
What Is Kwikset Smart Lock
The Kwikset Smart Lock is a great way to make your home secure and more convenient. It allows users to control their lock easily from their smartphone by creating virtual keys, locking and unlocking their door with just a few simple taps.
This technology also offers robust access control via remotely activated codes, allowing users to decide which people can enter their homes at any given time. Not only is the Kwikset Smart Lock easy to install and use, but its anti-theft form also gives users peace of mind knowing that they are protected against break-ins or other security threats.
Furthermore, this lock comes with advanced security features such as NFC authentication and is compatible with many smart home systems. It’s clear why the Kwikset Smart Lock has become such a popular security system for many homes!
Different Types of Kwikset Smart Locks Available and Their Features
Kwikset Smart Locks are designed to make access to your home convenient and secure. There are several different types available, each with its own features that offer a variety of benefits. For example, the Kwikset Kevo smart lock uses Bluetooth technology for hands-free unlocking.
Just have your smartphone or compatible fob in your pocket, and the Kevo will detect it and unlock it when you get within range. Additionally, the Kwikset Obsidian touchpad lock allows you to enter a 4-8 digit code directly into the keypad instead of using keys.
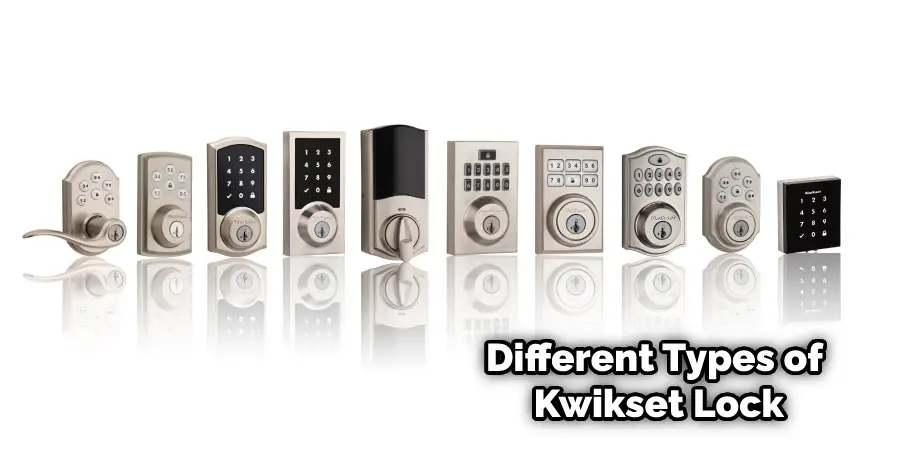
It also has an auto relock feature that automatically locks the door 30 seconds after it is unlocked. If these are not your style, consider Kwikset Halo Wi-Fi smart lock, which pairs with an ultra-responsive app and can be locked and unlocked remotely from anywhere in the world! With all of these options, you will surely find a Kwikset Smart Lock that fits your needs perfectly!
Can You Install Kwikset Smart Lock by Yourself
Installing a Kwikset Smart Lock can be an excellent DIY project if you take the proper precautions and follow instructions carefully. Before getting started on this project, it’s important to make sure you understand all the steps involved. With some basic handyman skills, a regular home drill and screwdriver, and a working internet connection for downloading the app, you’ll have no trouble at all setting up your Kwikset Smart Lock.
Each lock comes with clear directions or even video tutorials that will ensure the correct installation process is followed. It’s best to set aside time to install your Smart Lock without distractions so that everything goes smoothly and is easily understandable. Before long, you can know your home is safe and secure thanks to your DIY Kwikset Smart Lock installation!
Tools You Will Need
Before you start, you will need the following tools and materials:
- A Phillips head screwdriver
- Four AA batteries (not included with some models)
- A tape measure
- A smartphone with the Kwikset Smart Lock app installed (optional)
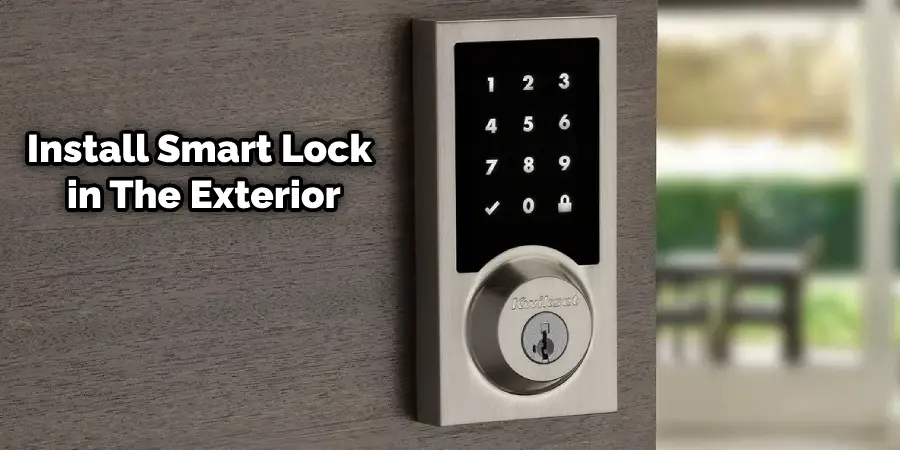
Step-By-Step Guide on How to Install Kwikset Smart Lock
Step 1: Remove Your Existing Deadbolt
The first step is to remove your existing deadbolt from your door. This usually involves removing two screws from the inside faceplate of the lock and pulling out the interior and exterior parts of the deadbolt. You may need to tap on it gently with a hammer if it is stuck. Next, remove the latch by unscrewing two screws from the edge of the door and sliding it out. If your existing deadbolt is from Kwikset, you can keep the latch and use it for your new smart lock.
Step 2: Install the New Latch
If you are using a new latch, slide it into the hole on the edge of the door, ensuring that the middle hole in the latch is aligned with the hole in the door. If not, rotate the latch mechanism 180 degrees while holding onto the deadbolt to change its position. The latch should also have a “UP” marking that faces up. Secure the latch with two short screws provided in the kit.
Step 3: Install the Exterior Part of the Smart Lock
Starting from outside the door, place the exterior part of the smart lock over the hole and feed the cable underneath the latch. Insert the turn rod through the middle hole of the latch, making sure to align its “D” shape with the latch. On some models, you may need to adjust the length of the turn rod by twisting it clockwise or counterclockwise.
Step 4: Install the Mounting Plate
On the inside of the door, place the mounting plate over the hole and feed the cable through it. Align the mounting plate with the two holes on each side of the latch and secure it with two long bolts provided in the kit. Make sure not to overtighten them.
Step 5: Install the Interior Part of the Smart Lock
Attach the interior part of the smart lock over the mounting plate and secure it with two small screws. Align the arrow on the deadbolt with the inside handle before inserting the batteries into their compartment at the bottom of the lock. Finally, insert a clutch through both parts of the smart lock to connect them together.
Step 6: Install the Batteries and the Cover
Install four AA batteries (not included with some models) into their compartments at the bottom of the lock. Next, attach the cover to the interior part and secure it with two screws provided in the kit.
Step 7: Program and Test the Smart Lock
To program and test your smart lock, follow the instructions provided in the app. This will involve connecting the lock to your Wi-Fi network, adding users, setting up access schedules, and testing all of its functions. Once you have completed these steps, you are ready to enjoy the convenience and security of your new Kwikset Smart Lock.
Congratulations on a successful installation! Now, you can rest easy knowing your home is secure with Kwikset’s advanced smart lock technology. Enjoy the convenience of using your smartphone to control access to your home and take advantage of all the features that come with it.
Tips for Troubleshooting Common Issues that May Arise During Installation or Using Kwikset Smart Lock
If you experience any issues while installing or using your Kwikset Smart Lock, you can take a few troubleshooting steps to solve them.
1. Check the Batteries:
Ensure the batteries are installed correctly and have plenty of charges left in them. If they are not working, try replacing them with new ones.
2. Check the App:
Make sure that you have the latest version of Kwikset’s Home Connect app installed on your smartphone and that it is connected to your home Wi-Fi network correctly.
3. Check the Lock Itself:
If it seems like there is something wrong with the lock itself, try resetting it back to its factory settings.
4. Contact Customer Service:
If all else fails and you are still experiencing issues, contact Kwikset’s customer support department for help. They can provide additional troubleshooting tips or guide you through more complex procedures.
By following these steps, you should be able to quickly solve any problems you may encounter while installing or using your Kwikset Smart Lock. With its advanced security features and convenient smartphone control, your Kwikset Smart Lock will give you peace of mind for years to come. Enjoy the added convenience and security that comes with it!
Frequntly Asked Questions
Can I Control Access Schedules With My Smart Lock?
Yes, with the Kwikset Home Connect app, you can set up access schedules to grant or deny access to your home at certain times and dates. This feature is great for keeping unwanted guests out when you are away from home for extended periods.
What Batteries Does a Kwikset Smart Lock Take?
Kwikset Smart Locks typically require four AA batteries to power the device. However, some models may include non-replaceable lithium batteries instead. Please refer to your product manual for more information on which type of battery is compatible with your specific model.
Can I Use Voice Commands to Unlock My Smart Lock?
With the integration of Amazon Alexa and Google Home, you can use voice commands to unlock your Kwikset Smart Lock. This feature is especially convenient if you don’t want to take out your smartphone whenever you need access. You can also set up virtual keys for other users so they can easily unlock the door with their voice.
Can I Pair My Kwikset Smart Lock With a Home Security System?
You can connect your Kwikset Smart Lock to other compatible devices such as alarm systems, doorbells, and more. This feature helps you further secure your home by allowing all of these devices to communicate with each other. You can also set up notifications and alerts to be sent directly to your smartphone when certain events take place.
Conclusion
Kwikset Smart Locks are a great way to add convenience and security to your home. With its advanced security features, smartphone control access, and integration with other compatible devices, it’s easy to see why so many people trust Kwikset for their smart lock needs.
Follow the steps outlined in this guide and you can easily install, troubleshoot and use your Kwikset Smart Lock with no issues. Enjoy the added convenience and security that comes with it! Thanks for reading this article about how to install kwikset smart lock.