
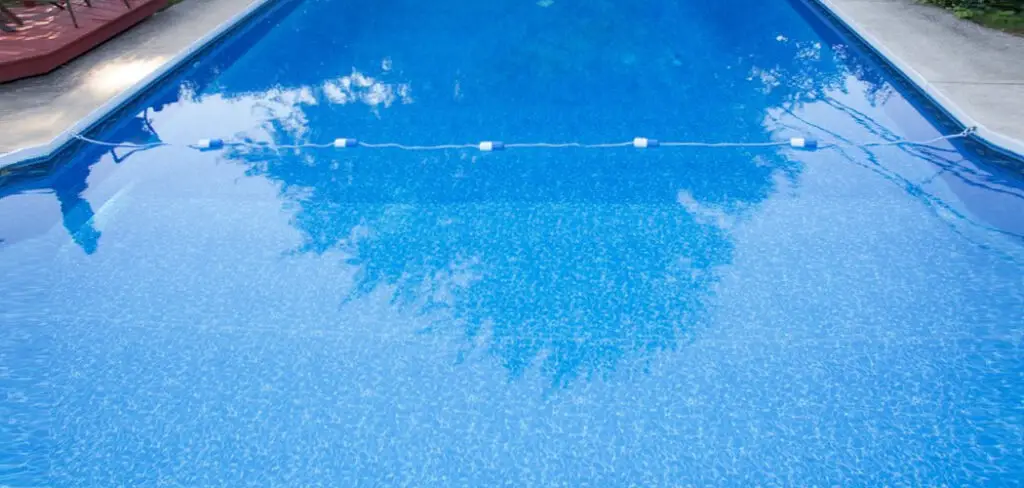
Swimming pool injuries are most common among children ages 1-14. However, statistics show that many of these accidents can be prevented using a 4-foot pool safety rope. Installing a safety rope in your pool is a simple and effective way to help keep your family safe. This blog post will show you how to install pool safety rope.
This is an important safety precaution for any pool, and it’s not difficult to do. We’ll walk you through the process step-by-step so that you can ensure your pool is as safe as possible. Let’s get started!
Required Materials:
Pool Safety Rope:
This is the main material you will need. The rope should be at least 4 feet in length and made of durable, weather-resistant material. You can choose from a variety of colors to match your pool’s design.
Rope Floats:
Rope floats help keep the safety rope afloat, making it easier to see and less of a tripping hazard around the pool. You will need enough rope floats to cover the entire length of your safety rope.
Measuring Tape:
You will need a measuring tape to accurately measure the distance between each pool post or point where you will attach the safety rope.
Scissors:
Scissors will be used to cut the rope and any excess materials.
Clamps or Hooks:
These will be used to secure the rope to your pool posts or points.
How to Install Pool Safety Rope 10 Step-by-Step Guide:
Step 1: When Buy
Make sure to purchase a pool safety rope specifically made for swimming pools. There are different types of ropes available on the market, so make sure to get the right one.
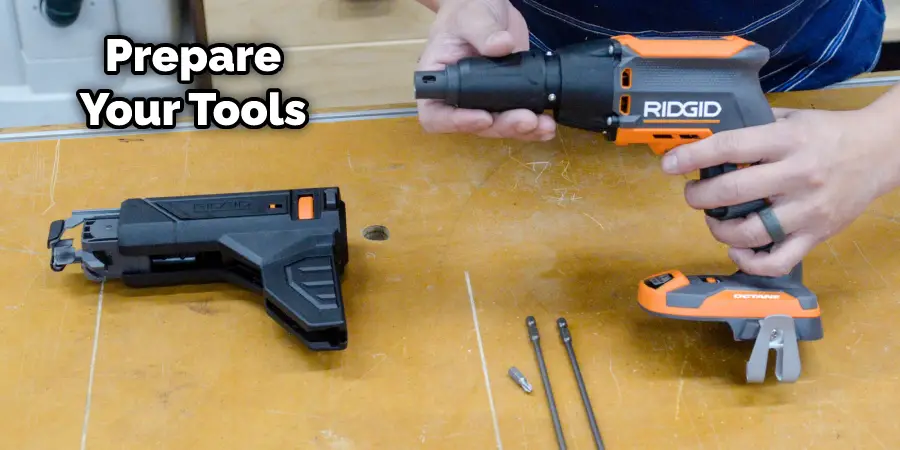
Step 2: Preparation
The preparation process includes gathering all of the supplies you will need for the job. This includes the pool safety rope, screws, screwdriver, drill, and level. Also, make sure that you have a clear work area to avoid accidents.
If you don’t know how to drill into the side of your pool, you can ask for help. Drill a hole into the pool at the height you want the safety rope to be, making sure it is level. Screw in the eye bolt and make sure that it is tight. Cut the pool safety rope to size and tie a knot at each end. Attach the rope to each side of the eye bolt and tighten.
Step 3: Measure
Before you start drilling, measure the length of the pool and decide how many sets of ropes you will need. Typically, one set of rope is needed for every 10 feet of pool length. It’s always better to have extra rope than not enough, so make sure to measure a little bit longer than needed.
You will also need to measure the distance from each side of the pool where you want to install the rope. It’s important to make sure that the ropes are evenly spaced and parallel to each other. Otherwise, the safety rope may not be as effective in case of an accident.
Step 4: Marking the Drill Points
Using a tape measure and permanent marker, mark the drill points where you will install the eye bolts. Make sure to mark these points evenly and at the same height on each side of the pool. This will ensure that the safety rope is straight and level.
If you have a round pool, it may be easier to use a string or rope to mark the drill points. Simply tie the string at each end of the pool where you want the safety rope to go and mark the string with a marker for drilling.
Step 5: Drilling Holes
Using a drill with a 1/4″ bit, carefully drill holes at the marked points on both sides of the pool. Make sure to hold the drill steady and straight to ensure accurate and even holes. But be careful not to drill too deep, as you don’t want to damage the pool.
You can also use a hammer and nail to create pilot holes before using the drill. This will help prevent any slipping or damage to the pool surface. It’s always better to err on the side of caution when it comes to drilling into your pool.
Step 6: Attaching Eye Bolts
After drilling all the necessary holes, attach the eye bolts to each hole on both sides of the pool. Make sure they are screwed in tightly and evenly. You can use a screwdriver or pliers to ensure a secure attachment. It’s important to have the eye bolts properly secured for maximum safety.
The eye bolts should be placed at the same height on both sides of the pool, and they should be parallel to each other. This will ensure that the safety rope is straight and level.
Step 7: Cutting the Pool Safety Rope
Measure and cut the pool safety rope to size using scissors. Leave a little extra length on each end so that you have room for tying knots. Make sure to cut the rope evenly and straight to ensure a professional installation.
But if you’re unsure about cutting the rope, you can always leave it longer and cut it after installing. It’s better to have extra rope than not enough.
Step 8: Tying Knots
Tie a knot at one end of the pool safety rope. Make sure that the knot is secure and will not come undone easily. You can also use a double knot for extra security.
Repeat this process on the other end of the rope, making sure that both knots are at the same distance from the end. You can trim any excess rope afterward if needed.
Step 9: Attaching the Rope to Eye Bolts
Attach one end of the safety rope to one eye bolt on either side of the pool. Make sure that it is tight and secure. The rope should be taut and straight, without any slack or sagging.
Repeat this process on the other side of the pool. Make sure that both ropes are attached at the same height and parallel to each other. This will ensure a straight and level safety rope.
Step 10: Testing the Safety Rope
After installation, test the safety rope by pulling on it lightly. It should be secure and not move or come loose. If you notice any issues, make sure to fix them before using the pool.
You can also have someone else pull on the rope from the other side to ensure that it is properly installed and secure. Always double check for any potential accidents or hazards before using the pool.
Installing a pool safety rope is one way to help keep everyone safe around your pool. By following these simple steps, you can have your pool safety rope up and running. So enjoy your swimming pool this summer – and be safe while doing so! If you want to know more about how to install pool safety rope, keep reading.
What Is a Pool Safety Rope?
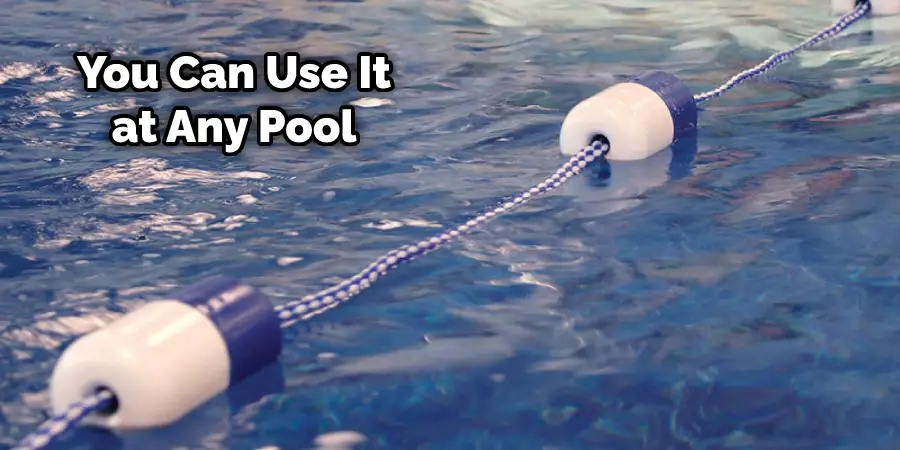
A pool safety rope is a piece of equipment used to keep swimmers safe in the pool. It is usually made of nylon or polyester and is either braided or twisted. A safety rope can be installed on any pool, including an above-ground pool or an in-ground pool.
The process to follow is as follows:
Installing a pool safety rope is a process anyone can do with a little bit of experience. The first step is to identify where you want to install the safety rope. It is important to ensure that the area is clear of any obstructions and has enough space for the safety rope to be installed.
Once you have identified the location, the next step is to measure how much rope you need. You can do this by measuring the distance from one side of the pool to the other. Then, add an extra 10 feet to that measurement to have enough rope to tie off at each end.
The next step is to attach one end of the rope to a secure object, such as a post or a tree. Make sure that the object is sturdy and will not move. The other end of the rope should be tied around a person’s waist.
Importance of a Pool Safety Rope
The primary importance of having a pool safety rope is to ensure the safety of those swimming in the pool. Therefore, the pool safety rope should be installed so that it is visible at all times and easily accessible in case of an emergency. In addition, it is also important to keep the pool area clean and free of any obstructions that may present a danger to swimmers.
Regularly inspecting and maintaining the safety rope is also crucial to ensure its effectiveness. Having a pool safety rope can also help prevent accidental drownings. Having a visible barrier in the pool can discourage children or pets from entering the pool area without adult supervision. It can also serve as a visual reminder for swimmers to stay within safe boundaries while in the water.
You can never be too cautious when it comes to pool safety. Installing a pool safety rope is a simple and affordable way to add an extra layer of protection for your family and guests. By following these steps, you can have peace of mind knowing that your pool is safe and secure.
Swimming Pool Safety Tips
There are a few essential tips to keep in mind when it comes to swimming pool safety. First and foremost, always be aware of your surroundings, and make sure that you are paying attention to what is going on in the pool. Secondly, never swim alone – always have a buddy with you. And finally, be familiar with the pool’s safety features, such as fences and gates, and ensure that you know how to use them properly. Keep reading for more information about how to install pool safety ropes.
You can never be too safe when it comes to swimming pools. By following these safety tips and installing a pool safety rope, you can help prevent accidents and keep everyone safe while enjoying the pool. So take the time to properly install a safety rope and always adhere to proper pool safety practices for a fun and safe swimming experience!
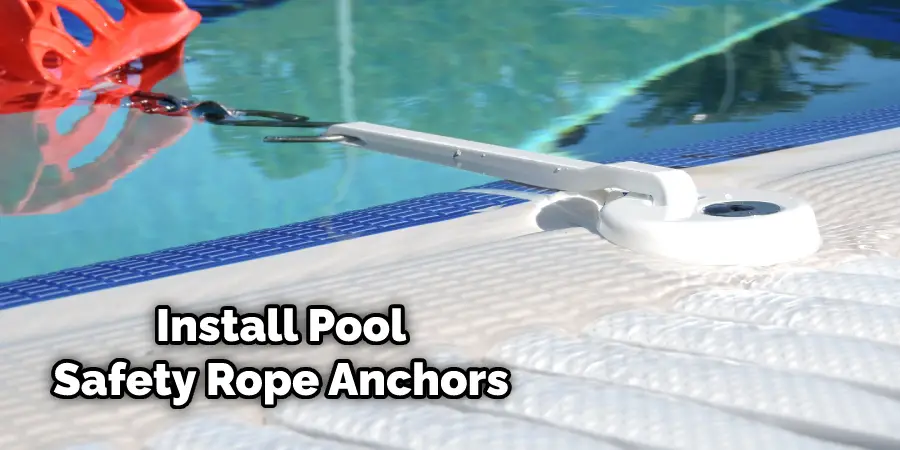
How Do You Install Pool Safety Rope Anchors?
Installing pool safety rope anchors is an important part of ensuring the safety of your swimming pool. The anchors keep the safety rope in place and prevent it from coming loose. To install the anchors, you’ll need the following supplies:
- A drill
- A 7/16″ drill bit
- A hammer
- A screwdriver
- A pair of pliers
- A wire cutter
- Drill two holes on each side of the pool deck using the drill bit. Make sure that the holes are at least 2″ from the edge of the deck.
- Insert the anchors into the holes using the hammer. Make sure that they are flush with the surface of the deck.
- Use the screwdriver to attach the screws to the anchors.
- Use the pliers to bend the tabs on the safety rope anchors.
- Cut off any excess wire with the wire cutter.
Do You Need to Use Professionals?
While installing a pool safety rope can be done by anyone with the right tools and instructions, it is always recommended to seek professional help if you are unsure or inexperienced. Trained professionals have the knowledge and experience to properly install a pool safety rope, ensuring that it is secure and meets all necessary safety standards.
Additionally, hiring professionals can also save time and potentially avoid any mistakes or accidents that may occur during the installation process. When it comes to safety, it is always better to be safe than sorry and seek professional help if needed.
How Much Could It Cost?
The cost of installing a pool safety rope can vary depending on various factors such as the size and type of pool, materials used, and whether or not you hire professionals. On average, the cost can range from $200 to $500.
It is also important to factor in ongoing maintenance costs for the safety rope, such as replacing worn-out ropes or anchors. Regularly inspecting and maintaining the safety rope can help ensure its effectiveness and reduce the risk of accidents. It is always best to budget for these potential costs when considering installing a pool safety rope.
Frequently Asked Questions:
What Is the Function of Rope in The Swimming Pool?
The rope is an important part of swimming pools because it serves as a safety precaution. It helps keep people from getting too close to the edge of the pool and prevents them from accidentally falling in.
Why Are Swimming Pool Ropes Different Colors?
Different colors of swimming pool ropes designate different purposes. For example, red ropes indicate a restricted area, such as a swimming area for children. Yellow ropes indicate a warning that the pool is not safe for swimming.
What Is a False Start Rope in Swimming?
A false start rope is a rope that is used in swimming to indicate when a swimmer has false-started.
Why Are the Middle Lanes Yellow in the Swimming Pool?
The yellow center lanes in a swimming pool are typically used for lap swimming. The lane ropes help designate swimmers’ areas and keep them separated. If you are not using the center lanes, you should swim to the side.
What Is a Lane Rope?
A lane rope is an important piece of equipment for a swimming pool. It is used to designate lanes for swimmers and keep them separate.
You Can Check It Out to Turn Off Personal Alarm Keychain
What is the Required Depth for a Pool Safety Rope?
Pool safety ropes are required to be a minimum of four feet deep in the water, with a rope length that is at least one foot longer than the pool’s width. The top of the rope should be at least three feet above the surface of the water and close enough to reach when someone is swimming in the pool.
What Type of Knots Should Be Used to Fasten Sections of Swimming Pool Ropes Together During Installation Securely?
One of the most popular knots for fastening swimming pool ropes together is the square knot. It can easily be tied by taking the left end of the rope and placing it over the right end, then taking the right end and tying it over the left. This knot is extremely secure, but it should be checked every once in a while to make sure it hasn’t loosened over time.
Conclusion
Pool safety is important for everyone. You can install a pool safety rope quickly and easily by following these simple steps. Make sure to always keep your pool safe for swimming by using a pool safety rope. Thanks for reading our post about how to install pool safety ropes.
You may also read: How to Hang Power Strip on Wall