
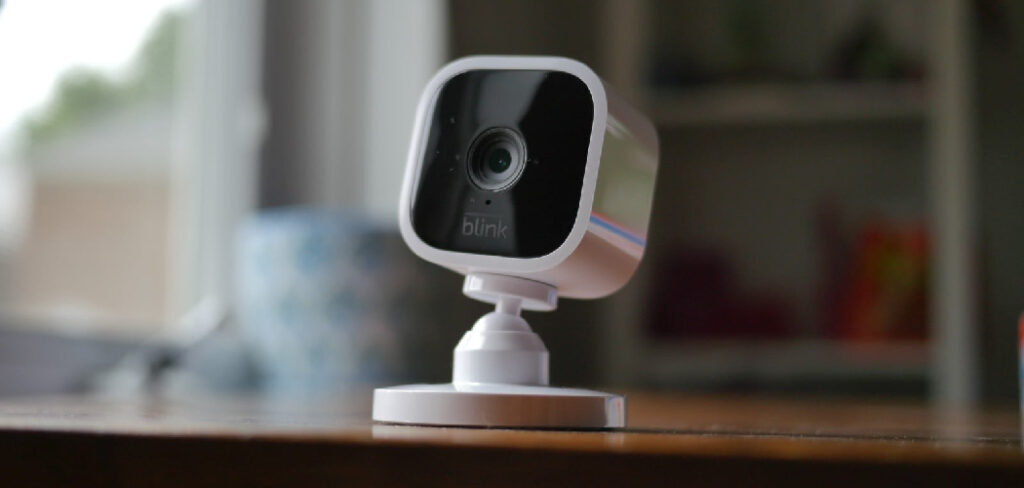
There are a lot of different ways to mount a camera, but the Blink Mini camera is one of the easiest and most versatile options. In this post, we’ll show you how to mount a blink mini camera for optimal performance. Plus, we’ll give you some ideas for where to put it!
Why Mount a Blink Mini Camera?
Mounting a Blink Mini camera is the perfect way to ensure that you always have eyes on your home. Whether you’re at work, out of town, or just away from home for a while, mounting a Blink Mini camera can give you peace of mind by allowing you to keep an eye on your house and property even when you’re not around. With two-way audio, you can even communicate with anyone that enters your home while you’re away.
Mounting a Blink Mini camera also makes it easier to monitor activity within your house or monitor activities like deliveries, visitors, and more. It also provides extra protection against potential intruders as they will be easily noticeable on the security footage. With a Blink Mini camera mounted in your home, you can enjoy extra protection as well as the added peace of mind!
The Blink Mini camera is an easy and affordable way to protect your home and stay connected with what’s happening. By mounting a Blink Mini camera, you can rest assured that your property is as secure as possible when you’re away.
The Blink Mini camera is easy to mount as well, and it can be done in a few simple steps. All you need is the mounting plate, wall anchors, and screws that come with your Blink Mini camera and it’s done.
With two-way audio, motion detection, and night vision capabilities, you can keep track of your home even when you’re away. Plus, with easy installation, mounting a Blink Mini camera is hassle-free. So if you’re looking for extra peace of mind and added security for your property, consider mounting a Blink Mini camera today!
Things You’ll Need
To mount a blink mini camera, you will need the following materials:
- A Blink Mini Camera
- A mounting bracket
- Screws
- Drills
How to Mount a Blink Mini Camera Step-by-Step Guide
Step 1: Remove Mount From the Camera
The Blink Mini Camera comes with a very handy mount that can attach the camera to several different surfaces. However, you first need to remove it from the camera to use the mount. To do this, pinch the sides of the mount together and pull it away from the camera.
Step 2: Apply Pressure on Outer Ring
Now that you have the Blink Mini firmly in place, it’s time to apply pressure to the outer ring. This will ensure that the Blink Mini is properly secured and won’t move around when you’re trying to take a photo or video. To do this, press down on the outer ring until you hear a clicking sound.
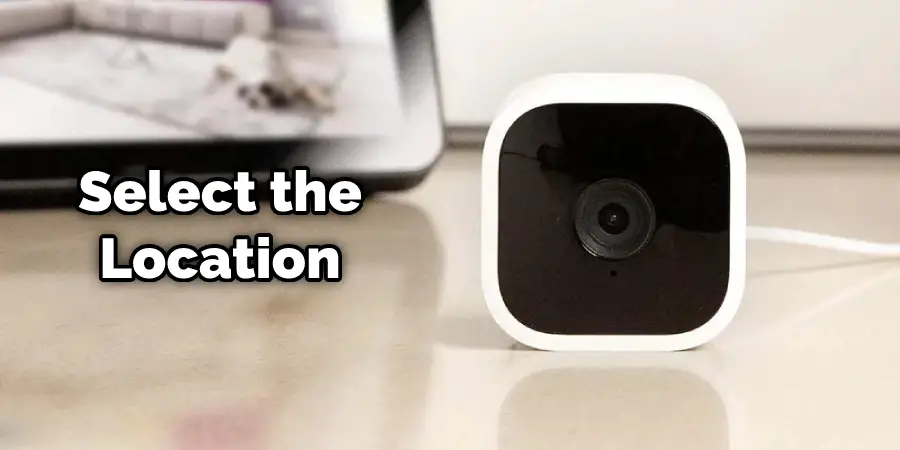
Step 3: Select a Location
Once you have your Blink Mini Camera, you will need to find a place to mount it. You may want to mount it in a convenient location for you to access or in a location where it can capture the most activity. For example, some people choose to mount their Blink Mini Camera on the ceiling, while others mount it on a wall. You can also purchase a Blink Mini Camera Stand to place your camera on a table or shelf.
When selecting a location for your Blink Mini Camera, keep in mind that the camera needs to be plugged into an outlet. In addition, the Blink Sync Module, which is included with your Blink Mini Camera, must also be plugged into an outlet and connected to your home Wi-Fi network for your camera to function properly.
Step 4: Secure Mount
There are many ways to secure the mount. A popular way is to use zip ties. Please make sure the camera is pointing in the desired direction before securing it. Another way to secure the mount is by using screws and a drill. This will provide a more permanent solution, but it may be overkill for some applications.
Step 5: Work With the Retaining Ring
The Blink Mini comes with a small retaining ring that helps keep the camera in place. If you’re having trouble getting the retaining ring to stay in place, try using a piece of tape to hold it in place. Once the retaining ring is in place, you can attach the camera to your chosen surface.
Step 6: Put Mount Back on Unit
Once the camera is in the desired location, it is time to put the mount back on the unit. Align the two posts on the mount with the corresponding holes on the camera and press firmly until they snap into place. You should now be able to twist and tilt the camera in any direction you like.
Step 7: Plug in the Cable
Now that the camera is mounted plug in the power and USB cables. The power cable goes into the camera’s top, and the USB cable plugs into the bottom. Again, be sure to orient the cables correctly to fit properly.
Step 8: Plug into Outlet
Once the Blink Sync Module is connected to your WiFi network, plug the power adapter into an outlet and insert the batteries into your Blink Mini. The camera will automatically startup.
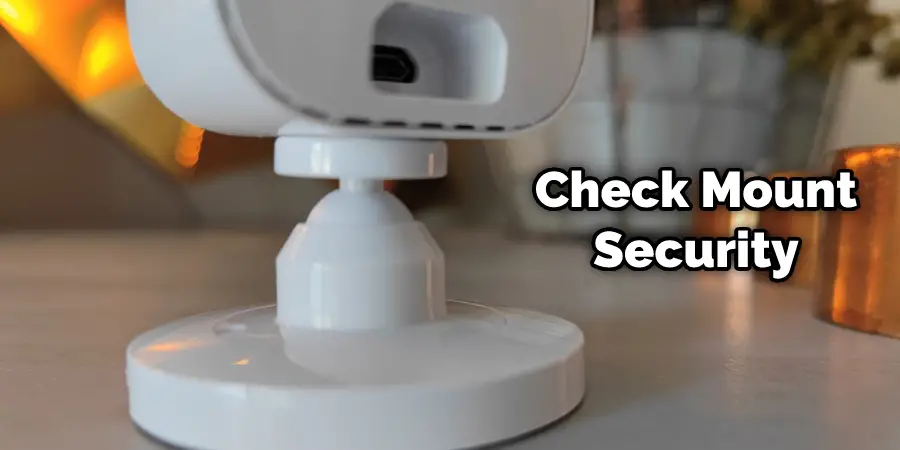
Step 9: Test Mount Security
After you have finished assembling your Blink Mini Camera, it is important to test how well the camera is mounted and secure. To do this, pretend to rob your home or business and try to remove the camera. If it is difficult or impossible to remove, you know that it is securely mounted and will provide the security you need.
If the camera is not securely mounted, you will need to adjust to the mount or find a different location to mount the camera. It is important to ensure that the camera is secure so that would-be thieves or vandals cannot easily remove it.
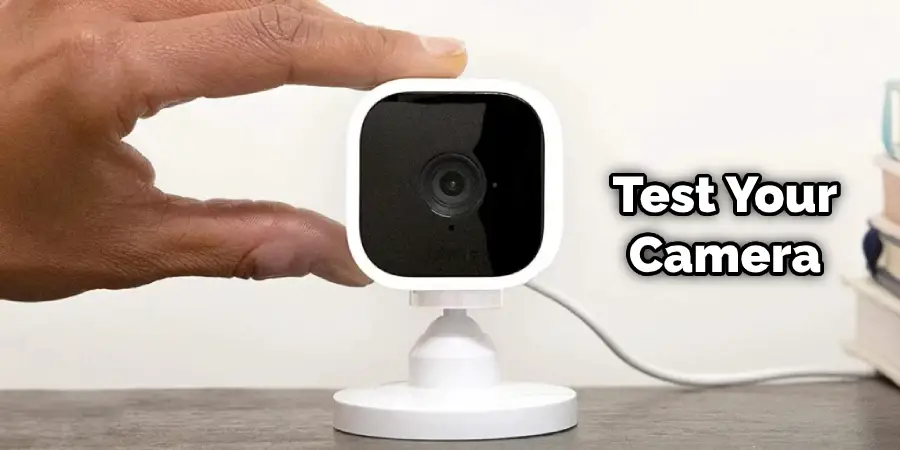
Step 10: Test the Camera
Now it’s time to test the Blink Mini. To do this, go to the “Live View” tab in the Blink app and ensure that you can see your camera’s live feed. If everything is working properly, you should be able to see yourself on the screen!
If you’re having trouble getting the Blink Mini set up, don’t worry – our team is here to help. Reach out to us via the “Help” tab in the Blink app, and we’ll be more than happy to assist you.
We hope this article was helpful! If you have any further questions about how to mount a blink mini camera, please don’t hesitate to reach out to us.
Choosing a Location for Your Blink Mini Camera
When choosing the location for your Blink Mini camera, you’ll need to consider a few things. The most important factor is how the camera will be used. If you’re using it for security purposes, you’ll need to make sure that the camera is in a place where it can capture all of the desired areas. On the other hand, if you’re using it for general home monitoring, you may not need to be concerned about the location.
Another thing to consider is how difficult it will be to mount the camera physically. Blink Mini cameras are small and unobtrusive, but they still need to be mounted somehow. If you’re not comfortable drilling into your walls or ceiling, you may want to consider using a stand or tripod instead. If you want to know more about how to mount a blink mini camera, keep reading.
Frequently Asked Question
How to Remove the Blink Mini Camera from Its Mount?
If you need to remove your Blink Mini camera from its mount, follow these steps. Doing so will not damage the camera or the mount.
- Hold the camera in one hand and use your other hand to loosen the screw on the mounting bracket.
- Gently slide the camera out of the mounting bracket.
- If you need to reattach the camera to the mount, follow these steps in reverse order.
How to Go About It Summarized
- Choose the location for your Blink Mini camera.
- Decide how you would like to mount the camera.
- Use the appropriate tools to mount the camera.
- Test the camera to make sure it is working correctly.
How to Install the Mount to the Ceiling or Wall?
- Begin by finding a safe, level spot on the ceiling or wall where you’d like to install your Blink Mini.
- Use the included screws and wall plugs to attach the mount to the chosen surface.
- Next, take your Blink Mini out of its box and remove any adhesive backing on its base.
- Carefully align the camera with the mount and press it firmly against the mount to stick it in place.
- That’s it! You’re all set up and ready to start using your Blink Mini.
How to Install the Blink Mini Cam onto the Mount?
Once you have chosen the spot for your Blink Mini Cam, there are two ways to install it onto the mount. The first way is to use the included screws to attach the mini cam to the mount. The second way is to use the adhesive strip on the back of the mount.
To install the Blink Mini Cam using the screws, line up the holes on the mini cam with the screws on the mount. Then, push the screws into the holes until they are tight.
Do Blink Cameras Come With Mounts?
The Blink Mini Cameras come with a built-in mount that can be used to attach the camera to a variety of surfaces. The mount can also be rotated to adjust the angle of the camera.
How High Should I Mount My Blink Camera?
The answer to this question depends on how you plan to use your Blink camera. If you use it as a security camera, we recommend mounting it at least 10 feet high. This will help ensure that the camera has a clear view of the area you monitor.
Does the Blink Sync Module Need to Stay Plugged In?
No, the Blink sync module does not need to stay plugged in. The camera will store all of the footage it records until it is full, at which point it will start overwriting the oldest footage. So if you want to keep a recording, you can unplug the sync module and plug it back in when you’re ready to watch and save the footage.
You Can Chack It Out Disable Blink Cameras
Conclusion
So there you have it. Our guide on how to mount a blink mini camera. We hope this helps and that you can now capture all the important moments in your life without having to worry about missing anything. If you have any questions or need help with anything, please don’t hesitate to reach out to us. Thanks for reading!
You can also read it: How to Open Blink Camera
2 thoughts on “How to Mount a Blink Mini Camera”