
Like most people, you probably use your Arlo Pro 3 camera to keep an eye on your home when you’re not there. But what happens if you want to keep an eye on your property when you are away? Of course, you could always hire a security guard or mount your Arlo Pro 3 camera outside and let it do the job for you.
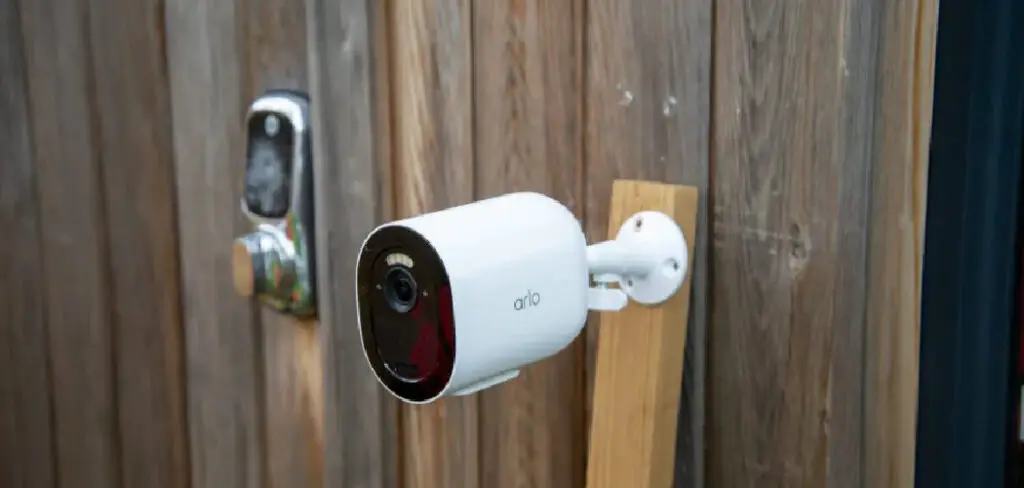
In this post, we will show you how to mount Arlo Pro 3 camera outside so that you can get the peace of mind that comes with knowing your property is being watched 24/7. This wire-free camera can be mounted anywhere, both indoors and outdoors. In addition, the included mount makes it easy to attach the camera to a wall or post. Read on for more information.
8 Easy Ways on How to Mount Arlo Pro 3 Camera Outside
1. Using Gutter Mounts
One of the most popular methods for mounting Arlo Pro 3 cameras outside is using gutter mounts. This is because they offer a lot of flexibility in terms of positioning and allow you to adjust the camera to get the perfect angle easily. This mount type is also very easy to install and does not require special tools or knowledge.
2. Using Wall Mounts
Another popular option for mounting Arlo Pro 3 cameras outside is wall mounts. This is a great option if you want to position the camera exactly where you want it without worrying about it being knocked over. Wall mounts also allow you to angle the camera in different directions, which can be helpful if you want to capture a specific area.
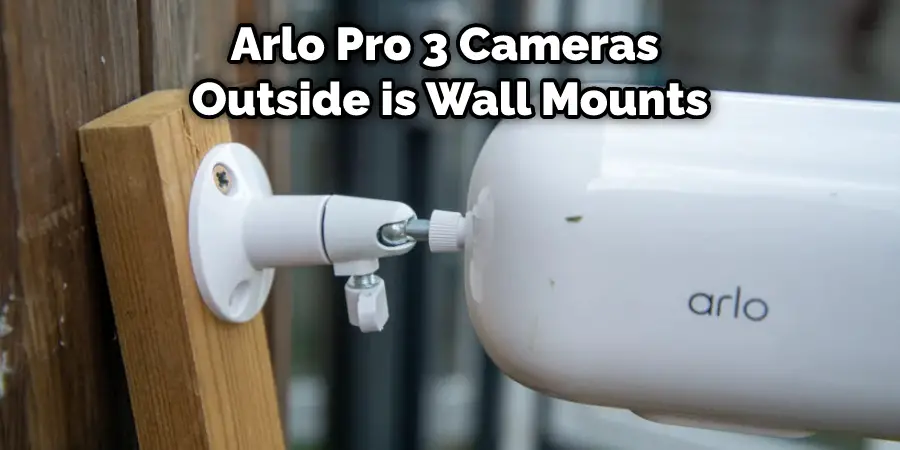
To mount an Arlo Pro 3 camera using a wall mount, simply follow the instructions with the mount. Generally, you will need to screw the mount into the wall and then attach the camera to the mount. Once the camera is secure, you can adjust the camera angle to get the perfect view.
3. Use Wrap Mounts
Wrap mounts are a versatile type of mount that you can use to attach your camera to just about any surface. All you need to do is wrap the mount around the desired object and then tighten it. This makes them ideal for mounting your camera on poles, trees, and other objects that are difficult to drill into. If you want to be able to move your camera around, then you can also use wrap mounts to attach it to a tripod.
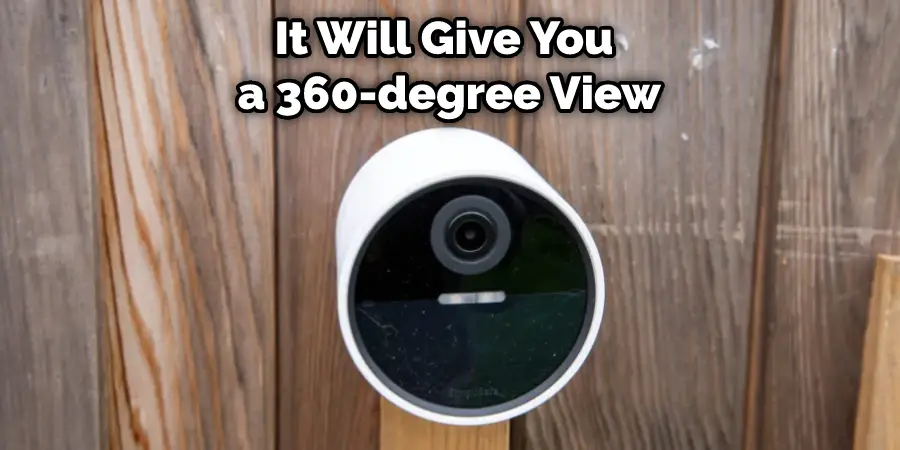
4. Try Using Magnetic Ball Mount
If you don’t want to go through the hassle of finding the perfect place to put your Arlo Pro 3, try using a magnetic ball mount. These mounts can be attached to any metal surface and will give you a 360-degree view of your surroundings. Arlo Pro 3 also comes with a built-in siren that you can use to scare off intruders or alert your neighbors in case of an emergency.
5. Using Screw Mount
The screw mount is the easiest way to attach your camera to any flat surface. With this method, you will need to use the included screws and wall anchors. First, use the chart in the instructions to find the appropriate drill bit size for the screws you are using. Next, use a drill to create pilot holes at your desired locations. Once the pilot holes are drilled, insert the wall anchors. Finally, use a screwdriver to twist the screws into the anchors until they are snug.
If you are mounting your camera on a brick or concrete surface, you must purchase masonry drill bits and tapcon screws separately. First, use the masonry drill bit to create pilot holes at your desired locations. Next, insert the tapcon screws into the pilot holes and tighten them with a screwdriver until they are snug.
6. Using the Magnetic Mount
The magnetic mount is the easiest way to mount your Arlo Pro 3 camera. The mount attaches to any metal surface, and the camera attaches to the mount magnetically. To attach your Arlo camera with a magnetic mount, you first need to attach a metal surface to the mount.
The metal surface can be part of your home’s structure or a metal plate that you attach to the structure. If you’re using a metal plate, make sure that the plate is big enough to hold the camera securely and that the screws or nails you use to attach the plate are long enough to go through the plate and into the structure.

Once you have a metal surface attached to the mount, hold the camera over the mount and let the magnet be on the bottom of the camera attached to the mount. Ensure the camera is level and pointing in the direction you want it to record. You can then use the screw on the side of the mount to tighten or loosen the mount, depending on how level you want the camera to be.
7. Using Arlo Quad Pod Mount
The Arlo Quad Pod Mount is a great way to mount your Arlo Pro 3 camera outside. This mount is made of metal and plastic and is weatherproof. It has four legs that can be adjusted to get the perfect angle for your camera. The Quad Pod Mount can be placed on a flat surface or mounted to a wall.
8. Using Adhesive Mounts
Clean the area where you want to mount the camera using isopropyl alcohol and a lint-free cloth. Hold the mount against the wall. Use a level to make sure that the mount is level. Press the adhesive mounts firmly against the wall for 30 seconds. Wait one hour before attaching the camera to the mount. If you’re using more than one adhesive mount, space the mounts at least 8 inches apart.
You can also check it out: How to Reset Wyze Outdoor Camera
6 Benefits of Using Arlo Pro 3 Camera
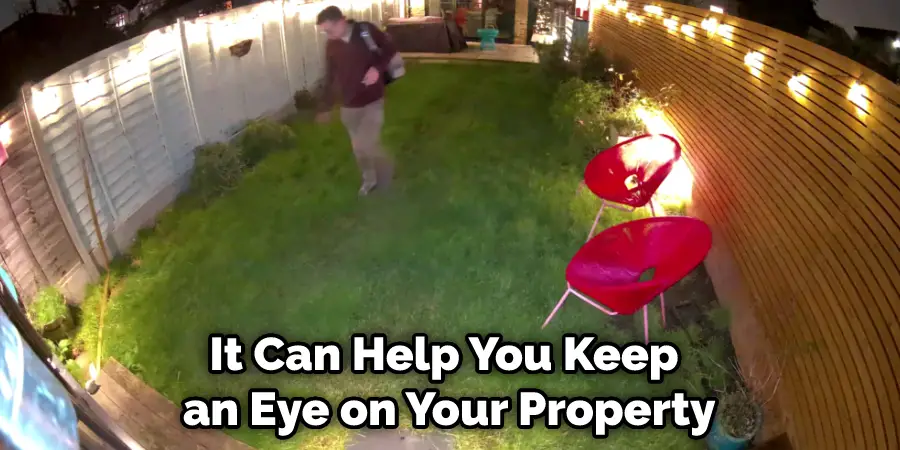
1. Protect Your Home or Business
Arlo Pro 3 can help you keep an eye on your property, whether it’s your home or business. The camera’s 2K HDR technology provides clear images even in low-light conditions, while the integrated spotlight and siren can deter potential intruders.
2. Get 24/7 Monitoring
Arlo Pro 3 comes with a year of Arlo Smart Premier service, which gives you 24/7 monitoring. With this service, the camera can automatically record video when motion or sound is detected and send alerts to your phone.
3. Get Notified of Activity
With motion and sound detection, Arlo Pro 3 will send you alerts when something is detected. You can even set up activity zones to focus on specific areas of interest. So, if you want to be alerted when your kids are getting into the pool, you can create an activity zone around that area.
4. See Clearly in The Dark
Arlo Pro 3’s color night vision lets you see clearly, even in low-light conditions. The camera’s integrated spotlight can also be used to light up dark areas. So when you’re trying to keep an eye on things in the dark, Arlo Pro 3 has you covered. If you want to see what’s going on outside your home or business at night, Arlo Pro 3 is the camera for you.
5. Improved Battery Life
Arlo Pro 3 has a new and improved battery that lasts up to 6 months. This ensures that you won’t have to constantly worry about recharging the camera. If your camera is outside in the elements, you’ll want a camera with a long-lasting battery like Arlo Pro 3.
6. Easy to Install
Arlo Pro 3 is very easy to install. The camera has everything you need to start, including a base station, power adapter, and mounting kit. You can even use the included screwdriver to make things even easier. Arlo Pro 3 is the perfect camera for those who want an easy-to-install security solution.
If you’re looking for a security camera that offers all these benefits and more, then you need Arlo Pro 3. This camera has everything you need to keep your home or business safe.
Additional Tips and Advice When Mounting Arlo Camera
- You can use the Arlo app to create a custom Activity Zone. This allows you to specify which areas of the camera’s field of view are most important to you, and you’ll be able to receive notifications only when something moves in those zones.
- The Arlo Pro 3 can see in the dark thanks to its built-in spotlight, but you may want to consider mounting an external floodlight if you need to illuminate a large area.
- If you’re worried about the possibility of someone stealing your camera, you can use the Arlo app to set up scheduled arming and disarming. This way, the camera will only be active when you want it to be.
Frequently Asked Questions
Are there any considerations for weather conditions when mounting an Arlo Pro 3 camera outdoors?
Yes, there are some considerations to keep in mind when mounting an Arlo Pro 3 camera outdoors. The Arlo Pro 3 is designed to withstand outdoor weather conditions and temperatures ranging from -4°F (-20°C) to 113°F (45°C). However, it should not be installed in direct sunlight as extreme heat
– Can I buy a solar panel adapter for powering my outdoor-mounted Arlo pro3 cameras?
Are there any safety precautions that one should take while working with electricity during the installation process of arlopro3 cameras outdoors?
Yes, it is important to take certain safety precautions while working with electricity during the process of installing Arlo Pro 3 cameras outdoors. Make sure you read and follow all safety instructions in the product manual before attempting any installation work. It is also advised that you avoid mounting your Arlo Pro 3 camera near any active power lines or high-voltage sources.
Can I buy extra batteries for my Arlo pro3 camera?
Yes, you can buy additional rechargeable batteries for your Arlo Pro 3 camera. The battery type is CR123A and it can be purchased from any local hardware store or online. It is recommended to replace the battery at least once a year to ensure that your Arlo Pro 3 camera functions properly and delivers optimal performance.
Conclusion
Arlo Pro 3 cameras are weatherproof and can be mounted outside, but there are a few things you need to keep in mind when doing so. The best way to mount the Arlo Pro 3 outside will vary depending on your specific situation. In this guide, we have discussed the steps on how to mount Arlo pro 3 camera outside.
We’ve outlined the steps you need to take to mount your Arlo Pro 3 camera outdoors and some tips for protecting it from the elements. Have you tried mounting your Arlo Pro 3 camera outdoors? What challenges did you face? Let us know in the comments below.
You can also check it out: How to Mount Arlo Camera Outside
