
Do you want your outdoor lights to come on at a certain time of day or night? Are you tired of having to pull the plug and reset it every single night? Or do you just want the security and peace of mind that comes with knowing your outdoor lights are on a timer schedule?
Whatever it is that has brought you here, today’s post will show you how easy it can be to put outdoor lights on a timer. We’ll go through step-by-step instructions so that all DIYers, even those with minimal skills in home improvement and electrical work, can feel confident about completing this project.
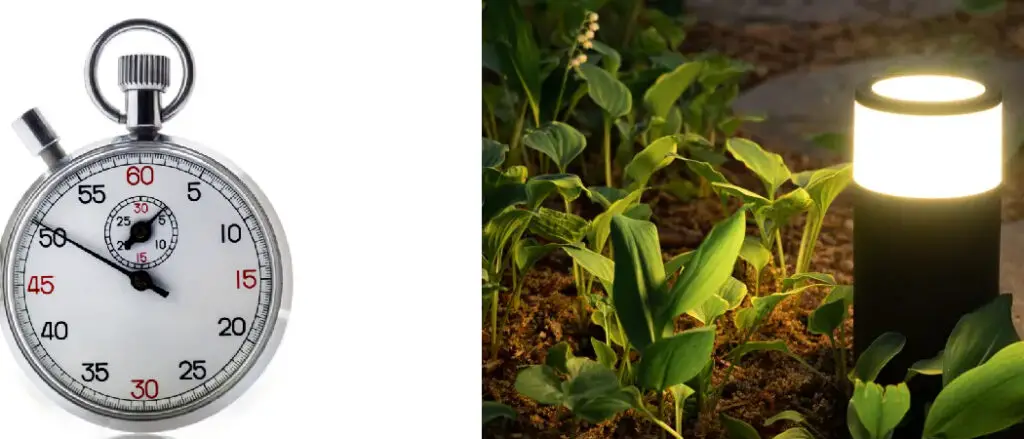
Not only does putting lights on a timer mean convenience for you, but also energy savings over the long term! So let’s get into it; read ahead to learn more about how to put outdoor lights on a timer
Types of Outdoor Timers
Sure, here’s some more information about the different types of outdoor timers:
- Mechanical Timers: These are the most basic and affordable type of outdoor timers. They work by turning a dial or rotating a knob to set the on and off times for your lights. The pros of mechanical timers are that they are simple to use and don’t require any special skills or technical knowledge. However, they may not be as accurate as other types of timers, and they can be affected by power outages or fluctuations.
- Digital Timers: These timers are more advanced than mechanical timers, and they offer greater accuracy and flexibility. Digital timers use a programmable display screen to set your lights on and off times. Some digital timers can also be programmed to turn on and off at random intervals to make it look like someone is at home. The pros of digital timers are that they are easy to use and can be more precise than mechanical timers. They are also less likely to be affected by power outages or fluctuations. However, they can be more expensive than mechanical timers.
- Smart Timers: These are the most advanced type of outdoor timers, and they can be controlled remotely using a smartphone or voice command. Smart timers can be programmed to turn on and off at specific times, or they can be set to turn on and off based on sunset and sunrise times. Some smart timers can even detect when you’re away from home and adjust the lighting accordingly. The pros of smart timers are that they offer the greatest flexibility and control. However, they can be expensive and may require a Wi-Fi or internet connection.
In terms of which type of timer is best for different scenarios, it really depends on your specific needs and preferences. A mechanical timer may be the best choice if you’re looking for a basic and affordable option. If you want more accuracy and flexibility, a digital timer may be a better option. If you want the ultimate in control and automation, a smart timer may be the best choice, but keep in mind that it can be more expensive.
Step-By-Step Guide on How to Put Outdoor Lights on A Timer
1. Select the Timer You Would Like to Use for Your Outdoor Lights
When selecting your timer, make sure that it is compatible with the voltage of your outdoor lights. In addition, you will need to ensure that the timer has sufficient outlets for the number of lights you plan to control.
2. Mount the Timer on an Outdoor Electrical Box
Your timer should come with instructions on how to mount it. Make sure to install the timer where you have easy access and can see the time markings clearly.
3. Connect Your Lights to the Timer
Once your timer is mounted, connect your outdoor lights to it using a two-conductor wire. The hot (black) wire should go into a terminal marked with an “H” or “A,” while the neutral (white) wire should go into the terminal marked with an “N.”
4. Set Your Timer
Now your outdoor lights are connected to the timer, and it is time to start setting it. There are usually three knobs on a timer – one for the time of day, one for the on and off times, and another for the duration. Set your timer according to your needs.
5. Test Your Timer
Once you set your timer, ensure it works properly by plugging in a lamp or small appliance. This way you can tell that everything is connected properly and that the timer has been set correctly.
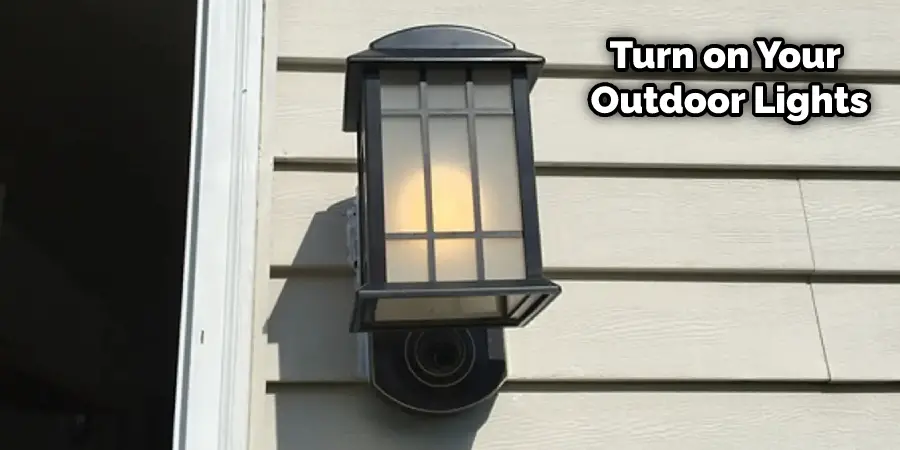
6. Turn On Your Outdoor Lights
Now you are ready to turn on your outdoor lights and enjoy their convenience! With a few simple steps, you can now save time, money, and even energy with your automated outdoor lighting system.
Congratulations! You have successfully put outdoor lights on a timer. With this easy DIY project, you can now enjoy the convenience and peace of mind that automated lighting brings. Good luck!
If you have any questions or need additional help with your outdoor lighting projects, contact a professional electrician to assist you. They can provide valuable guidance and advice on the best ways to install and maintain your outdoor lights. Thanks for reading!
Setting the Timer
1. Determine the On and Off Times:
Decide what time you want your outdoor lights to turn on and off. This can be based on the time of day, day of the week, or duration of time you want your lights to be on. Some timers allow you to set multiple on and off times per day, so consider how many cycles you need.
2. Set the Time on The Timer:
If your timer doesn’t automatically set itself based on your location, you’ll need to set the time manually. Most timers will have a button or knob that lets you adjust the time. Make sure you set the time accurately, as this will affect when your lights turn on and off.
3. Program the On and Off Times:
Once you’ve determined the on and off times for your lights, you’ll need to program them into the timer. Most timers will have buttons or a display screen that allows you to set the times. Follow the instructions provided with your timer to set the on and off times.
4. Test the Timer:
Once you’ve programmed the timer, it’s a good idea to test it to make sure it’s working properly. Manually turn on and off the lights at the times you’ve set, and make sure they come on and go off as expected.
5. Adjust the Timer as Needed:
If you find that the on and off times aren’t working for you, or if you need to make changes to the duration of time your lights are on, you can adjust the timer as needed. Follow the instructions provided with your timer to make any changes.
It’s important to note that the specific steps for setting up your timer may vary depending on the brand and model you have. Be sure to read the instructions carefully and follow the manufacturer’s recommendations for programming your timer.
Troubleshooting Common Issues
Here are some common issues that may arise when using outdoor timers and some troubleshooting tips:
- Power outages: If your timer is affected by a power outage, it may reset and lose its programming. To avoid this, consider using a timer with a battery backup or surge protection. If your timer does lose its programming, you’ll need to reprogram it once power is restored.
- Timer malfunction: Sometimes timers can malfunction or stop working altogether. If this happens, first check to ensure the timer is properly plugged in and the outlet is working. If the outlet is working and the timer still isn’t functioning, it may be time to replace the timer.
- Daylight savings time changes: If your timer doesn’t automatically adjust for daylight savings time, you’ll need to manually adjust the programming. Most timers will have a button or setting that allows you to adjust the time. Make sure you adjust the time correctly to avoid any issues with your lights turning on and off at the wrong time.
- Weather damage: If your timer is exposed to the elements, it may become damaged due to weather. This can cause the timer to malfunction or stop working altogether. To avoid this, consider using a weather-resistant timer or protecting the timer with a cover.
- Incorrect wiring: If your lights aren’t turning on or off as expected, it’s possible that the timer is incorrectly wired. Make sure the timer is properly connected to the power source and to the lights. If you’re not comfortable working with electrical wiring, consider hiring a professional to help with the installation.
If you’re experiencing any issues with your outdoor timer, the first step is to consult the manufacturer’s instructions and troubleshoot the problem. If you’re still having issues, consider reaching out to the manufacturer or a professional for additional assistance.
Maintenance
some tips for maintaining your outdoor timer are given below:
- Change the batteries: If your timer uses batteries, be sure to replace them regularly. Most timers will have an indicator light or message that alerts you when the batteries are low. Follow the manufacturer’s instructions to replace the batteries and dispose of old batteries properly.
- Clean the timer: Over time, dirt and debris can accumulate on your timer, which can affect its performance. To clean the timer, turn it off and unplug it from the power source. Use a soft, damp cloth to wipe down the timer, being careful not to get any water inside the timer. Avoid using harsh chemicals or abrasive materials that can damage the timer.
- Inspect for damage: Regularly inspect your timer for any signs of damage, such as cracks or broken parts. If you notice any damage, replace the timer or the damaged parts as soon as possible to avoid any further issues.
- Test the timer: Periodically test your timer to make sure it’s functioning correctly. Manually turn the lights on and off at the times you’ve set to make sure the timer is working properly.
- Replace faulty parts: If you notice that a specific part of your timer is not functioning correctly, such as a broken knob or button, you may need to replace the faulty part. Consult the manufacturer’s instructions or a professional for guidance on how to replace parts.
By following these maintenance tips, you can help ensure that your outdoor timer lasts long and functions correctly. Be sure to consult the manufacturer’s instructions and follow all safety guidelines when performing any maintenance on your timer.
Conclusion
Installing outdoor lights on a timer is an easy and cost-effective way to add security, safety, and convenience to your home. It’s also simple enough for anyone with basic DIY skills to do it themselves without having to call in a professional electrician.
With the right materials, some patience, and attention to detail you can have beautiful outdoor lighting that will make your property look great while providing added peace of mind at night. By using timers for your outdoor lights you’ll be able to save energy costs over time by only running them when they’re needed! Thanks for reading this article about how to put outdoor lights on a timer