
Do you have a Safety First cabinet lock that needs to be removed? Has your child outgrown the need for one, or do you simply want to upgrade it with a new model? Whatever the reason, removing a Safety First cabinet lock can seem like an intimidating task. But don’t worry—with some patience and the right tools, you’ll be able to unlock your cabinet in no time! In this guide, we will walk you through every step of how to remove safety first cabinet lock so that you can get back into your cabinets quickly and easily. Let’s get started!
Types of Safety First Cabinet Locks
Safety First offers a variety of cabinet locks to suit different needs and preferences. Here are some of the most common ones:
- Adhesive Locks: These locks use strong adhesive tape to stick to the cabinet doors. They have a button on the top that you need to press down to release the lock. They are suitable for cabinets with smooth surfaces and no handles or knobs.
- Magnetic Locks: These locks use a magnetic latch that is installed inside the cabinet with screws. They come with a magnetic key that you need to place outside the cabinet door to unlock it. They are ideal for cabinets with thick doors and no visible hardware.
- Sliding Locks: These locks use a plastic bar that slides over the handles or knobs of the cabinet doors. They have two buttons on the sides that you need to squeeze together to slide the lock off. They are perfect for cabinets with handles or knobs that are close together.
- Tie Locks: These locks use a thick cord that ties around the handles or knobs of the cabinet doors. They have a sliding lock that you need to adjust to tighten or loosen the cord. They are simple and versatile for cabinets with any type of hardware.
Can You Remove the Safety First Cabinet Lock by Yourself
One thing that is a must when it comes to the safety of our most cherished possessions is safety first cabinet locks. If you are thinking about trying to remove one of these locks yourself, there are a couple of things you will want to consider.
Firstly, it’s important to ensure that whatever lock you’re dealing with is user-friendly and a piece of cake even for the novice DIY-er. Secondly, you need to make sure that all your tools are on hand before starting. Having the appropriate screwdriver, etc., could make all the difference in how smoothly the job turns out. So, while it is possible to remove your own safety first cabinet lock, remember that being prepared is key!
Why Someone Might Want to Remove Safety First Cabinet Lock
Removing a Safety First Cabinet Lock can be an important part of child-proofing a home. As children get older, they become increasingly curious and inquisitive, and any number of products in the house can pose a hazard if not secured.
Locking cabinets with a Safety First lock is one way to keep harmful or dangerous items out of reach for small children, but as those children get older, it may be necessary to remove the lock so they can access useful items and learn how to use them safely.
In this case, parents may find that removing their Safety First Cabinet Lock allows them to introduce certain tasks or activities at the appropriate age while still maintaining safety in the rest of the home through other means.
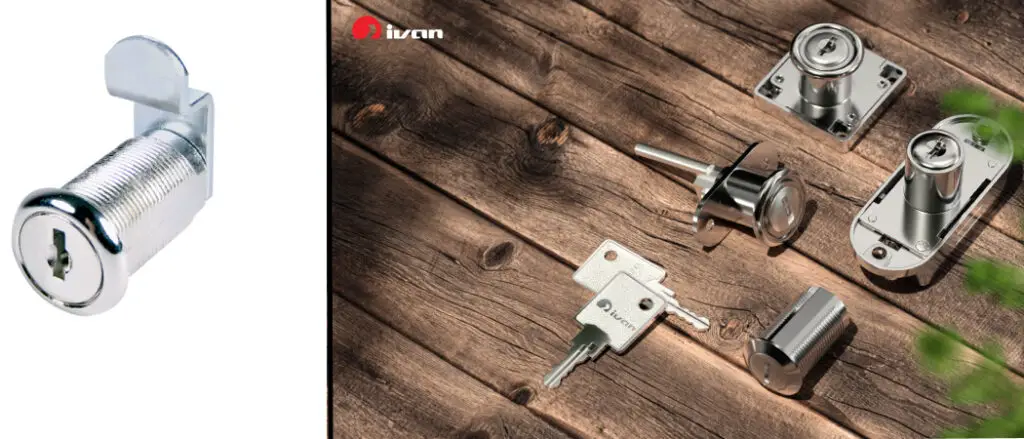
Essential Tools to Remove Remove Safety First Cabinet Lock
- A screwdriver is an essential tool to remove a safety first cabinet lock. The size and type of screwdriver you need will depend on the type of screws used to secure the lock in place.
- A putty knife or other thin, flat object can help pry the lock off the cabinet door if the screws are difficult to remove. Insert the putty knife between the edge of the lock and the cabinet door, then gently pry outward until the lock pops off.
- A power drill can quickly remove a safety first cabinet lock. Drill through the center of each screw, and then remove the screws with a screwdriver. The lock should then come right off.
- If you don’t have any tools, you can try using a paperclip or other small, thin object to remove the screws from the lock. Unfold the paperclip to be straight, and then insert it into the head of each screw. Then, twist the paperclip until the screw comes loose, and remove it with your fingers.
- You can always call a locksmith to remove the lock if all else fails.
Here are a few 11 Easy Steps to Remove Safety First Cabinet Lock
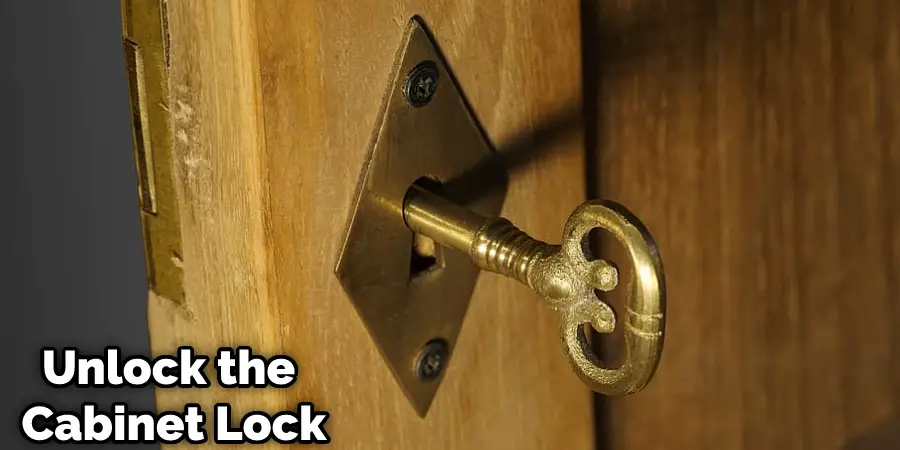
Step 1: Locate the Unlock Button
The first step is to find the unlock button or key that corresponds to your lock. For adhesive locks, the button is usually on the top of the lock and visible when you open the cabinet door. For magnetic locks, the key is a small magnet that you can attach to a keychain or store in a safe place. For sliding locks and tie locks, there is no button or key, but you need to access the lock itself.
Step 2: Press Down on the Unlock Button or Place the Key on the Cabinet Door
The next step is to press down firmly on the unlock button or place the key outside the cabinet door where the lock is located. You should hear a click sound that indicates that the lock has been released. For sliding locks and tie locks, you need to squeeze the buttons on the sides of the lock or slide the lock along the cord.
Step 2: Pull up On the Lock
Once you have pressed the unlock button, pull up gently on the lock itself until it unlocks completely from its current location. It should come off fairly easily, but if not, ensure you have pressed down firmly enough on the unlock button in step one before trying again.
Step 3: Slide Off Any Additional Pieces
Some Safety First cabinet locks may require an additional piece or pieces in order for them to be removed successfully. If this is the case, slide these pieces off of their current location before proceeding to step four.
Step 4: Remove the Lock
Now that all pieces are removed, you can finally remove the lock from your cabinet door. Pull it away from the door and set it aside until you are ready to reinstall another lock or upgrade to a different model.
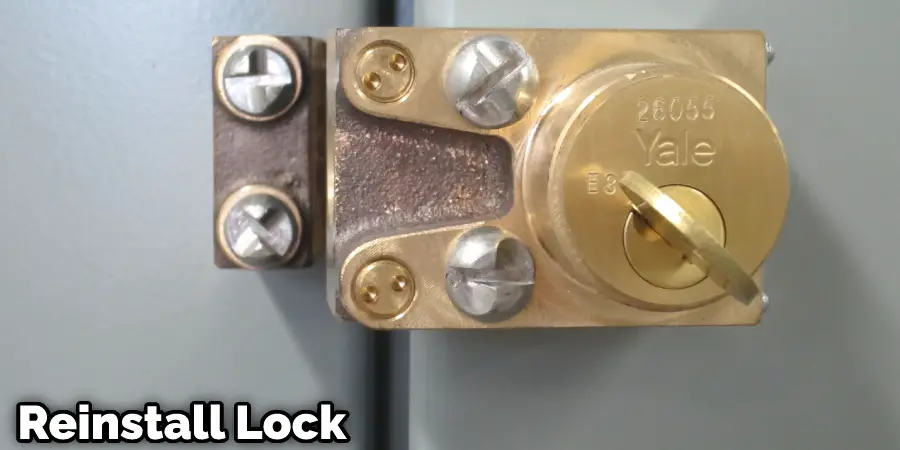
Step 5: Reinstall Any Additional Pieces
If there were any additional pieces that had been installed prior to removing your Safety First cabinet lock, make sure they are reinstalled in their proper place before closing up your cabinet doors again. This will ensure that your family remains safe and secure at all times!
Step 5: Clean Up Any Residue
The final step is to clean up any residue left behind by the lock. You can use a damp cloth or a mild cleaner to wipe off any dirt, dust, or adhesive from your cabinet door. You can also use a hairdryer or a heat gun to soften any stubborn adhesive and peel it off easily. Make sure to remove all residue completely before installing a new lock.
Step 6: Choose Your Next Safety First Cabinet Lock
Now that the old lock is removed and your cabinet door is clean, you can choose your next Safety First cabinet lock. Consider the needs of your family and the type of cabinets you have when selecting a new lock. Adhesive locks are easy to install and remove, while magnetic locks require a key but can be more secure. Sliding locks and tie locks are great for cabinets that don’t have handles or knobs.
Step 7: Read the Instructions
Before installing your new lock, make sure to read the instructions carefully. This will ensure that you know how to properly install and operate the lock, making your cabinets safe and secure for your family. You can also refer back to the instructions if you have any questions or need troubleshooting help in the future. The Safety First website also offers instructional videos and FAQs for their products.
Step 8: Gather Your Tools
Make sure you have all the necessary tools on hand before installing the new lock. This may include a screwdriver, drill, or other tools, depending on the type of lock and installation instructions. Having everything ready beforehand will make the process go smoother and quicker. It can also help prevent any frustration or delays. You can also use the same tools you used to remove the old lock. The power drill may come in handy if the new lock requires screws.
Step 9: Install the New Lock According to Instructions
And that’s it! You have successfully removed your Safety First cabinet lock and can now get back to enjoying the things you love. If you ever need to reinstall or change out your Safety First cabinet lock, follow these steps in reverse, and you’ll be good to go. Good luck! Remember to always store the key or magnet in a safe place and keep it out of reach from children.
Step 10: Consider Upgrading Your Locks
If you have multiple cabinets that need locks, consider upgrading to a keyed-alike system. This means that all of your locks will have the same key, making it more convenient for you to access your cabinets. You can also upgrade to a digital lock system for added security and ease of use.
Step 11: Teach Your Children About Cabinet Safety
Lastly, take this opportunity to teach your children about cabinet safety and why it’s important to keep cabinets locked. Discuss with them how to properly use and open the cabinet locks and why they should never try to remove them on their own. This will not only keep your cabinets safe but also promote safety awareness in your home. So, even if you have removed the Safety First cabinet lock, make sure to instill good habits in your children when it comes to cabinet safety. Thank you for choosing Safety First and keeping your family safe!
Following these steps will ensure that you can properly install, remove, and maintain your Safety First cabinet locks. Remember to always read the instructions carefully and gather all necessary tools before beginning the process. Regularly check and clean your locks to ensure they are functioning properly and replace them if needed for optimal safety. Stay safe!
Other Safety Measures for Cabinets
While cabinet locks are an essential tool in keeping your home safe, there are other safety measures you can take to ensure the well-being of your family. Here are some additional tips:
- Install childproof latches on cabinets that contain dangerous or toxic items, such as cleaning products and medications.
- Store knives and other sharp objects in a locked cabinet or drawer to prevent accidents.
- Place heavy or breakable items on higher shelves where children cannot reach them.
- Regularly inspect your cabinets for any loose screws or damaged locks that may need to be replaced.
By following these additional safety measures, you can create a secure environment for your family and prevent accidents from occurring. Remember, it’s always better to be safe than sorry. So, make sure to take the necessary precautions and install safety locks on your cabinets today!
Tips and tricks for removing the lock without damaging the cabinet or leaving traces of adhesive
When removing a Safety First Cabinet Lock, it is important to ensure that the process does not damage or leave marks on the cabinet. There are several tips and tricks for making the job easier:
- Always wear safety goggles and gloves when handling tools in order to protect yourself from injury.
- Start by loosening all the screws that hold the lock in place and then carefully remove them.
- Once all the screws are out, gently pull the lock out of its housing. If it is stuck, use a flathead screwdriver to gently pry it out.
- Check for any residue left behind by adhesive and carefully clean with a soft cloth and gentle cleaning solution.
- If the lock has left any marks on the surface of the cabinet, gently sand it down with fine-grit sandpaper until it is smooth again.
- For adhesive locks, heat the area with a hairdryer or heat gun to soften the adhesive and make it easier to remove.
- Use a putty knife or flat object to gently pry the lock off if it is difficult to remove with just your hands.
- If all else fails, seek professional help from a locksmith or handyman who can safely and efficiently remove the lock for you.
By following these tips and tricks, you can remove a Safety First Cabinet Lock without damaging your cabinets or leaving behind any traces of adhesive. Remember to always take safety precautions and be patient when removing the lock.
Frequently Asked Questions:
Q: Can I Remove the Safety First Cabinet Lock Without Any Tools?
A: Yes, you can try using a paperclip or other small, thin object to remove the screws from the lock. Unfold the paperclip to be straight and then twist it until the screw comes loose. You can also try using a putty knife or flat object to pry the lock off if it is difficult to remove with just your hands. The key is to be patient and gentle with the process. You can also seek professional help if needed.
Q: Will Removing the Lock Damage My Cabinets?
A: It is possible that removing the lock may cause some marks or damage to your cabinets. However, by following the tips and tricks mentioned above, you can minimize any potential damage and restore your cabinets to their original condition. If you are concerned about damaging your cabinets, it is best to seek professional help. The key is to be patient and gentle while removing the lock.
Q: Can I Reuse the Same Lock After Removing It?
A: It is not recommended to reuse a Safety First Cabinet Lock once it has been removed. The adhesive or screws may not hold as securely and could compromise the safety of your cabinets. It is best to purchase a new lock for installation. You can also consider upgrading to a different model for added security and convenience. It is always important to prioritize the safety of your family and home. So, it is better to err on the side of caution and use a new lock.
Q: Can I Use the Same Key for Different Safety First Cabinet Locks?
A: Yes, you can use the same key for multiple Safety First Cabinet Locks as long as they are all the same model and have not been rekeyed. This can be convenient if you have multiple cabinets with locks in your home. However, it is always recommended to have a spare key in case one gets lost or damaged. You can easily get a duplicate key made at a hardware store if needed. It is important to keep your keys secure and out of reach for children’s safety.
Q: Can I Remove the Lock Without Causing Damage If I Plan to Reuse It?
A: Yes, by being patient and following the tips mentioned above, you can successfully remove the lock without causing damage. However, it is always recommended to use caution and seek professional help if needed. It is also important to consider the safety of your home and family when reusing a lock. If in doubt, it is best to purchase a new lock for installation. Safety should always be a top priority.
Conclusion
Removing a Safety First cabinet lock can seem daunting at first, but with these simple steps, you’ll have no problem unlocking those cabinets without any fuss! So go ahead—keep your family safe by baby-proofing with ease! You’ll thank yourself later! Thanks for reading our post about how to remove safety first cabinet lock.