
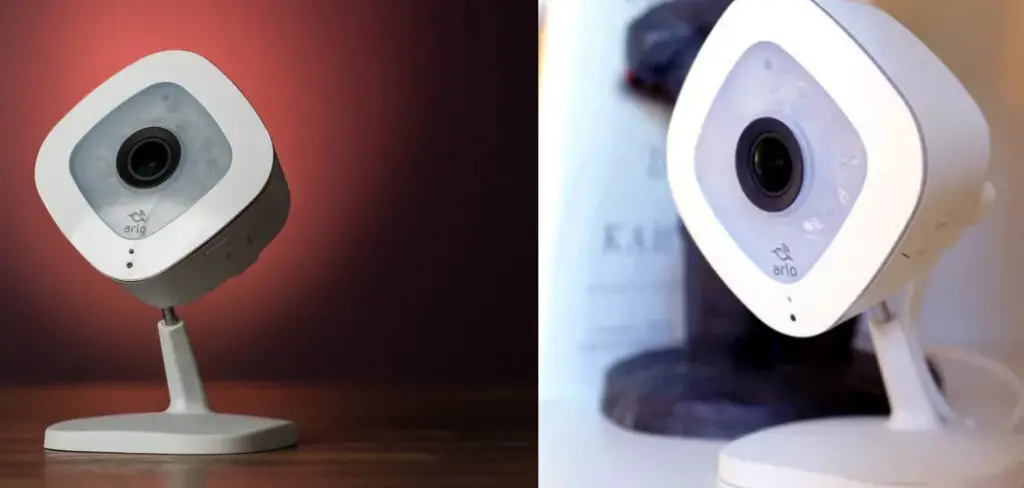
The Arlo Q Camera is a great tool for monitoring your home, but sometimes it needs to be reset. This guide will show you how to reset Arlo q camera. Resetting the camera can help resolve common issues, such as image freezing or the inability to connect to the cloud. Follow these simple steps, and you’ll be up and running again in no time!
If you’re experiencing problems with your Arlo Q camera, resetting it may help. To do this, unplug the power cord from the back of the camera and wait 10 seconds. Then reconnect the power cord and wait for the camera to start up.
If this doesn’t solve the problem, try deleting the camera and creating a new one. Read on for more information.
Can You Reset Arlo Q Camera?
Yes, you can reset Arlo Q Camera. If you’re experiencing problems with your Arlo Q camera, resetting it may help. To do this, unplug the power cord from the back of the camera and wait 10 seconds. Then reconnect the power cord and wait for the camera to start up. If this doesn’t work, you may need to reset your router.
When resetting your camera, you must ensure that you have the latest firmware installed. To check for updates, open the Arlo app and tap the Settings icon. Then tap the Devices tab and select your Arlo Q camera. If there’s an update available, you’ll see a notification. Tap Update to install the latest firmware.
4 Easy Methods on How to Reset Arlo Q Camera
Method 1: With the Reset Button
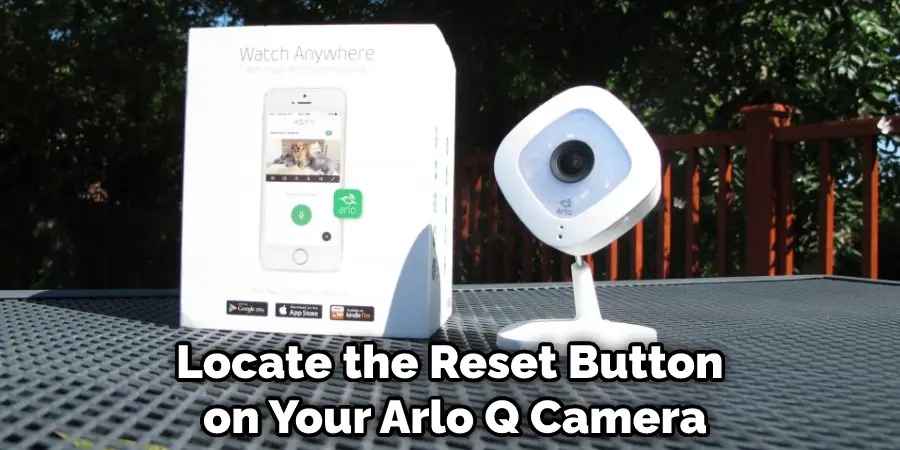
Step 1: Locate the Reset Button.
The first thing you need to do is to locate the reset button on your Arlo Q camera. This is usually a small black button that can be found on the back or bottom of the camera. Some cameras have the reset button beside the battery compartment, while others have it within the battery compartment itself.
Step 2: Press and Hold the Reset Button.
Once you have located the reset button, press and hold it for about 10 seconds. You should see a red LED light blinking on the camera to indicate that it is resetting. If the Led light doesn’t blink, try pressing and holding the reset button for longer.
Step 3: Wait for the Camera to Reset.
After pressing and holding the reset button for 10 seconds, release it and wait for the camera to reset. This usually takes about 30 seconds. Once the camera has reset, you will see a green LED light blinking, indicating that it is ready to be configured.
Step 4: Check if the Camera is Reset.
Once the camera has reset, you can now check if it is working properly by trying to access it through the Arlo app. If you can access the camera and view the live stream, then it means that the reset was successful.
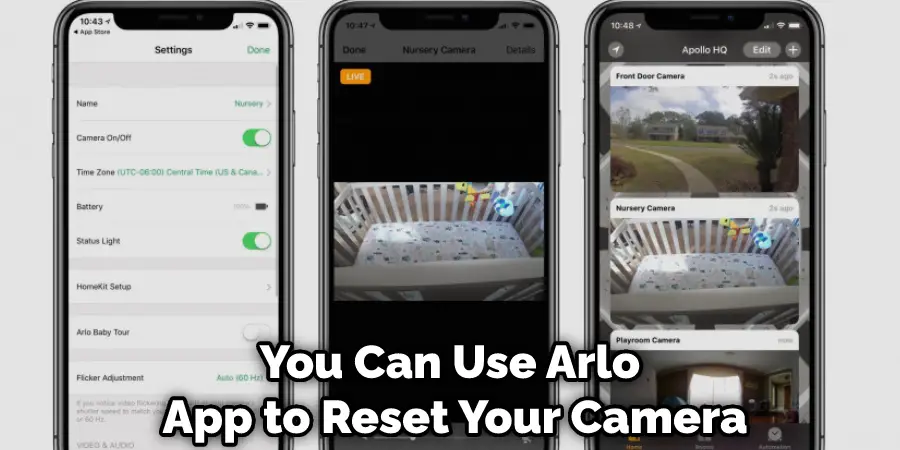
Method 2: Using the Arlo App
Step 1: Open the Arlo App on your Mobile Device.
If you have the Arlo app installed on your mobile device, you can use it to reset your camera. To do this, open the app and log in using your Arlo account credentials. Make sure you’ve typed the user details correctly, or you won’t be able to proceed.
Step 2: Tap on the Menu Icon.
Once you are logged in, tap on the menu icon (three horizontal lines) located in the top left corner of the screen. This will open the side menu, where you can find different options and settings.
Step 3: Select the “My Devices” Option.
From the side menu, select the “My Devices” option. This will take you to the My Devices page, where you can find all the devices connected to your Arlo account. Next, find the device you want to reset and tap on it.
Step 4: Tap on the “More” Option.
Once you’ve selected the device, tap on the “More” option in the screen’s bottom right corner. This will open a new menu with more options for the selected device. Make sure that you’ve chosen the reset option from this new menu.
Step 5: Tap on the “Factory Reset” Option.
From the list of options, tap on the “Factory Reset” option. This will open a pop-up asking you to confirm if you really want to reset the device. Once you are sure about it, tap on the “Reset” button to proceed.
Step 6: Wait for the Device to Reset.
After tapping on the reset button, wait for the device to finish resetting. This usually takes a few minutes. Once the reset is complete, you will see a message that the device has been successfully reset. Thus, you can now reconfigure the device and start using it again.
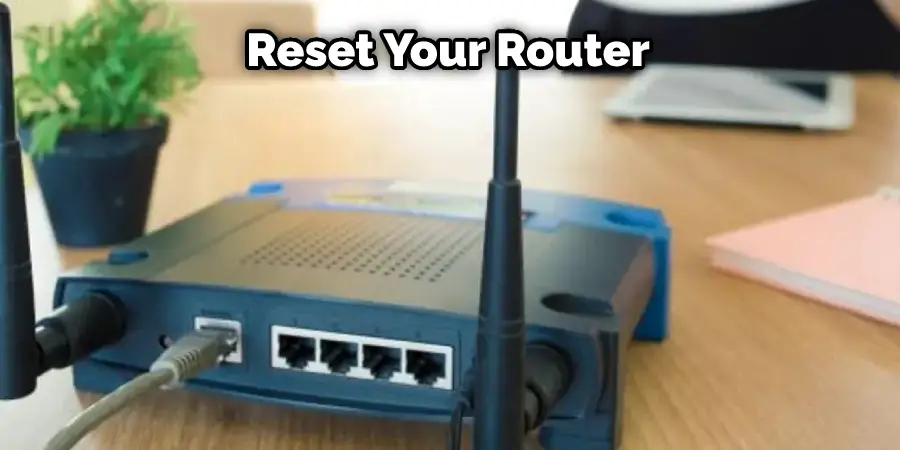
Method 3: Resetting Your Router.
Step 1: Find the Reset Button.
You first need to locate your router’s reset button to reset your router. This is typically found on the back of your router. Next, you must ensure you find the correct reset button for your router. If unsure, consult your router’s documentation or the manufacturer’s website.
Step 2: Press and Hold the Reset Button.
Once you’ve located the reset button, press and hold it for about 10 seconds, this will reset your router to its factory default settings. You must ensure that the reset button is held for the right time. Holding it for too long or too little time can cause problems.
Step 3: Reconfigure Your Router.
After your router has been reset, you’ll need to reconfigure it. This includes setting up your wireless network name and password again. Again, consult your router’s documentation or the manufacturer’s website for instructions on how to do this. Once you’ve reconfigured your router, your Arlo Q camera should be able to connect to it and work properly.
Method 4: When the Camera is Offline.
Step 1: Find the Sync Button.
You can reset your Arlo camera when the camera is offline. To do this, you first need to find the sync button. The location of the sync button varies for different model cameras. But most of the camera’s sync button is located beside the battery compartment.
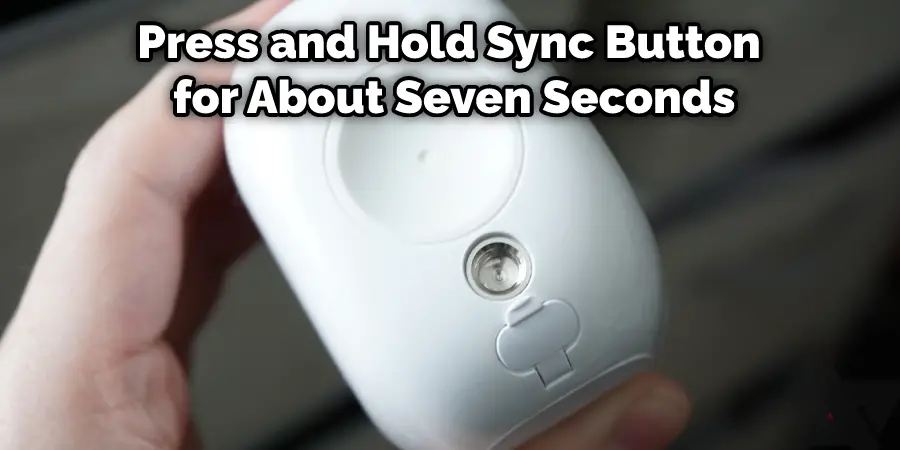
Step 2: Press and Hold the Sync Button.
Once you have found the sync button, press and hold it for about seven seconds. The camera’s status light will start blinking when you press and hold the sync button. After seven seconds, the status light will turn off, which means your Arlo camera is reset. If your camera is still not reset, you can try this method again.
Few Things to Consider When Reseting Your Arlo Q Camera
Take a Backup of Your Data:
Before resetting your Arlo Q camera, ensure you have taken a backup of all your data. This is because once you reset the camera, all your data will be erased, and you will not be able to retrieve it. If your camera is connected to the cloud, you can easily take a backup by downloading all your data to your computer.
Ensure No Important Footage is Stored:
When resetting your Arlo Q camera, all your footage will be erased. So, before resetting the device, ensure that no important footage is stored. If you have any important footage, back it up first.
Remove the SD card (If Available):
If your Arlo Q camera has an SD card, remove it before resetting the device. This is because the data stored in the SD card will also be erased when you reset the camera. So, if you want to keep the data stored in the SD card, remove it before resetting the device.
Why is My Arlo Q Blinking Orange?
When your Arlo Q camera starts blinking orange, it means the camera is resetting. This usually happens when there’s a problem with the firmware or the camera is having trouble connecting to the base station. If your Arlo Q camera is still blinking orange after a few minutes, you may need to reset it.
While resetting your Arlo camera, you need to ensure that your camera’s battery is charged, as the reset process will take some time to complete. If your camera still has issues after resetting, you can try factory resetting it. However, factory resetting will delete all saved data on your camera, so make sure to back up any important footage before proceeding.
Final Words
Arlo Q is a top-quality camera that lets you watch your home or office when you’re not there. But what happens if you need to reset the Arlo Q camera for some reason? In this article, we’ve shown you how to reset Arlo q camera.
If you are experiencing issues with your Arlo Q camera, there is a reset procedure that may help. However, please be aware that this will erase all of your settings and data. If the issue persists after following these instructions, please get in touch with Arlo support for additional assistance. If you have any questions or suggestions, please feel free to comment below.
You Can Chack it Out: How to Delete Blink Sync Module Without Serial Number